Warlord are currently doing 15% off on most of their range to celebrate it’s 19th birthday, treat yourself!
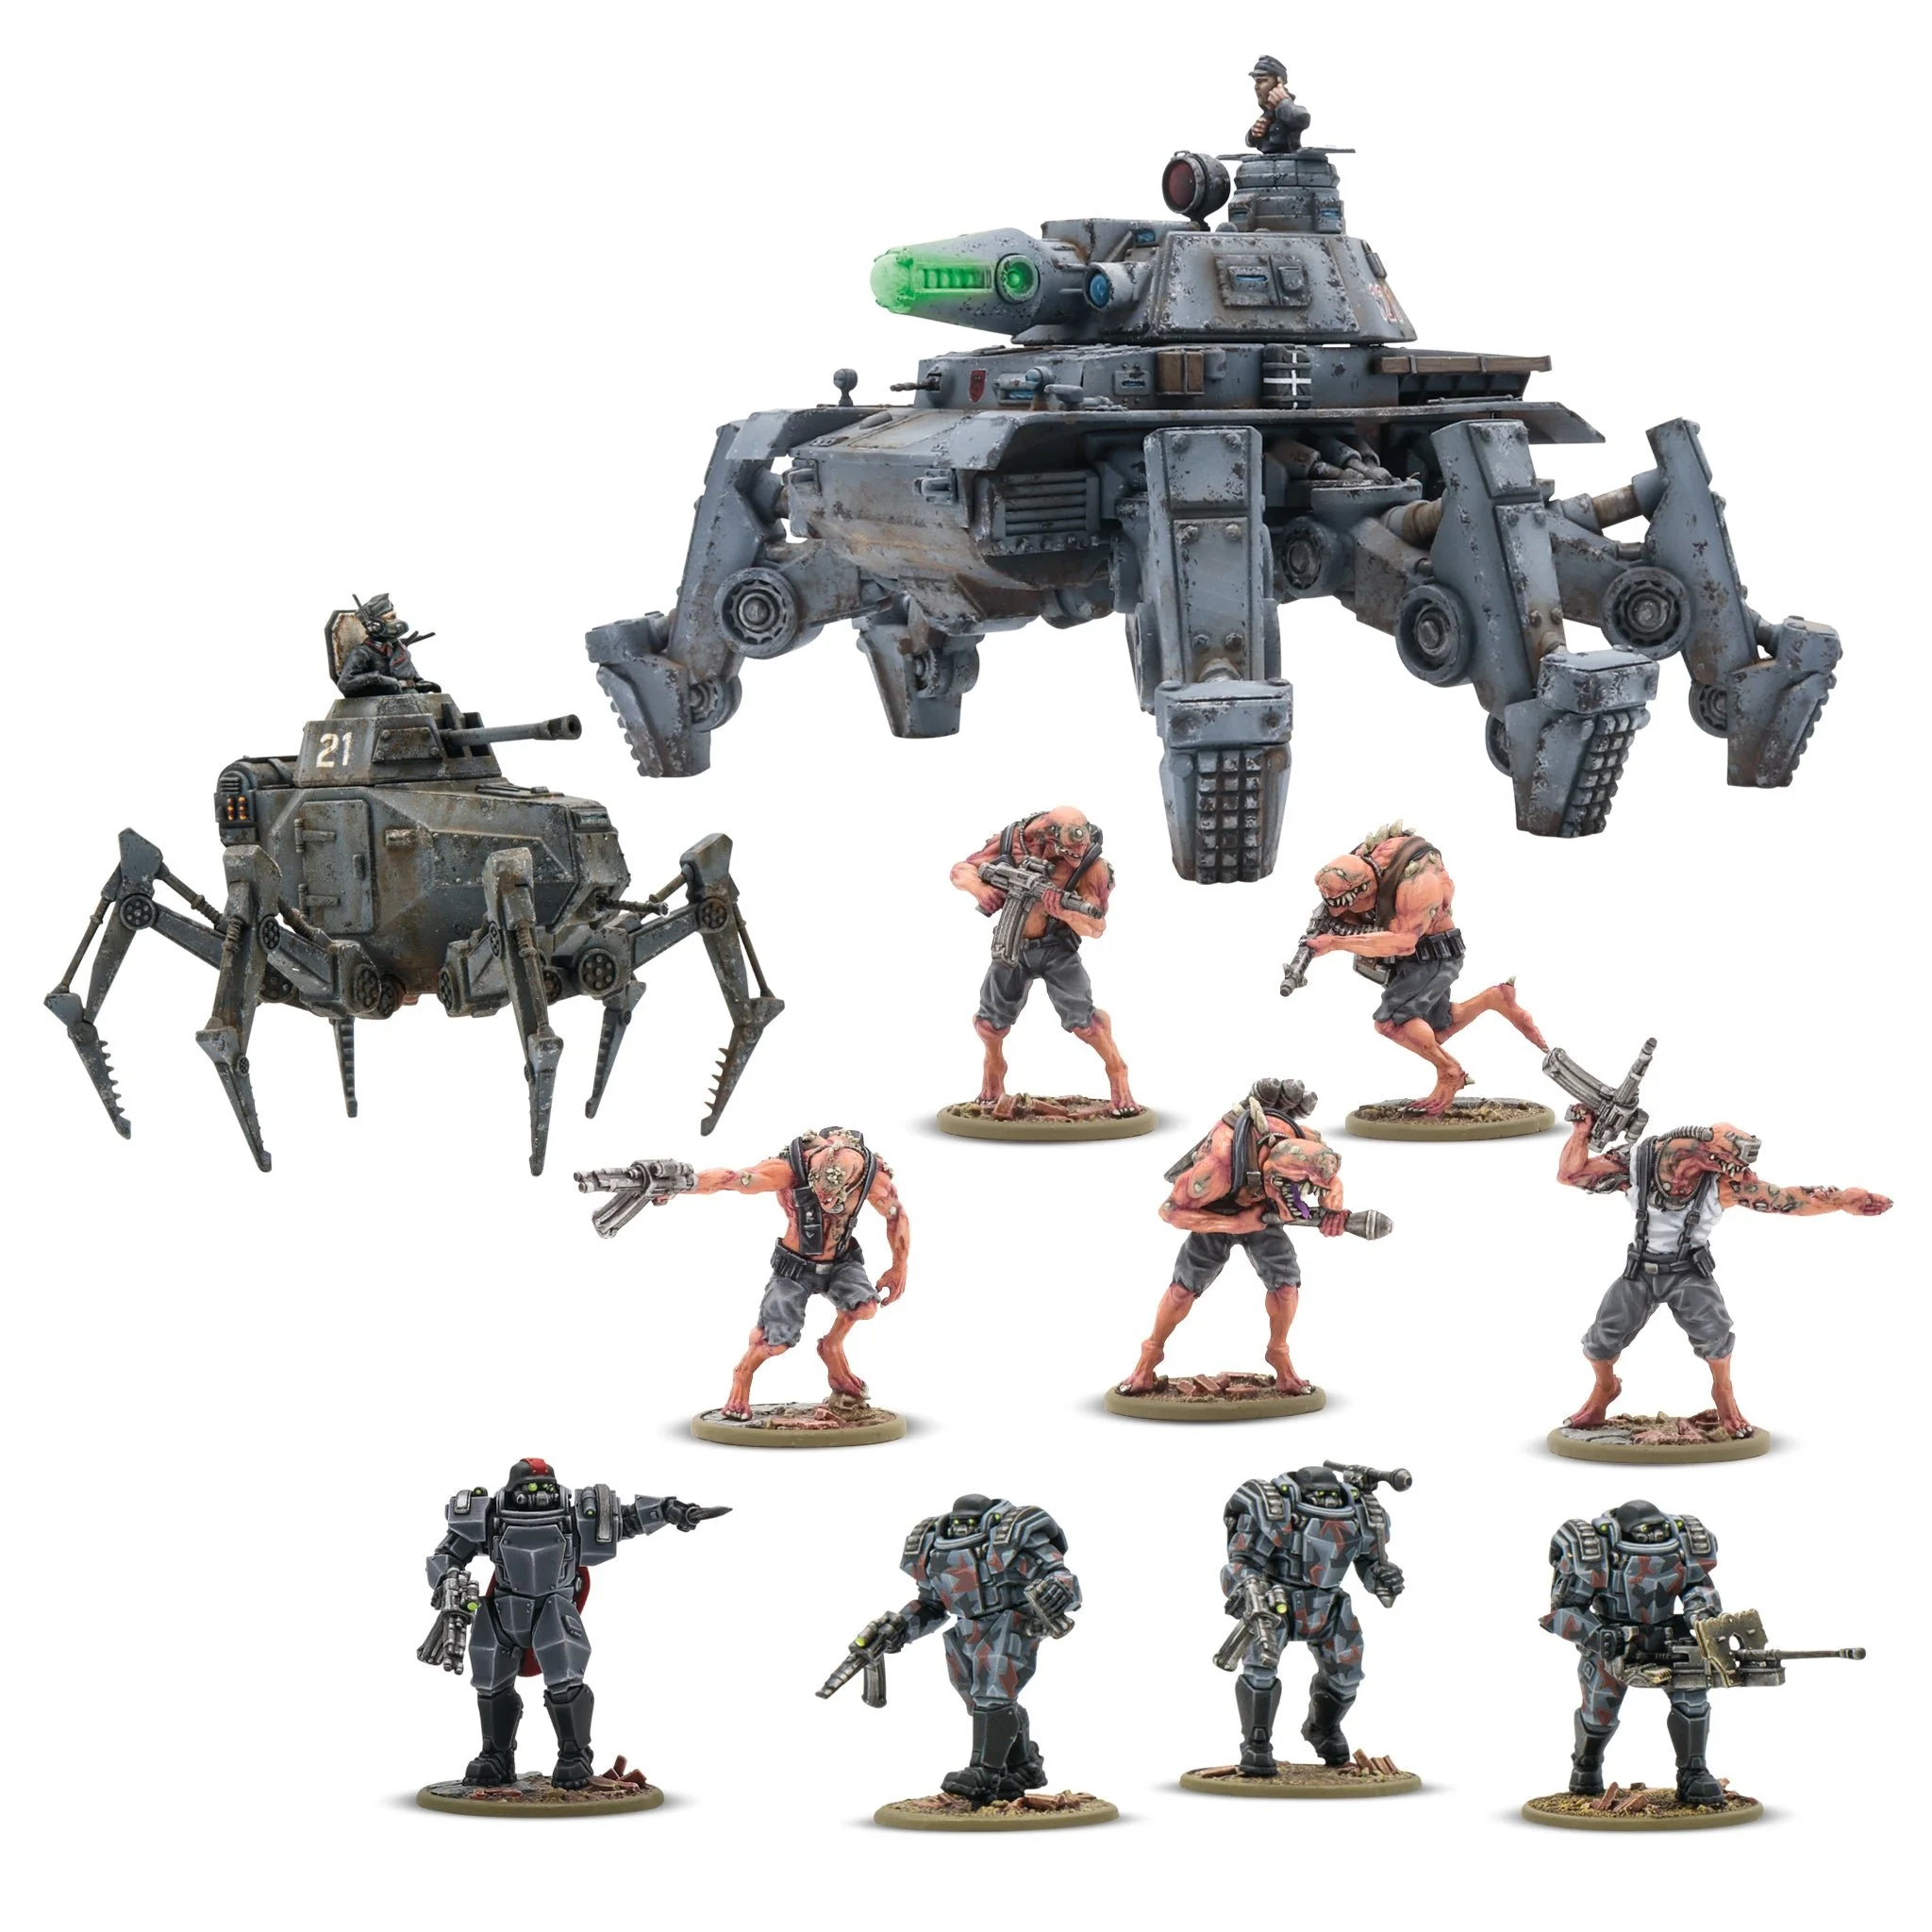
In typical Unrelenting fashion, my aim is to get this box built and painting as fast as appropriately possible, to a sweet standard, utilizing the steps and products I know and love that support me in doing this. In terms of planning, I wanted to stick fairly close to the artwork on the box in terms of colour schemes for the infantry, with some of my own flourish added. The tanks would be painted in a mottled camo stripe pattern in red, grey and black. This ties them in to the Stahltruppen, and also keeps them cohesive with a couple of Axis bits I have already painted in the past. Building loadout will be essentially as they are on the box. I’ll aim to get these played with at some point, but game WAACabality isn’t a thought for this project.
There’ll be a paint list for the units at the bottom of this article and links to my youtube for painting the infantry. Painting the vehicled will be detailed in this article. So their should be something for everyone in here, and I hope you enjoy the words!
MONDAY - GET ‘EM BUILT!
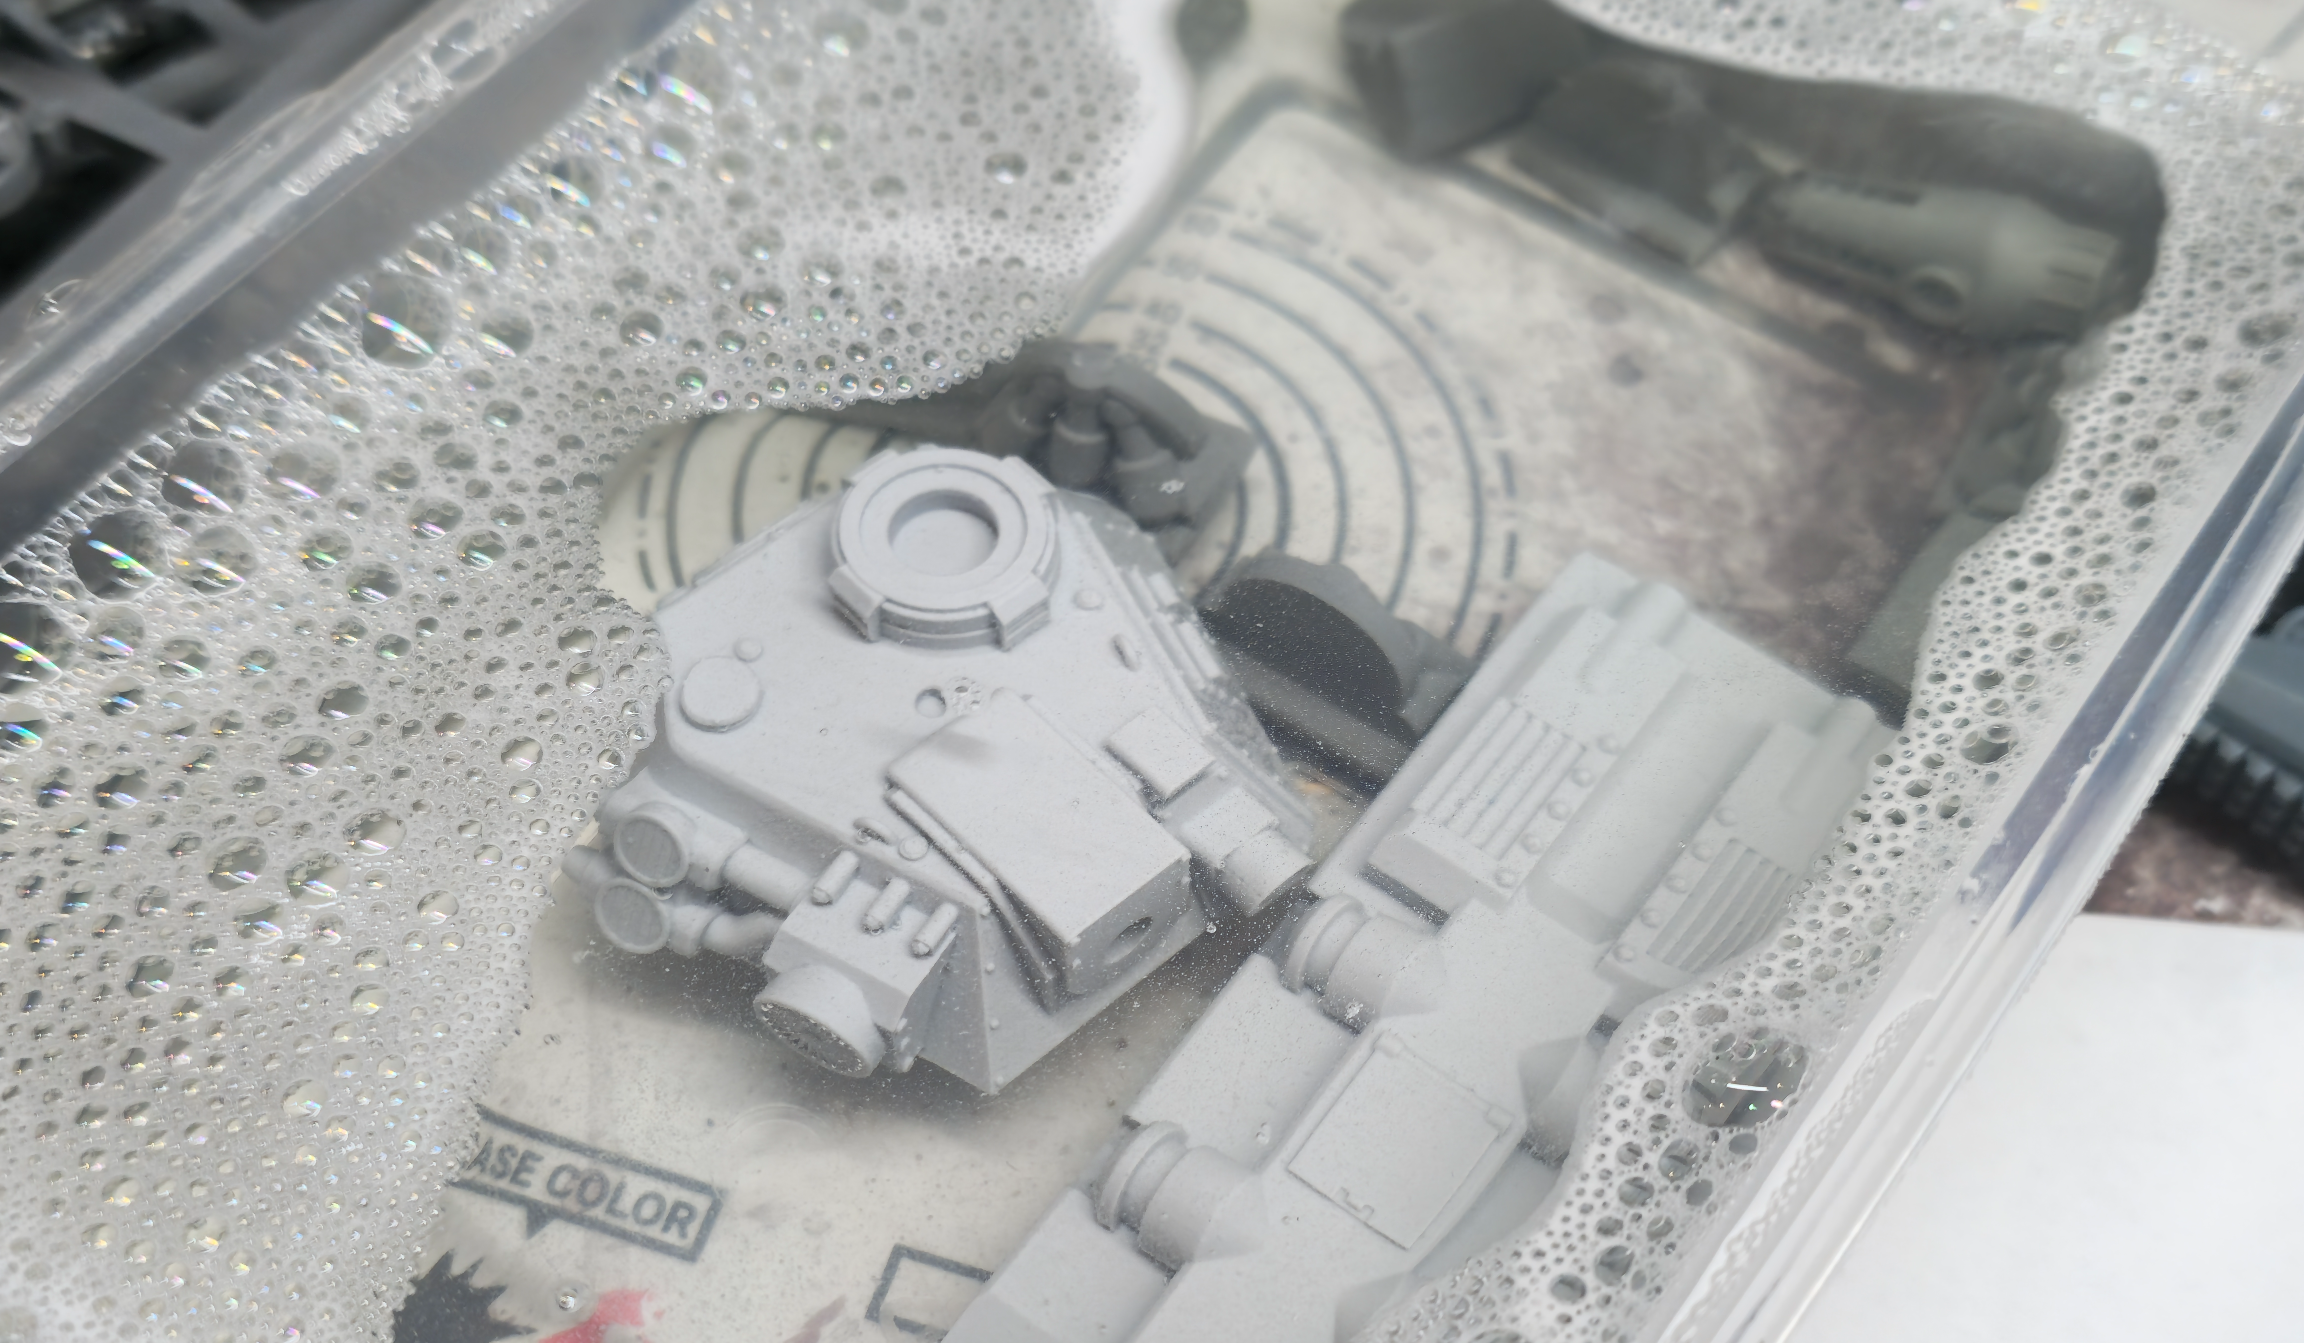
The units in the box were a mix of several materials, but mostly plastic. The Stahltruppen, Vogelspinne and half of the Panzer IV were plastic, the legs of the Panzer IV were 3D printed, it’s turret and upgrade set were traditional resin and the Commander and Nachtalben were Warlord Resin. I gave everything a once over to make sure all was accounted for, dumped the trad resin in some hot soapy water to scrub, and then cracked on with the infantry.
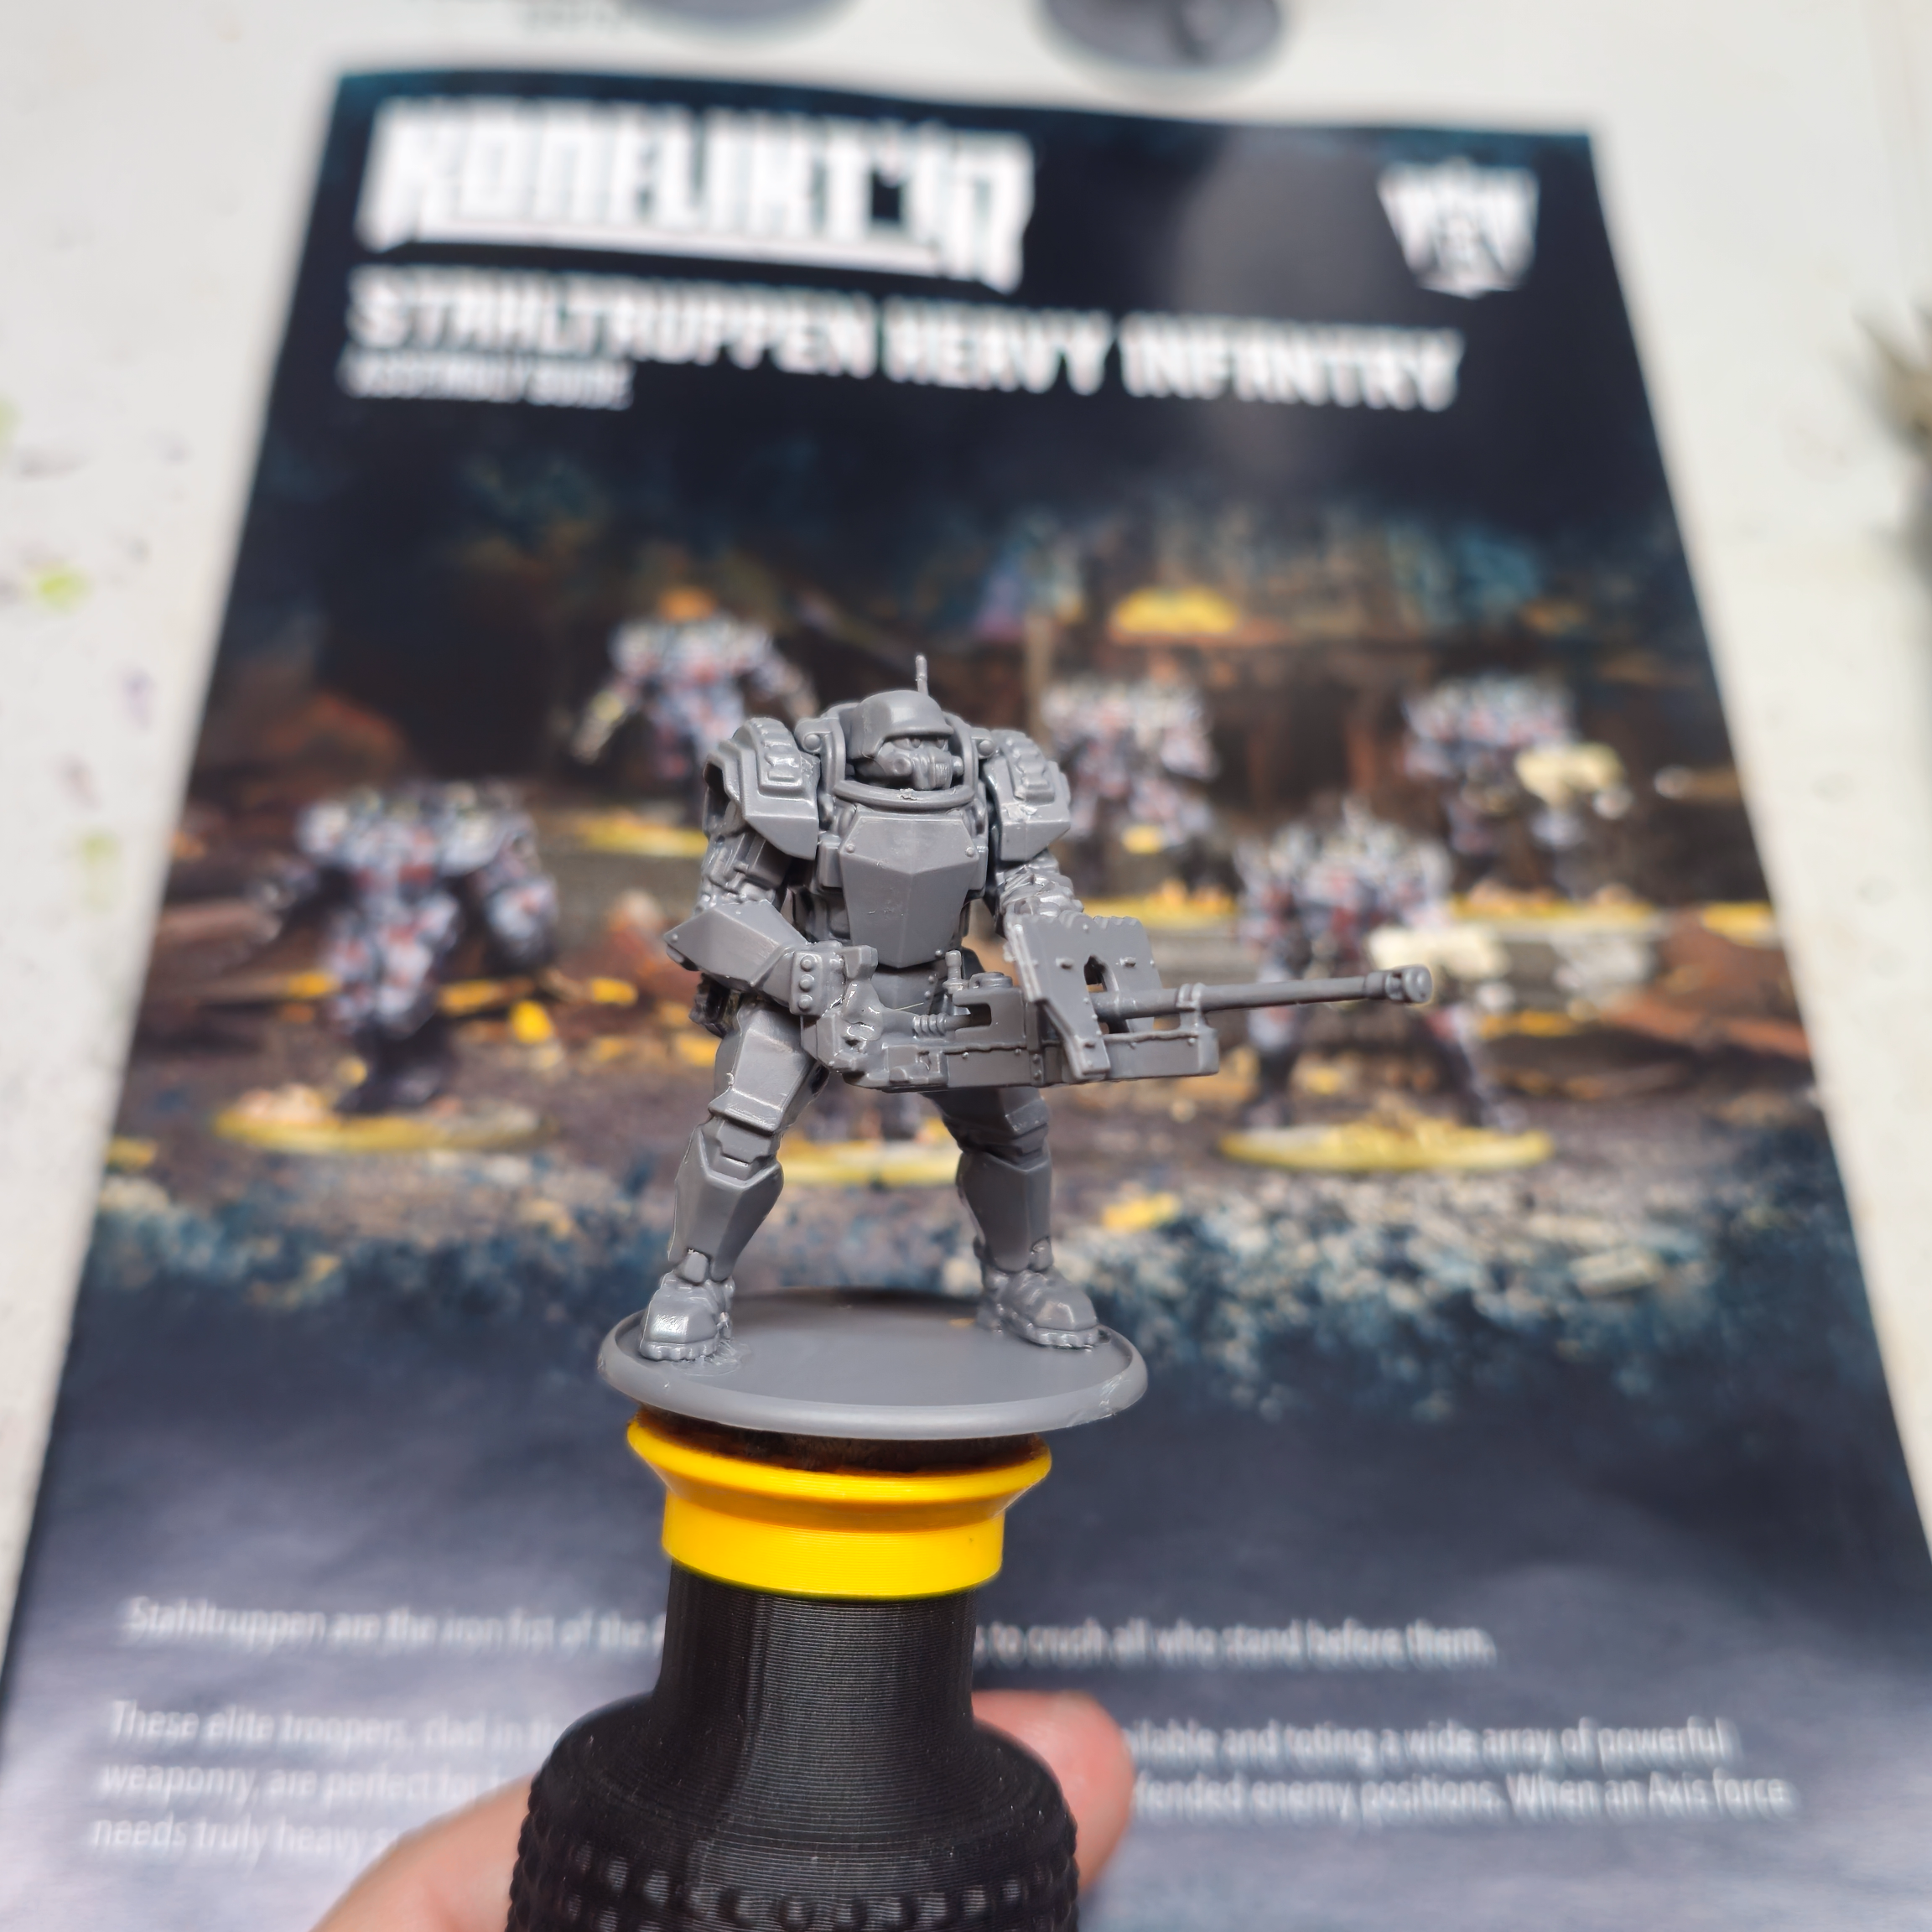
The Stahltruppen went together fantastically. A proper nice, no nonsense plastic kit that goes together excellently with loads of different options and poses. The Nachtalben were admitedly a little rough in areas. They’re mutated horrors of volunteered humans subjected to Rift energy and given horrible forms and mutations, but it was hard to see what exactly the details on the skin were meant to reflect. I’d worry about this later when it came to painted said details. The Commander was 3 or 4 bits and glued together great, then it was time to get leggy with it.
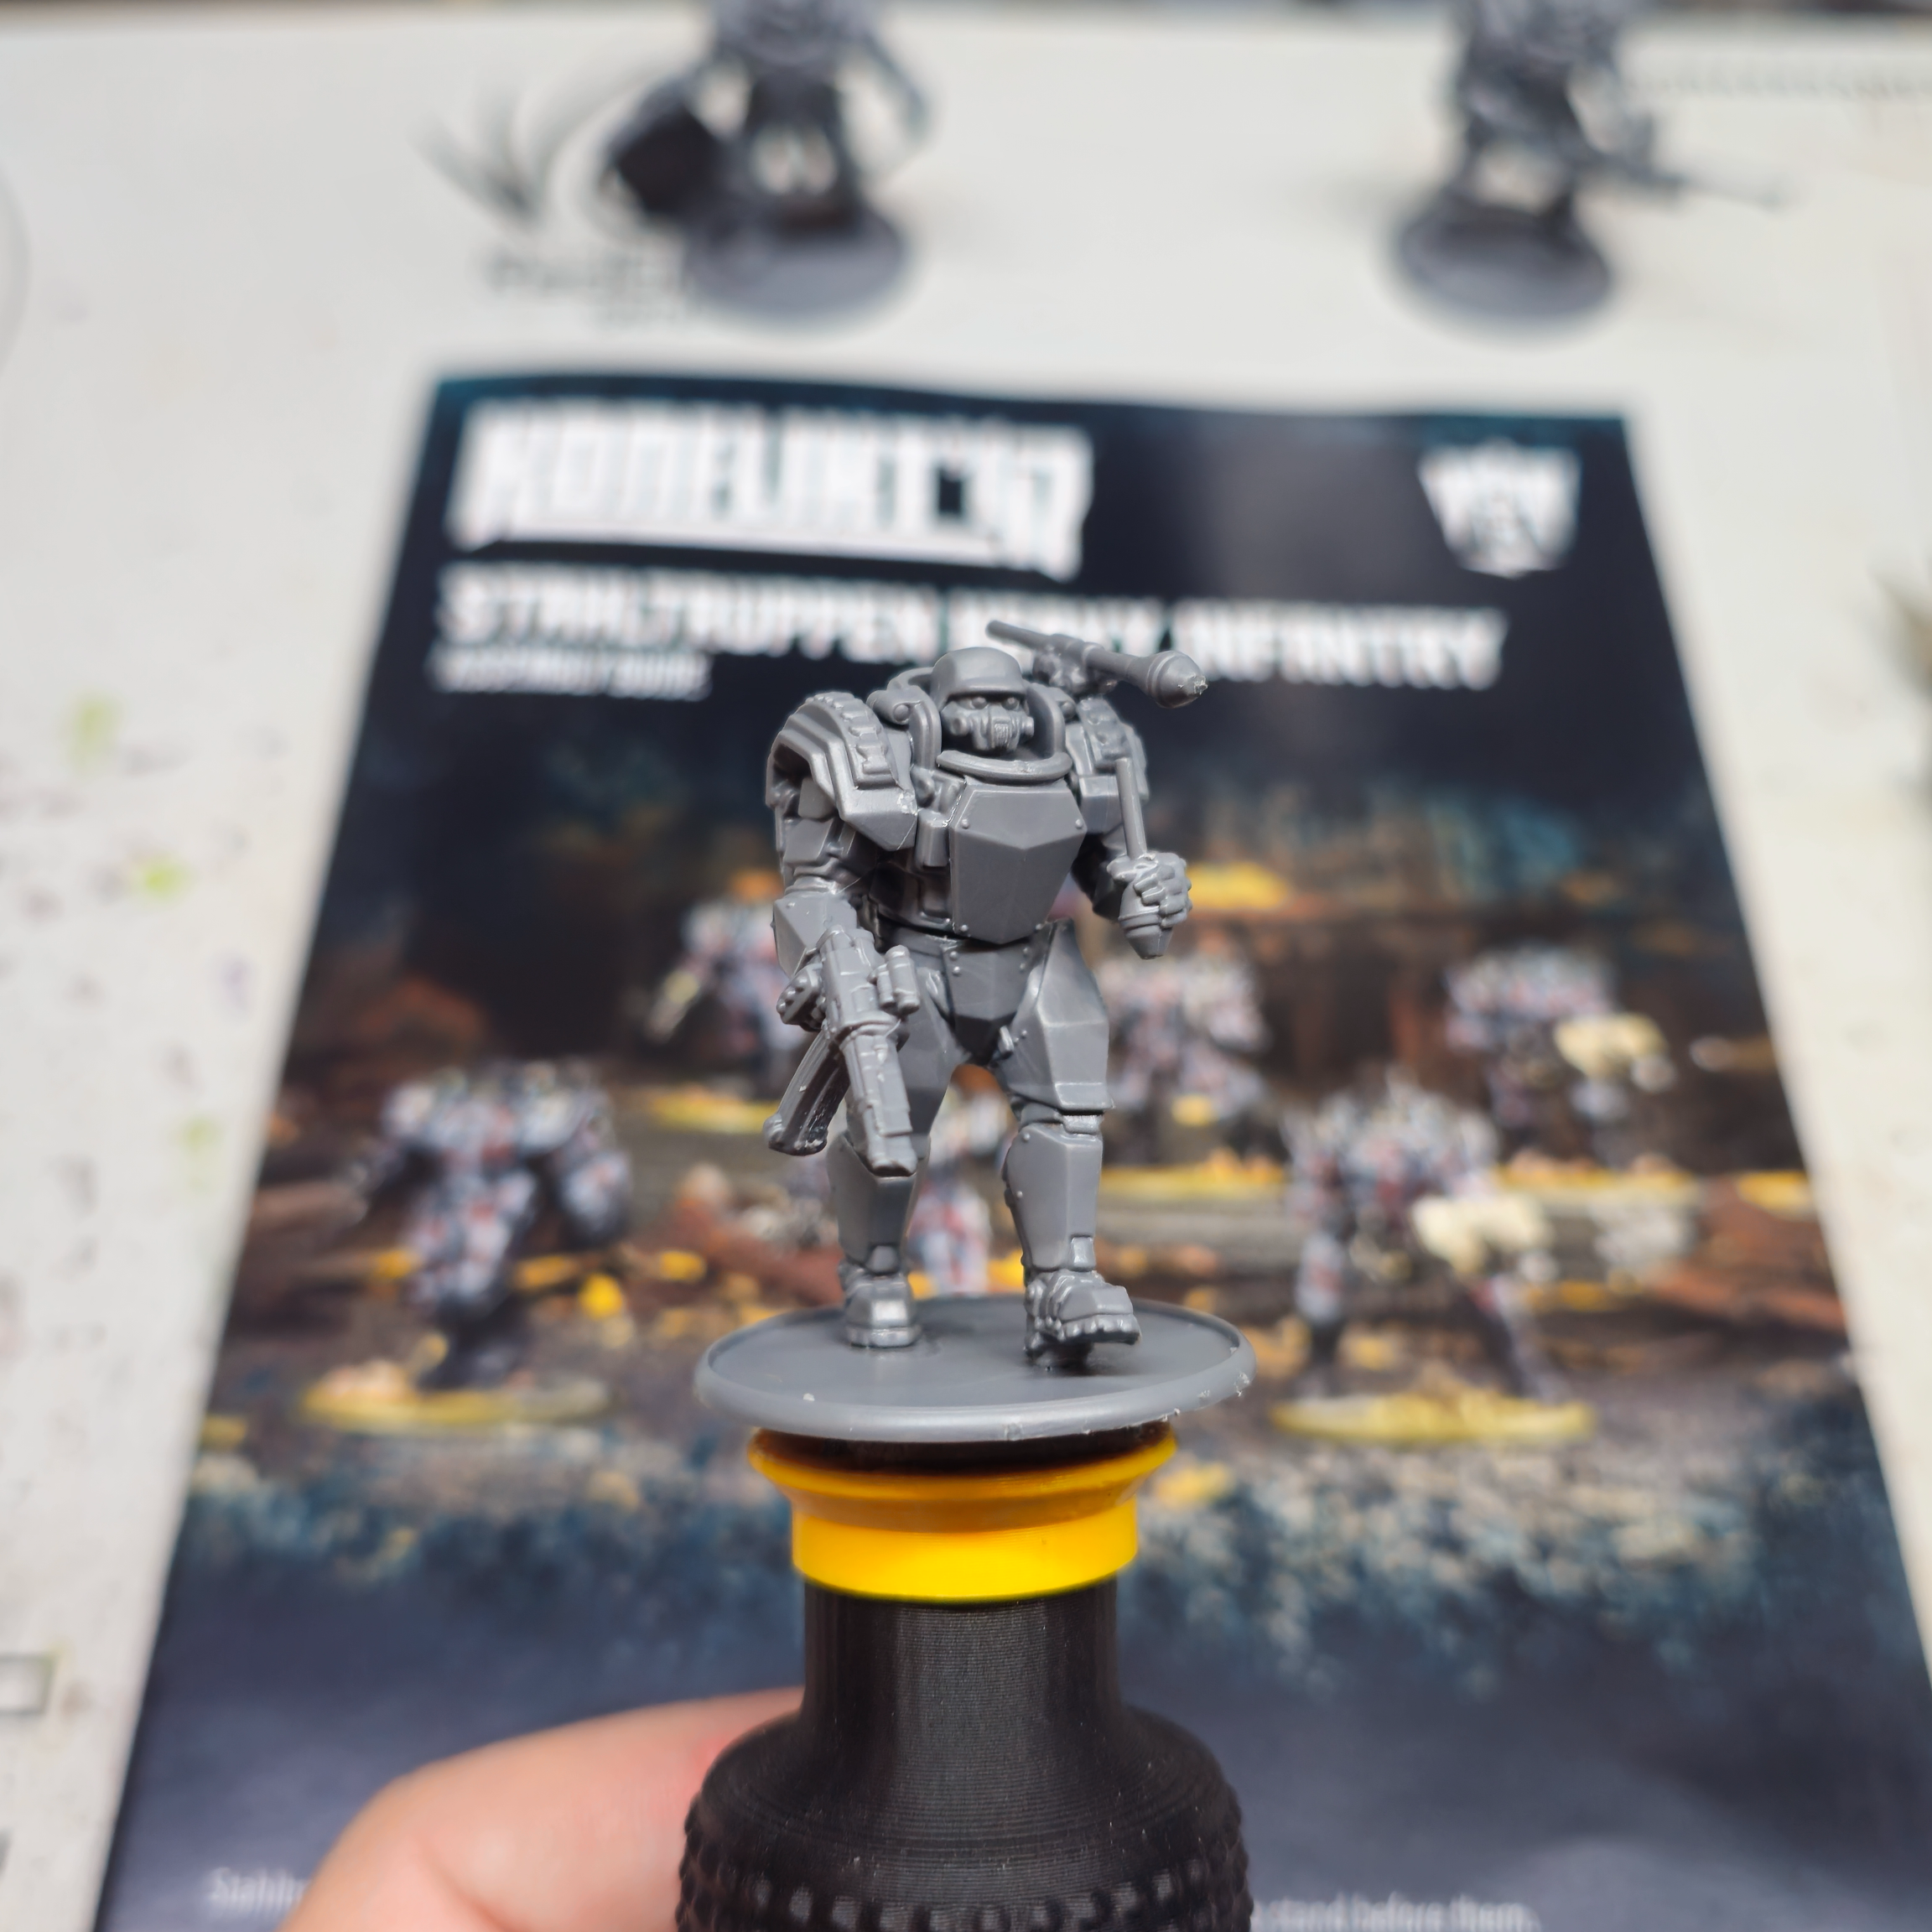
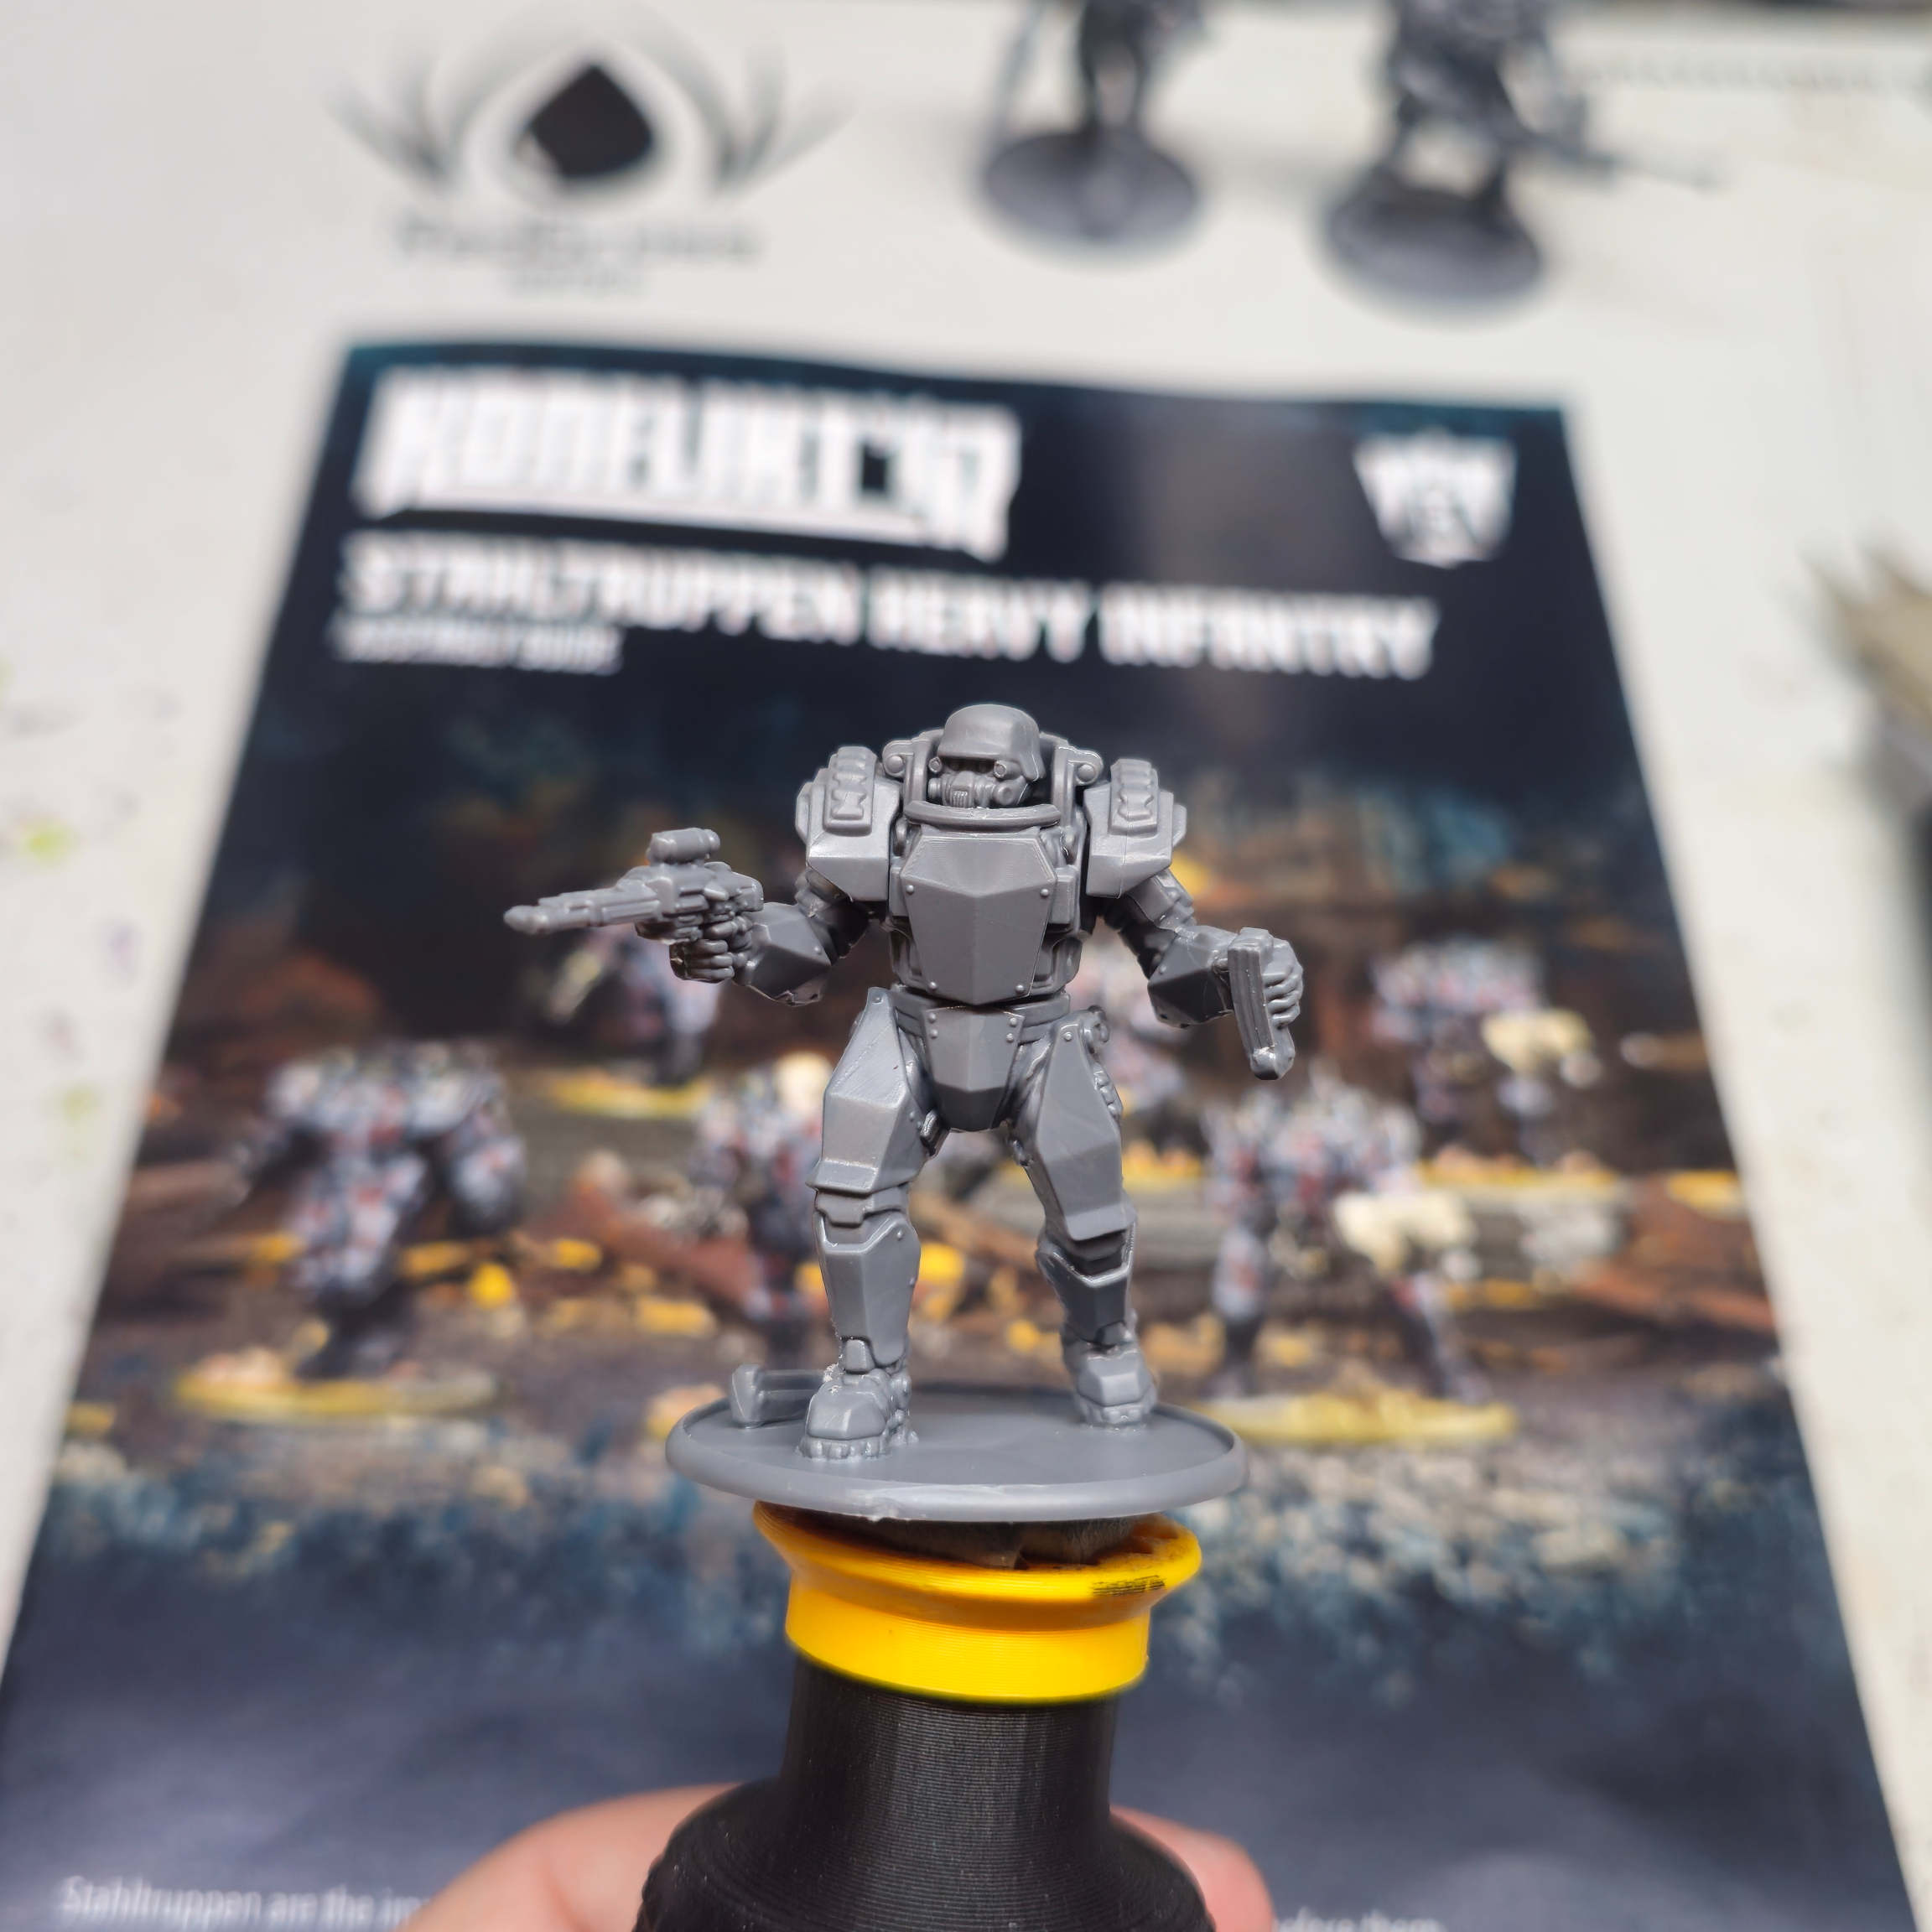
The Vogelspinne went together relatively painlessly, the only time I needed to give it all three of my brain cells was getting the legs right so he didn’t look like his pilot was sauced up. He’s got ever such a slight upward tilt at the nose, but that I could live with. I was debating giving him a base later down the line to compensate for that and make him more of a diorama, but we shall see!
The Panzer IV took a little more involvement being a multi material kits. The first thing to do was get the tank chassis built. It went together great bar a very slight warp on the top hull that left a small gap between it and the bottom hull. Enter my best buddy “Hand Clamp” and that ensure the gap was defeated while I starter prepping the resin components.
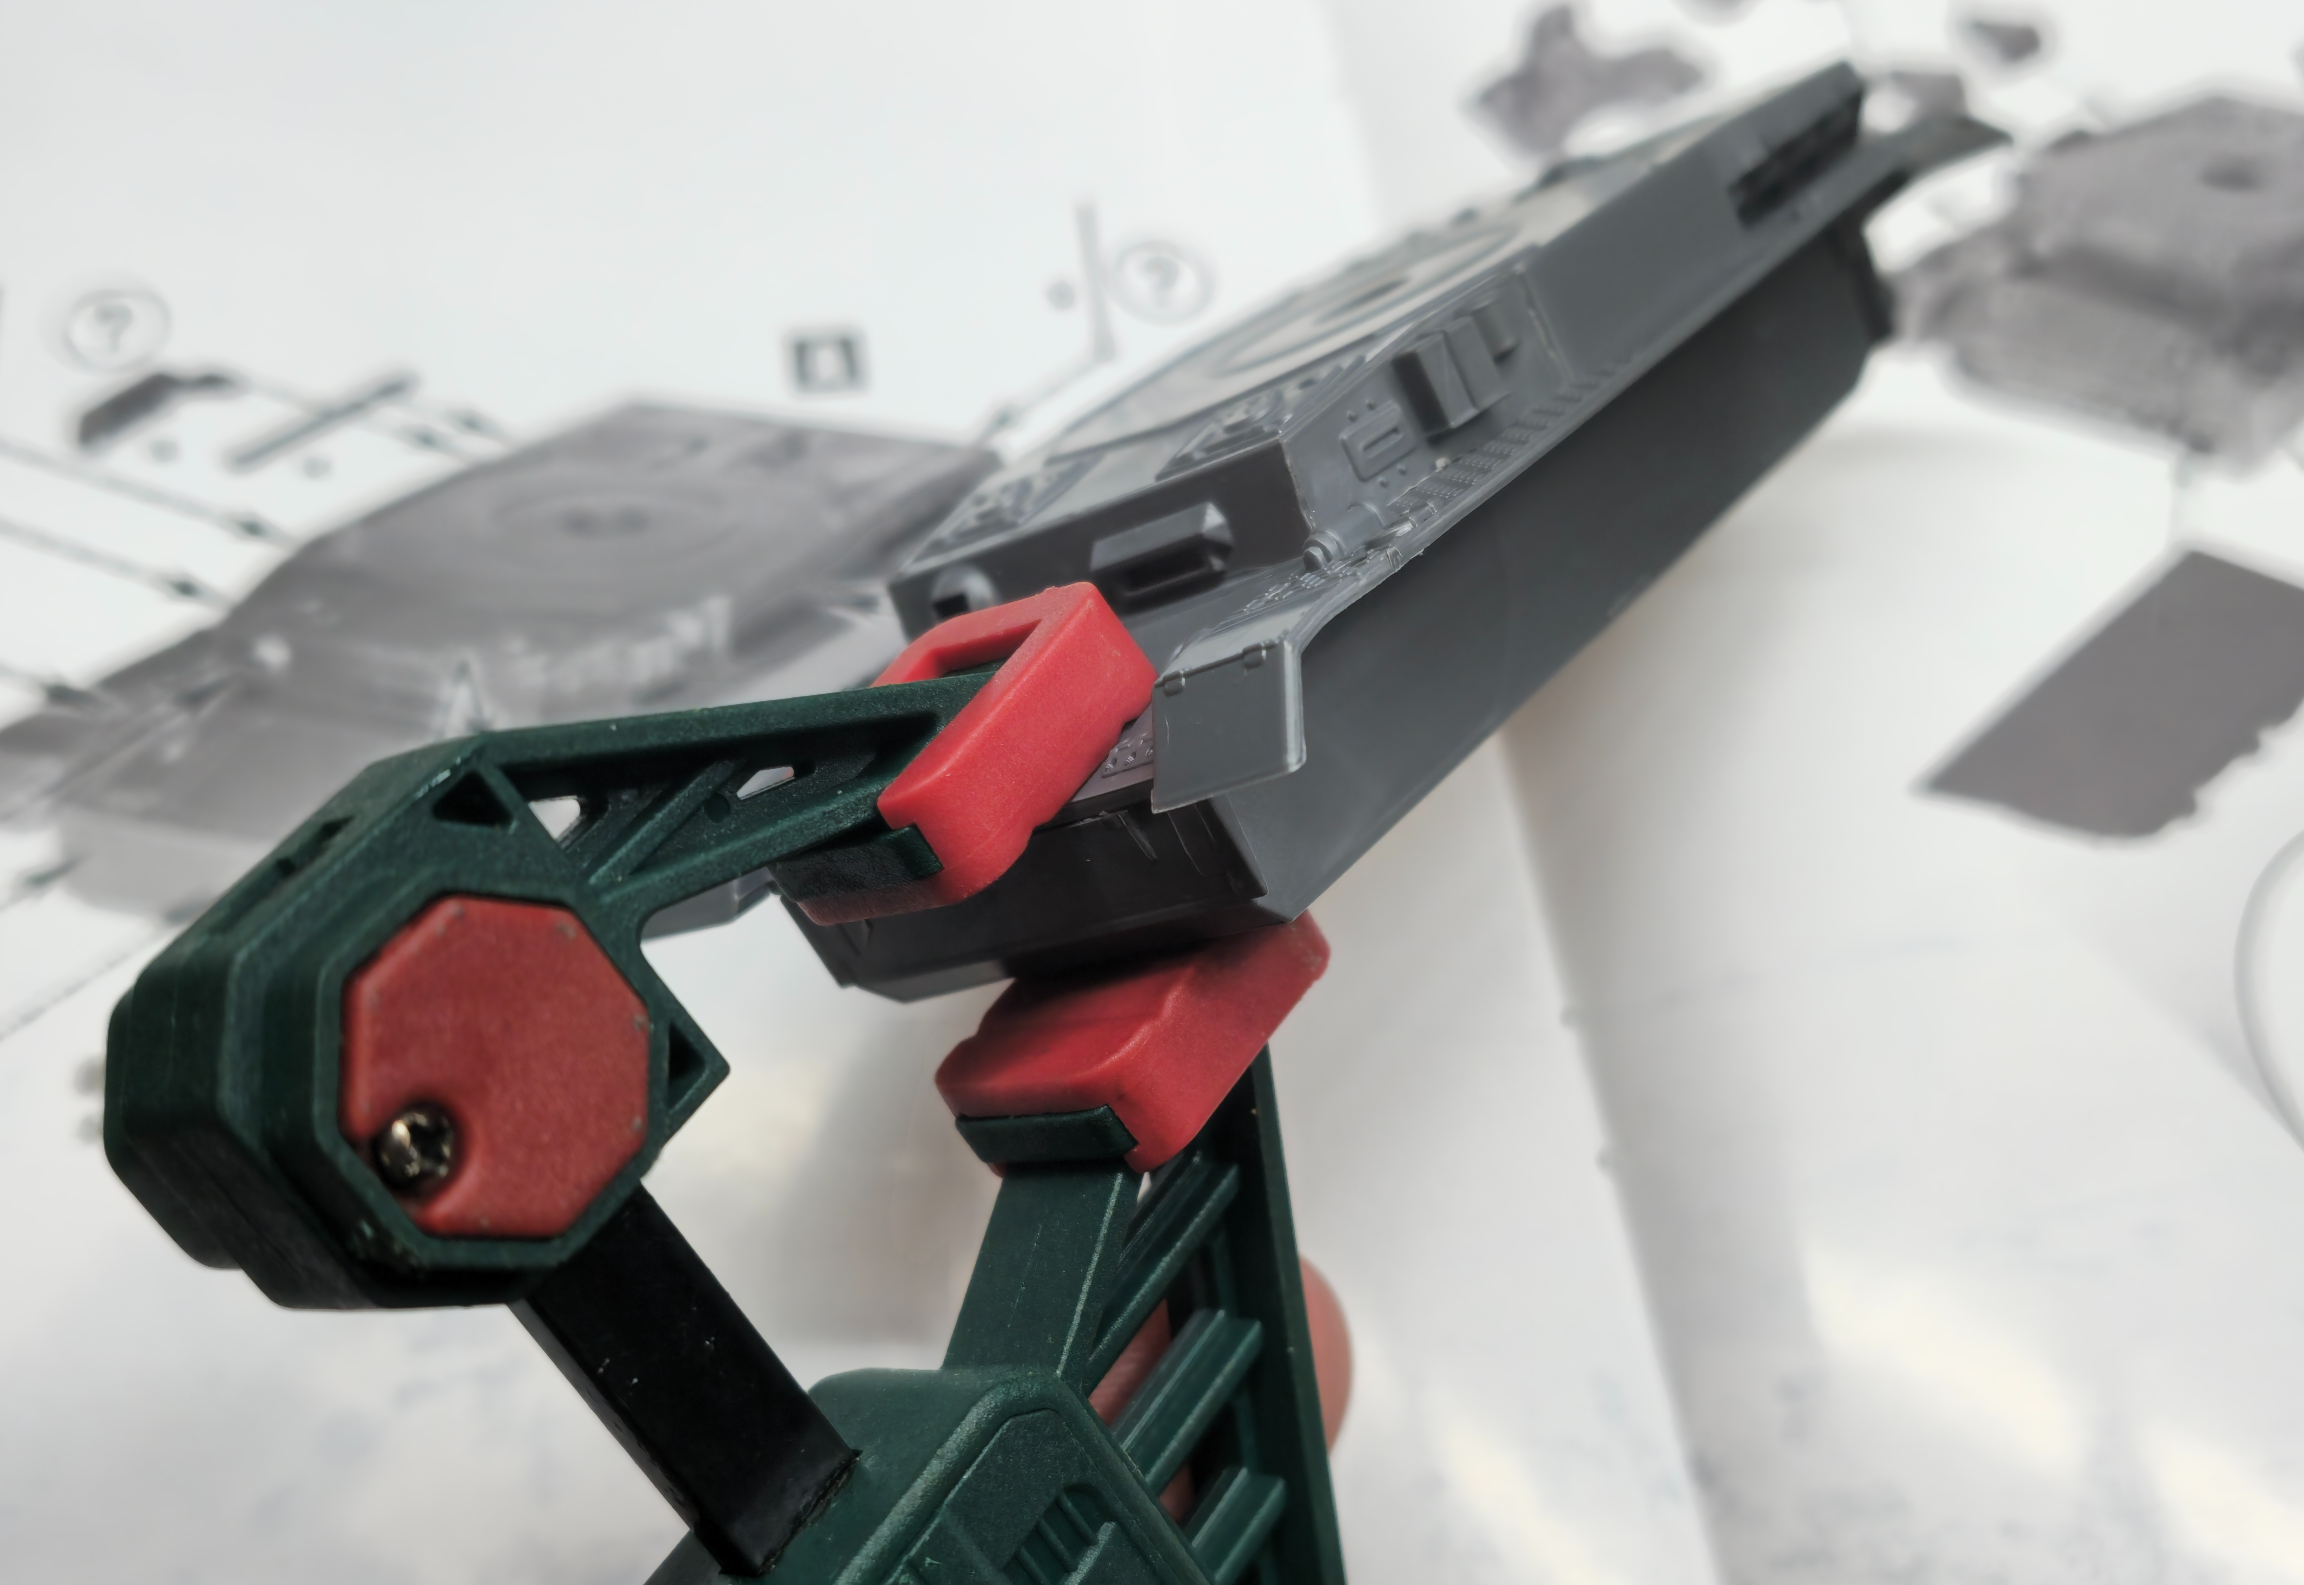
Starting with the legs, I pinged off any print supports that survived their clean up at Warlord Games end, from there I scored the flat panels of resin components that would be attaching to plastic (They’d be scored when glueing commenced), and tidied up any shim and casting rods that needed it. At this stage with everything prepped, I glued the resin components together and attached them to the body of the tanks to bring this walking monstrocity to live. All in all the building process was easy breezy. Experienced hobbyists will have no issue with any task getting this lot built. Newer hobbyists will do well here to learn these techniques on such an accessible and friendly product. If you are stuck or have questions about any of this (or anything hobby related in general!), drop us a message and if I can help, I will. Equally, you can jump in to the Discord for all the hobby wisdom your heart could desire.
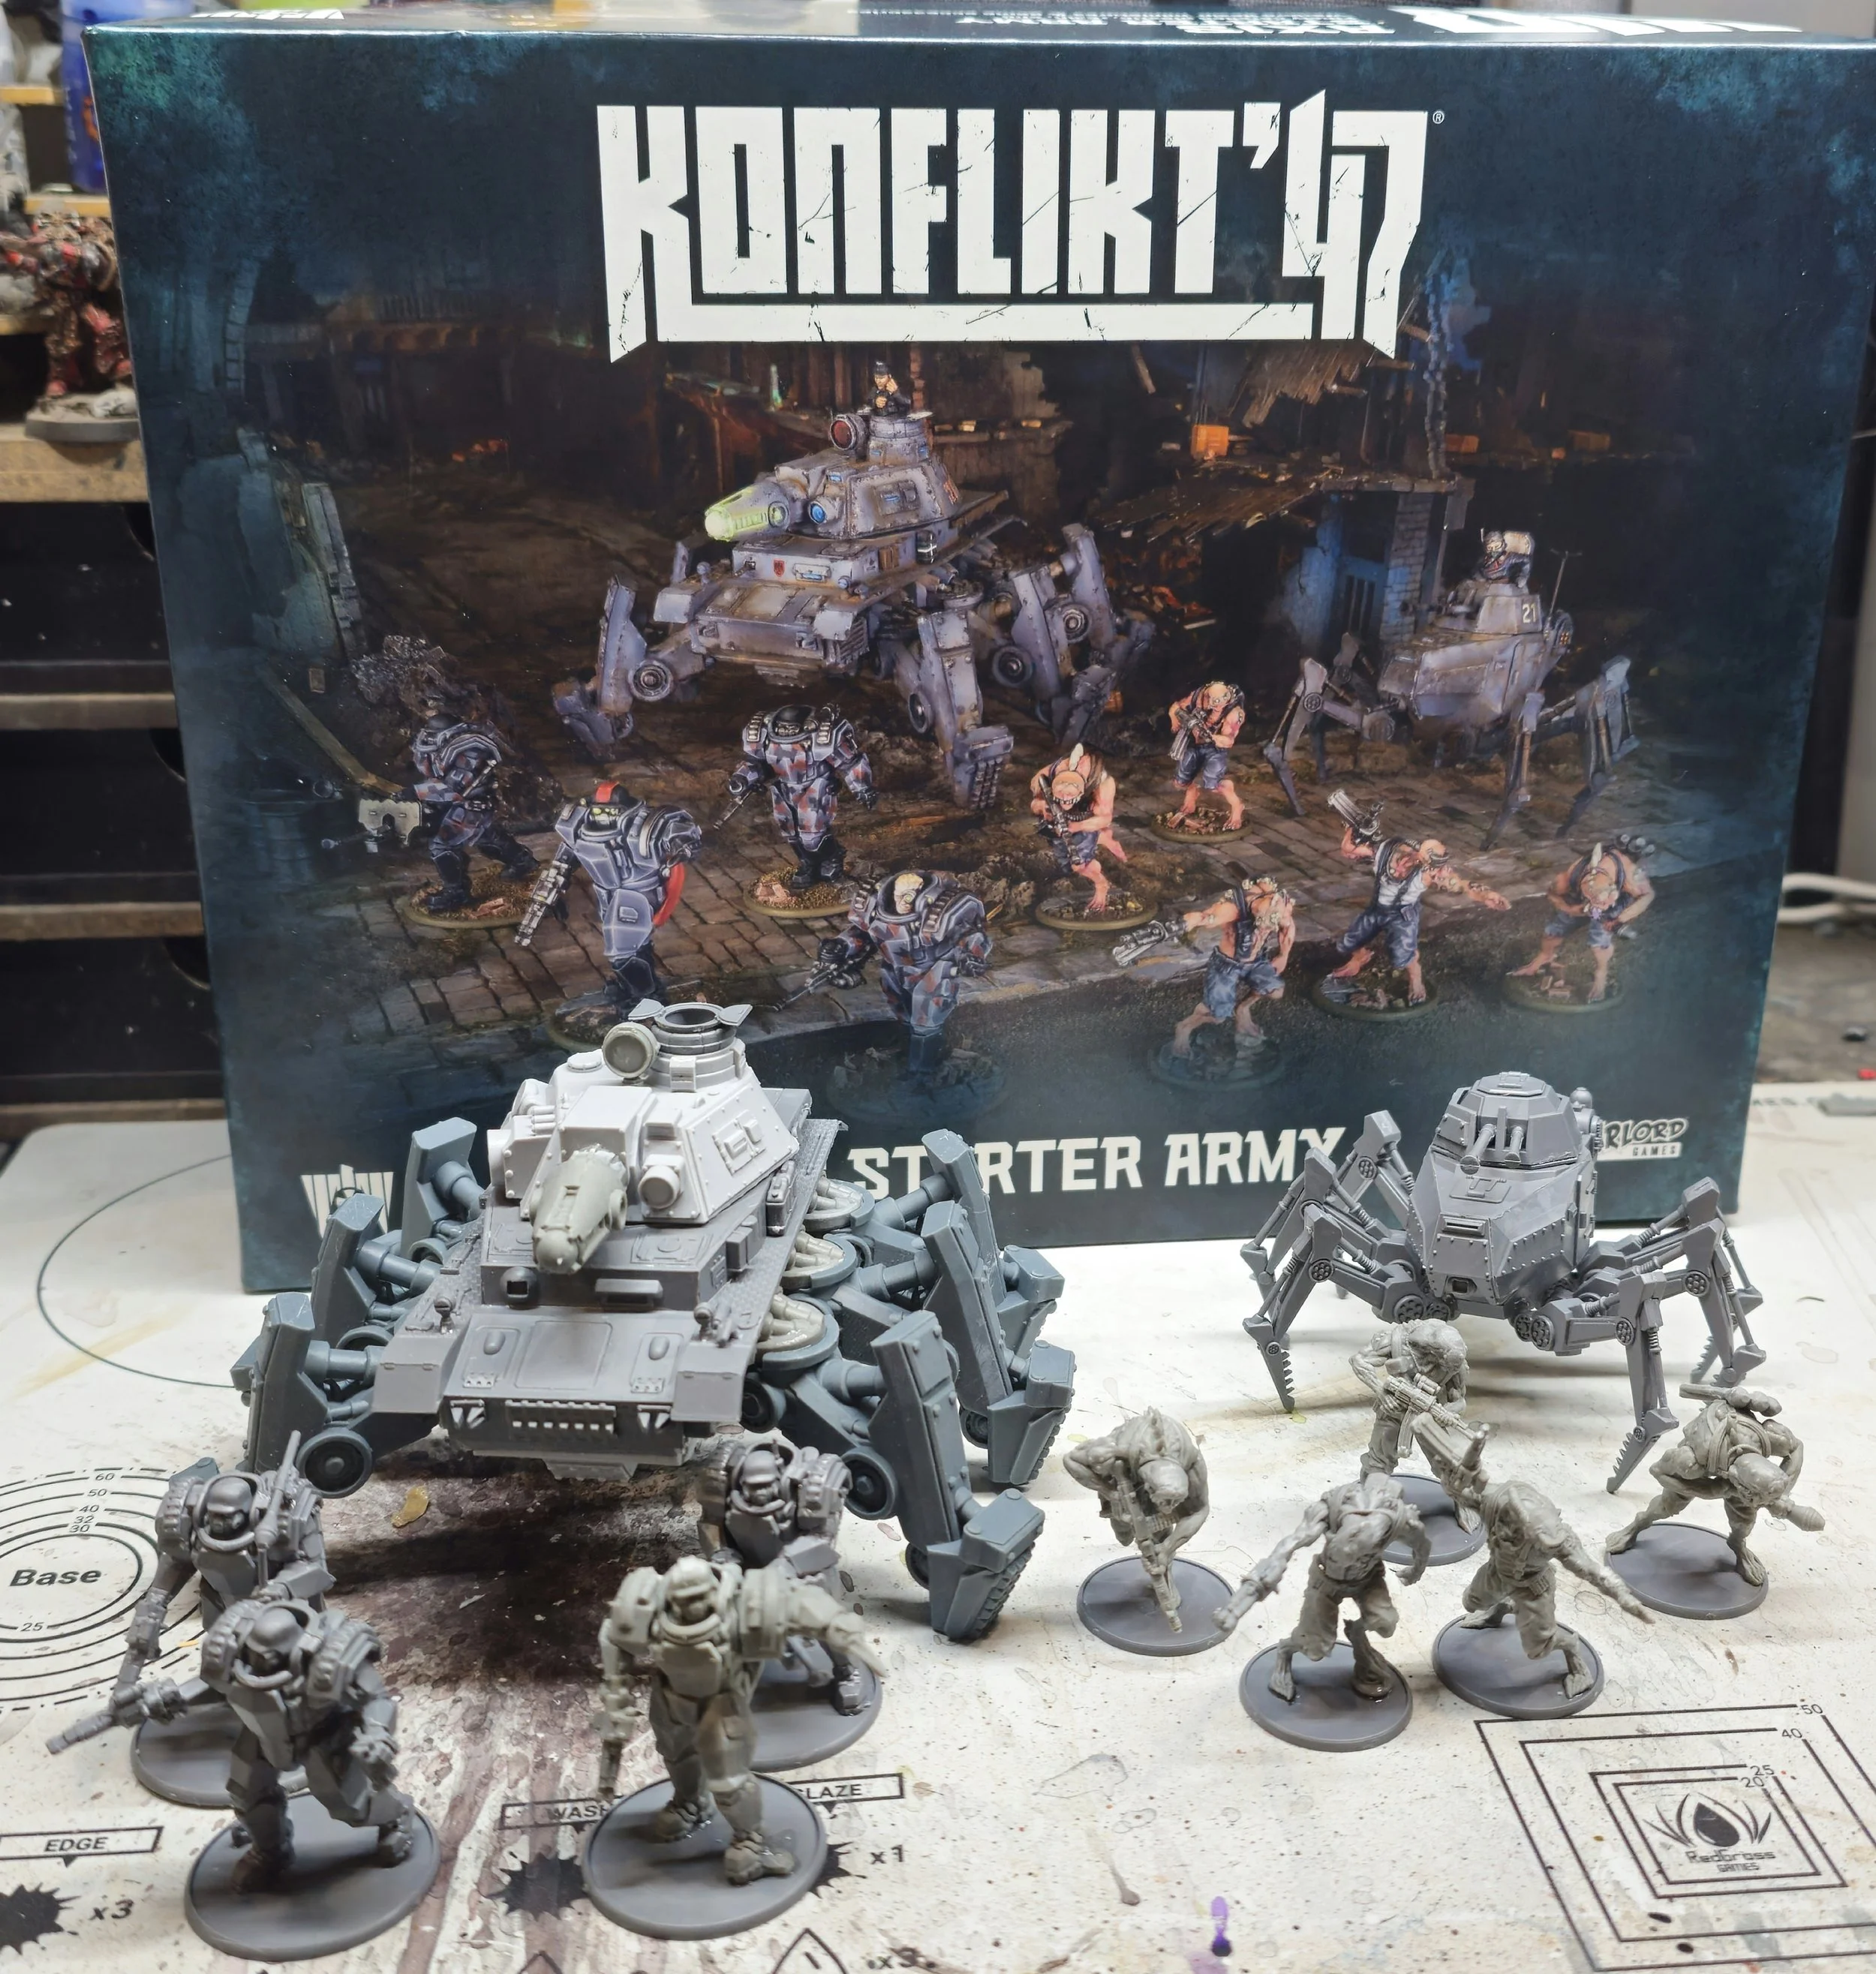
Grab your box HERE!
PREBASING:
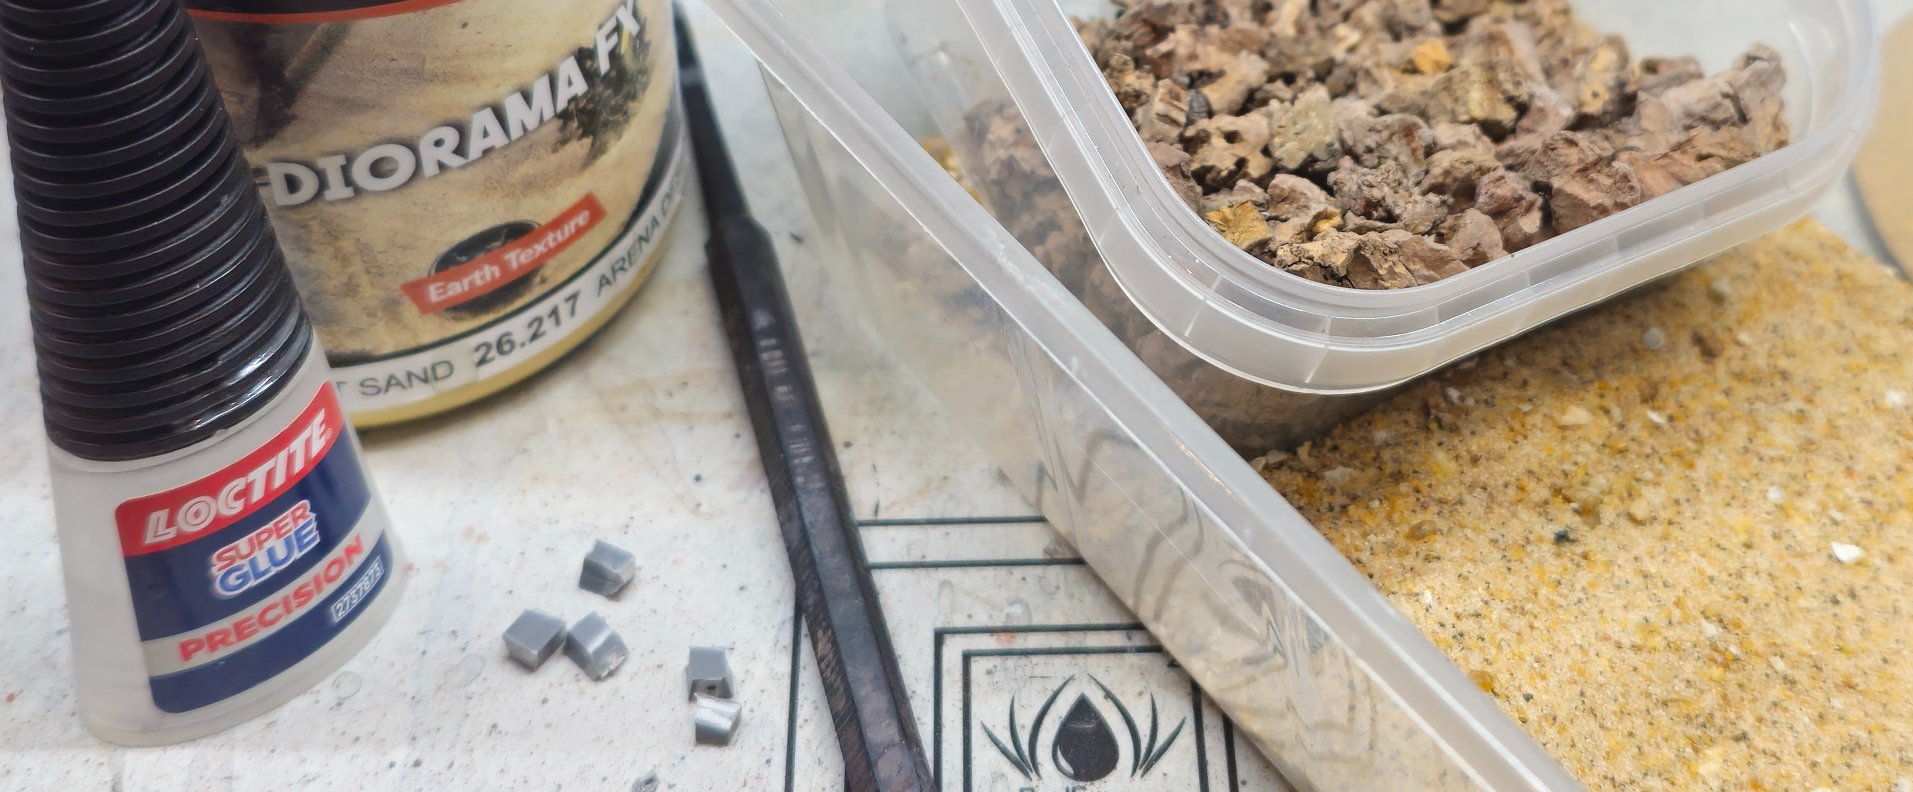
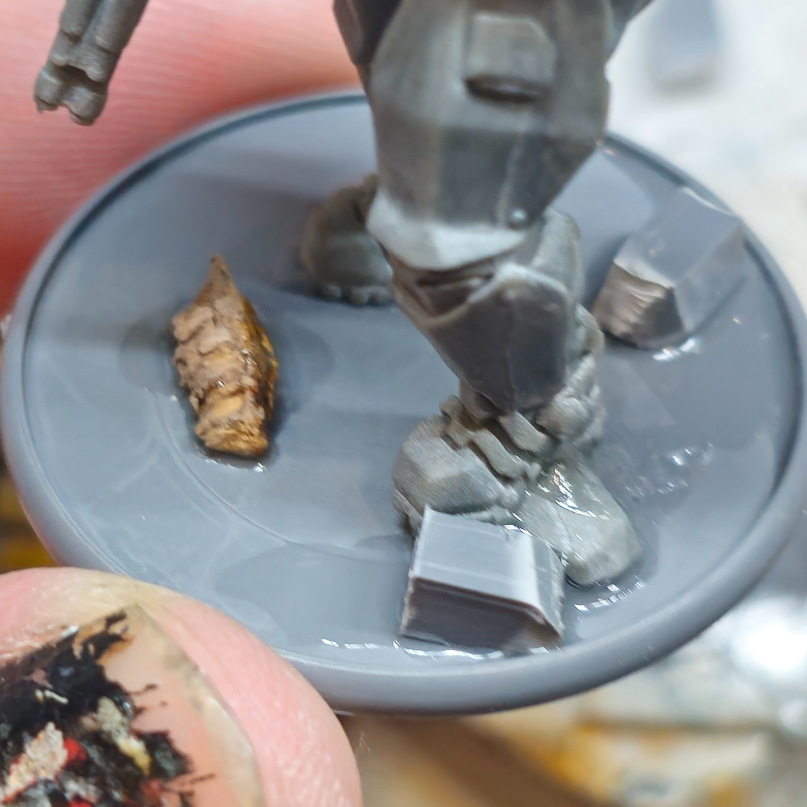
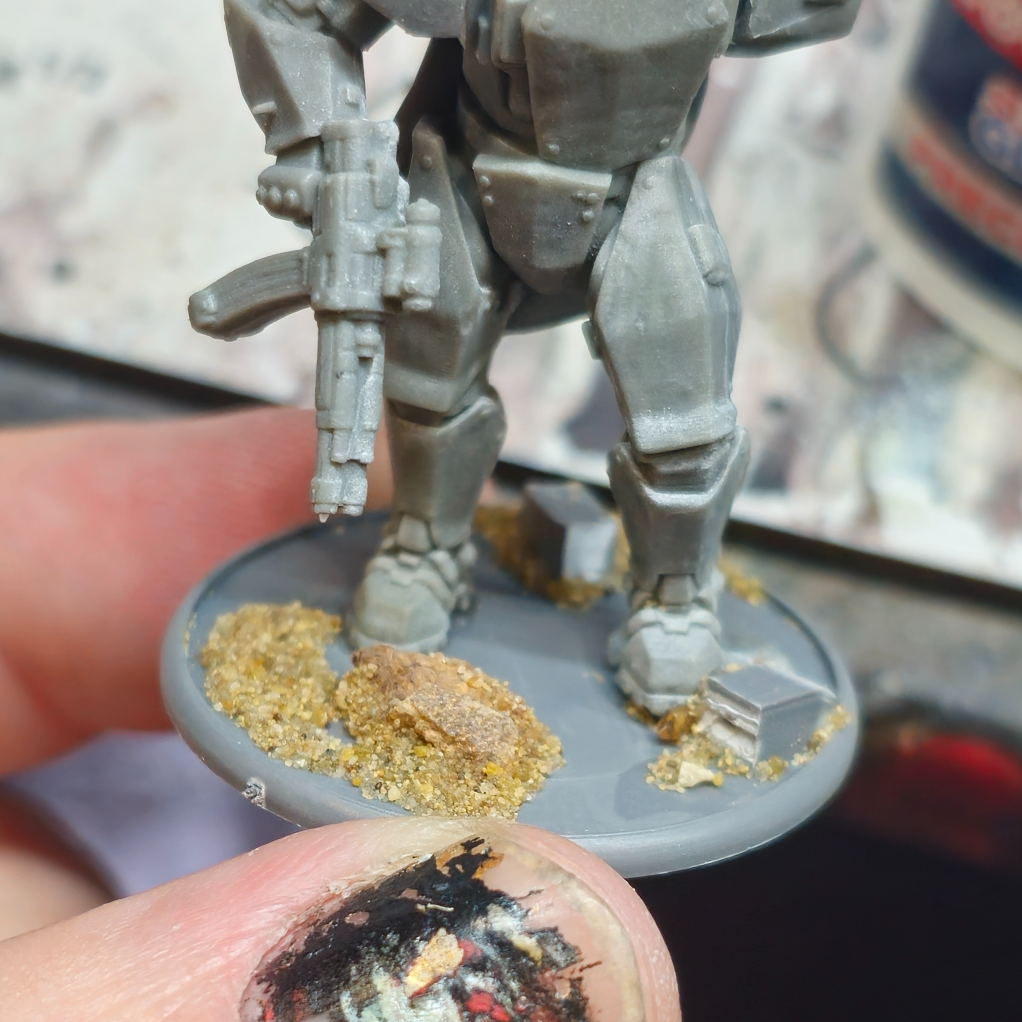
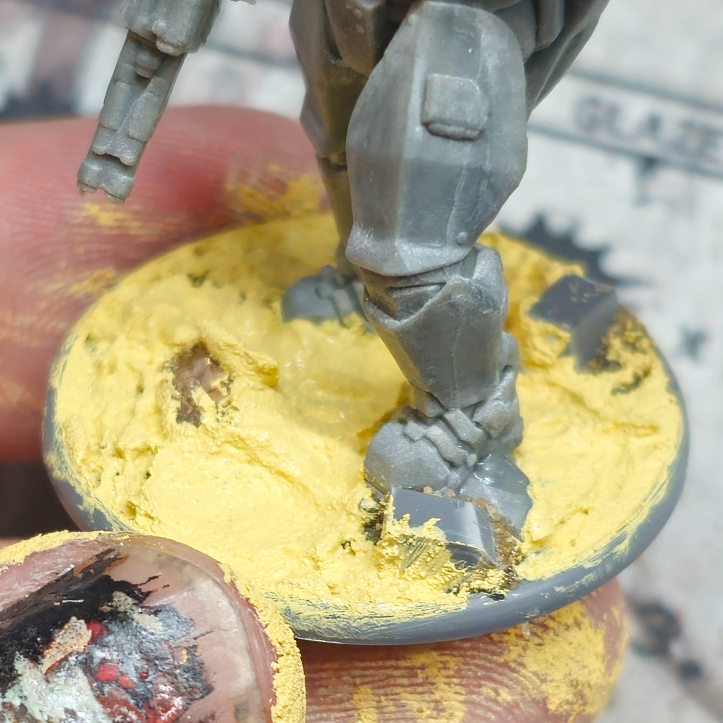
Now they’re all built, I got them prebased so that tomorrow I could prime them before breakfast and get some paint down. Pre basing involved preparing the bases with texture and material before any paint touched the model, as opposed to the popular method of sorting the base out post-paint. To do this, I got some mixed grit sand, some texture paste (Any brand or colour will do), some shredded cork and I clipped some sprue frame to create small bits of brick/masonry. Then all you need is superglue to attach the goods. Add superglue in random streams/patterns and press down some bits of shredded cork and sprue, trying not to over do it, just one or two bits of each will be fine. You want it so there’s plenty of superglue left around the attached bits, as this will be for the sand. Dip your models base in your box of sand, give it a good rattle and tip off any excess. This gives us some really nice and variable textures on our base, and the sand and dust will cure the superglue almost instantly, ready for the paste. Apply your texture paste/paint on the remaining exposed base. You don’t need loads, just enough to ensure the base is covered. Clean the rim of your base with your thumb, clean your tools and tidy up and call it a day! By the time we come to paint stuff tomorrow, all this will be cured and rock solid.
TUESDAY - TESTERS TIME!
Now it’s time to get funky! As mentioned before I want to stick to as close to the box scheme as I can, subbing a lot of the amazing work the Warlord studio painters do for speed paints, select washes and highlights, and all the rapid and effective ways we can get these guys painted up in no time. I did this by keeping my paint list low, and using a wide breadth of products that I know and love that enable me to get armies done super fast to a good standard. I started with the Nachtalben, as these are minimal textures and would be almost entirelt speedpaints.
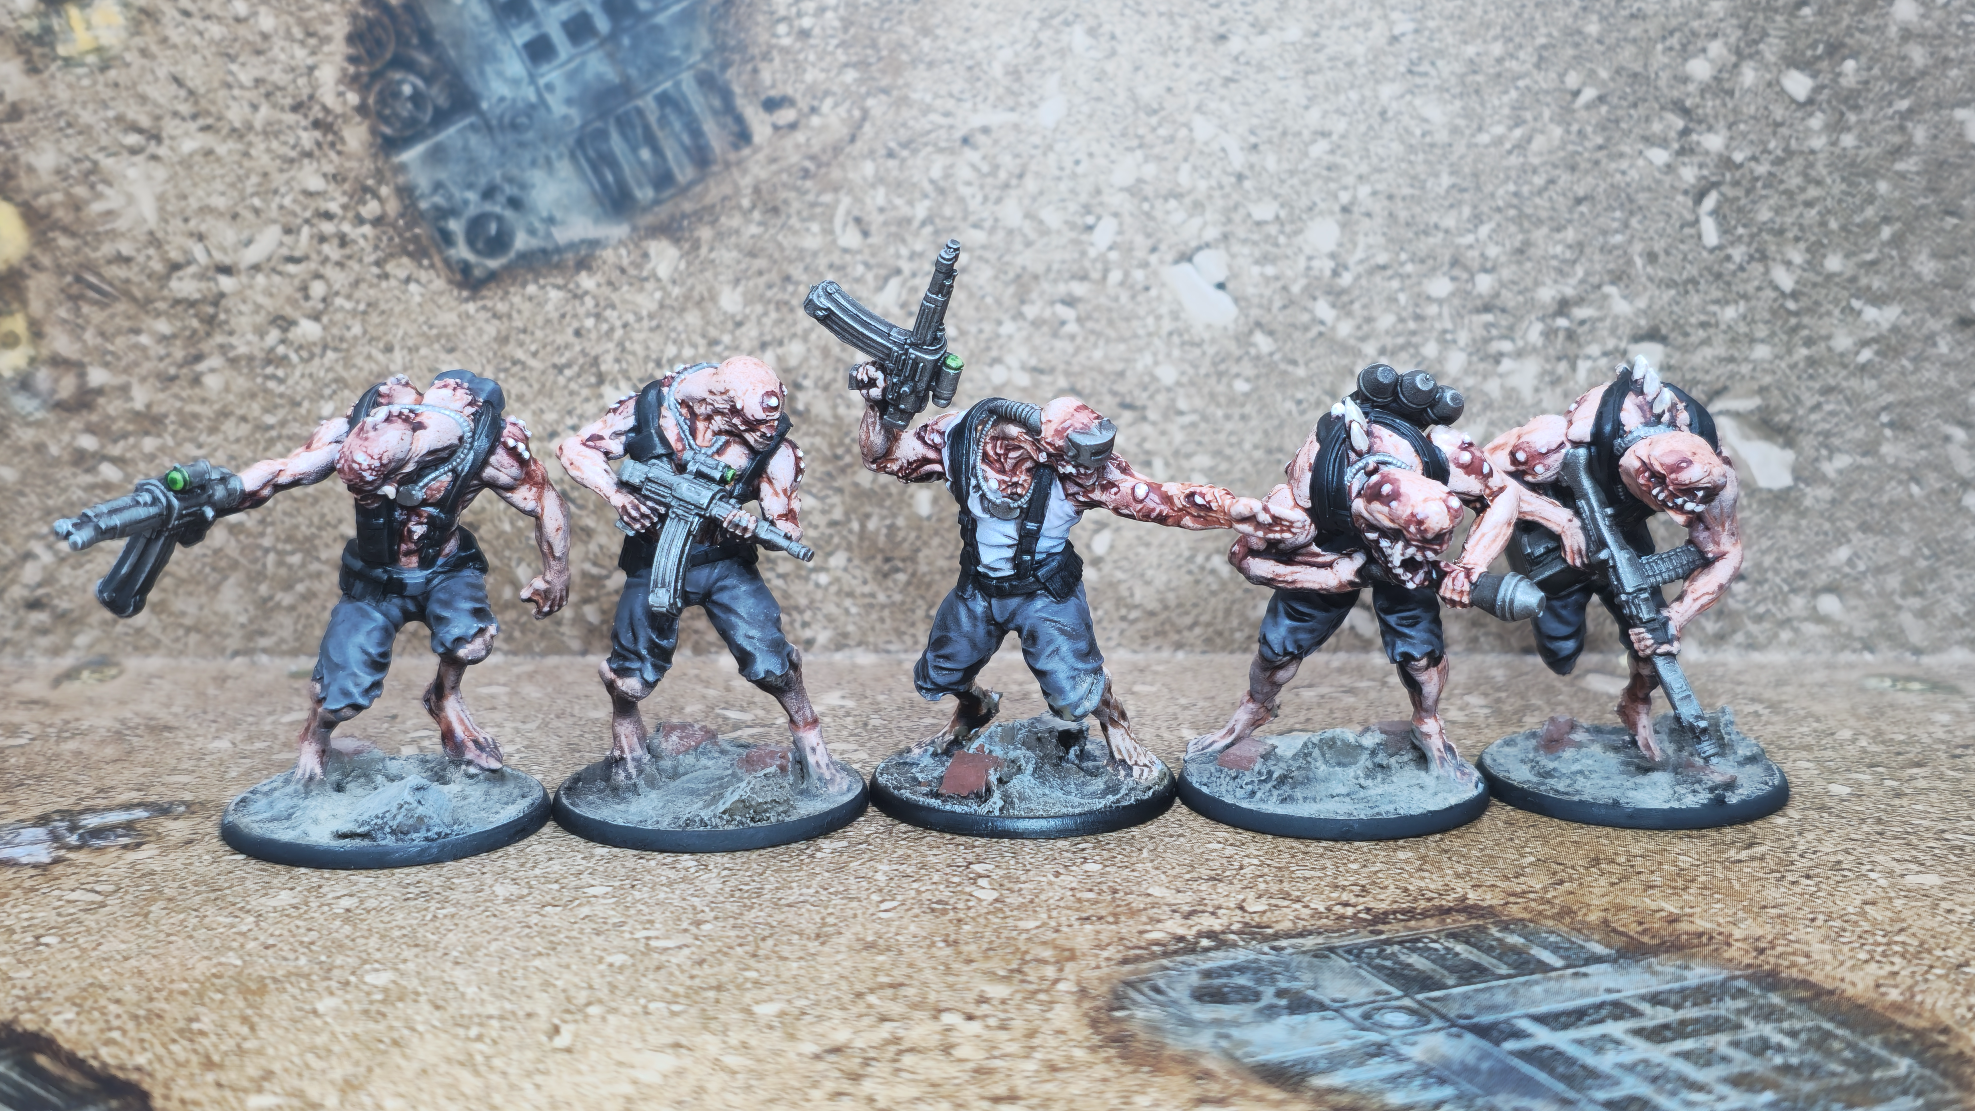
As mentioned earlier, there’s a few bits of texture on the skin that is hard to discern exactly how it should read and be painted as, but the focus on these guys is the mutated skin and pertruding bones/teeth, so we work with what we have and for a unit that took a couple of hours to paint, they’re more than ready to horrify their enemies.
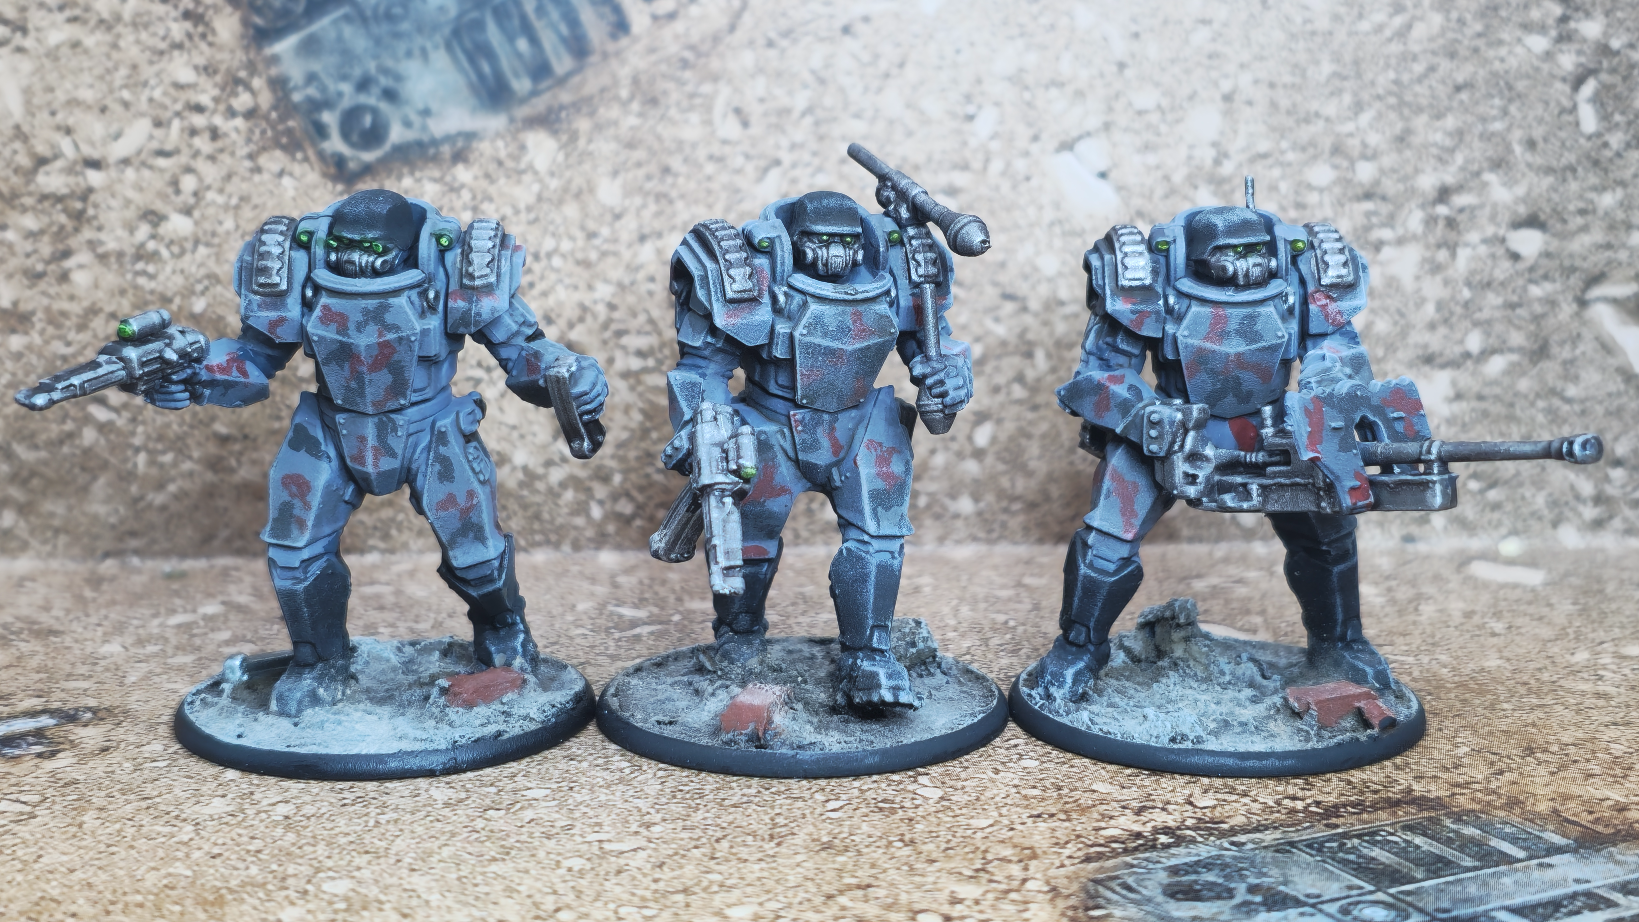
The Stahltruppen I KNEW I was going to adore painting. And the prophecy was accurate. These combine all the best elements of painting power armour, with added angular edges that mean you can paint these up as mini Panzers to your hears content! Tying in the inspiration of the box are and using the colours previously applied to past painted Axis armour, this meant this unit came together in an hour and a bit. Of course there’s only 3 in this box, but I reckon I could paint a platoon of these guys in a day, zero stress!
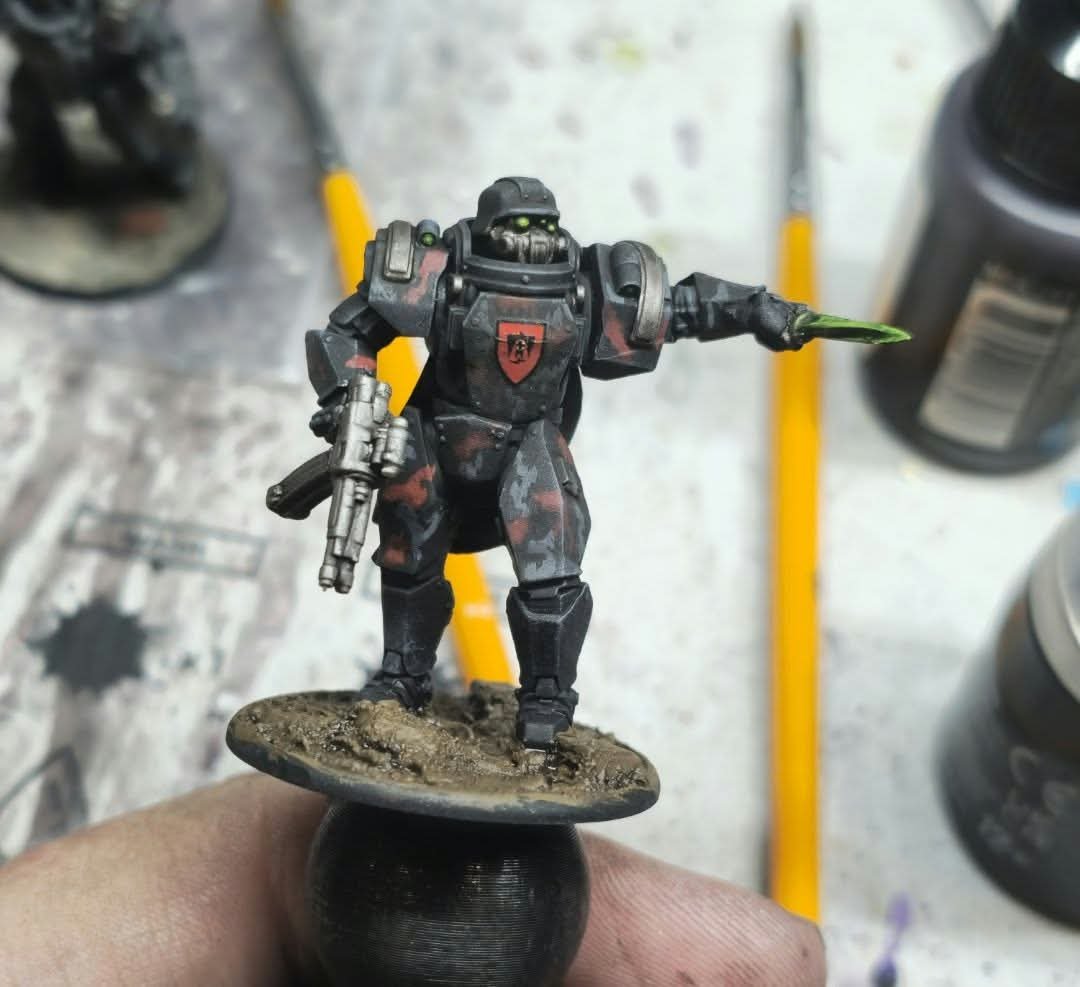
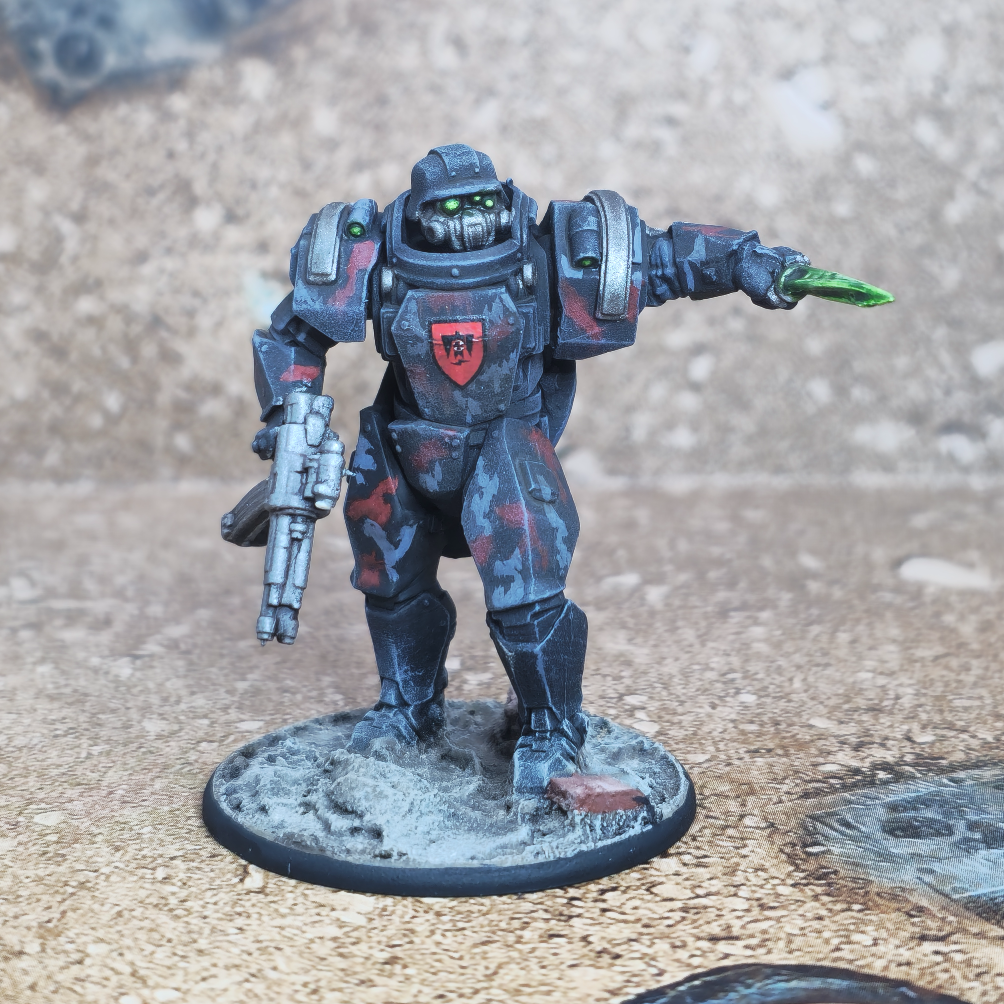
Thr resin Commander I painted identically to the Stahltruppen bar a couple of variances. I start with him from a black base coat and added grey and red camo patterns, as opposed to the Grey to red and black camo patterns. This kepy him uniform to the force with a slight tweak, and made him that little more menacing. I also added a transfer to his cape and chest armour, and painted his knife to look imbued with rift energy.
BASING:
For the basing, I painted the entire base in AK Interactive British Khaki Brown, shaded it with some Brown Wash, drybrushed it lightly with a warm flesh colour, painted the bricks with Burnt Sienna and added a very light amount of Ak ‘Rubble’ pigment, followed by a black base rim.
With this done, I just had the vehicles left to do!
WEDNESDAY - OFF, HAD TO BE HOME FOR SOME BUILDING WORK, SO I PAINTED A CERTAIN CURRENT FAMOUS GALACTIC RACER INSTEAD.
THURSDAY - PAINTING ARMOUR!
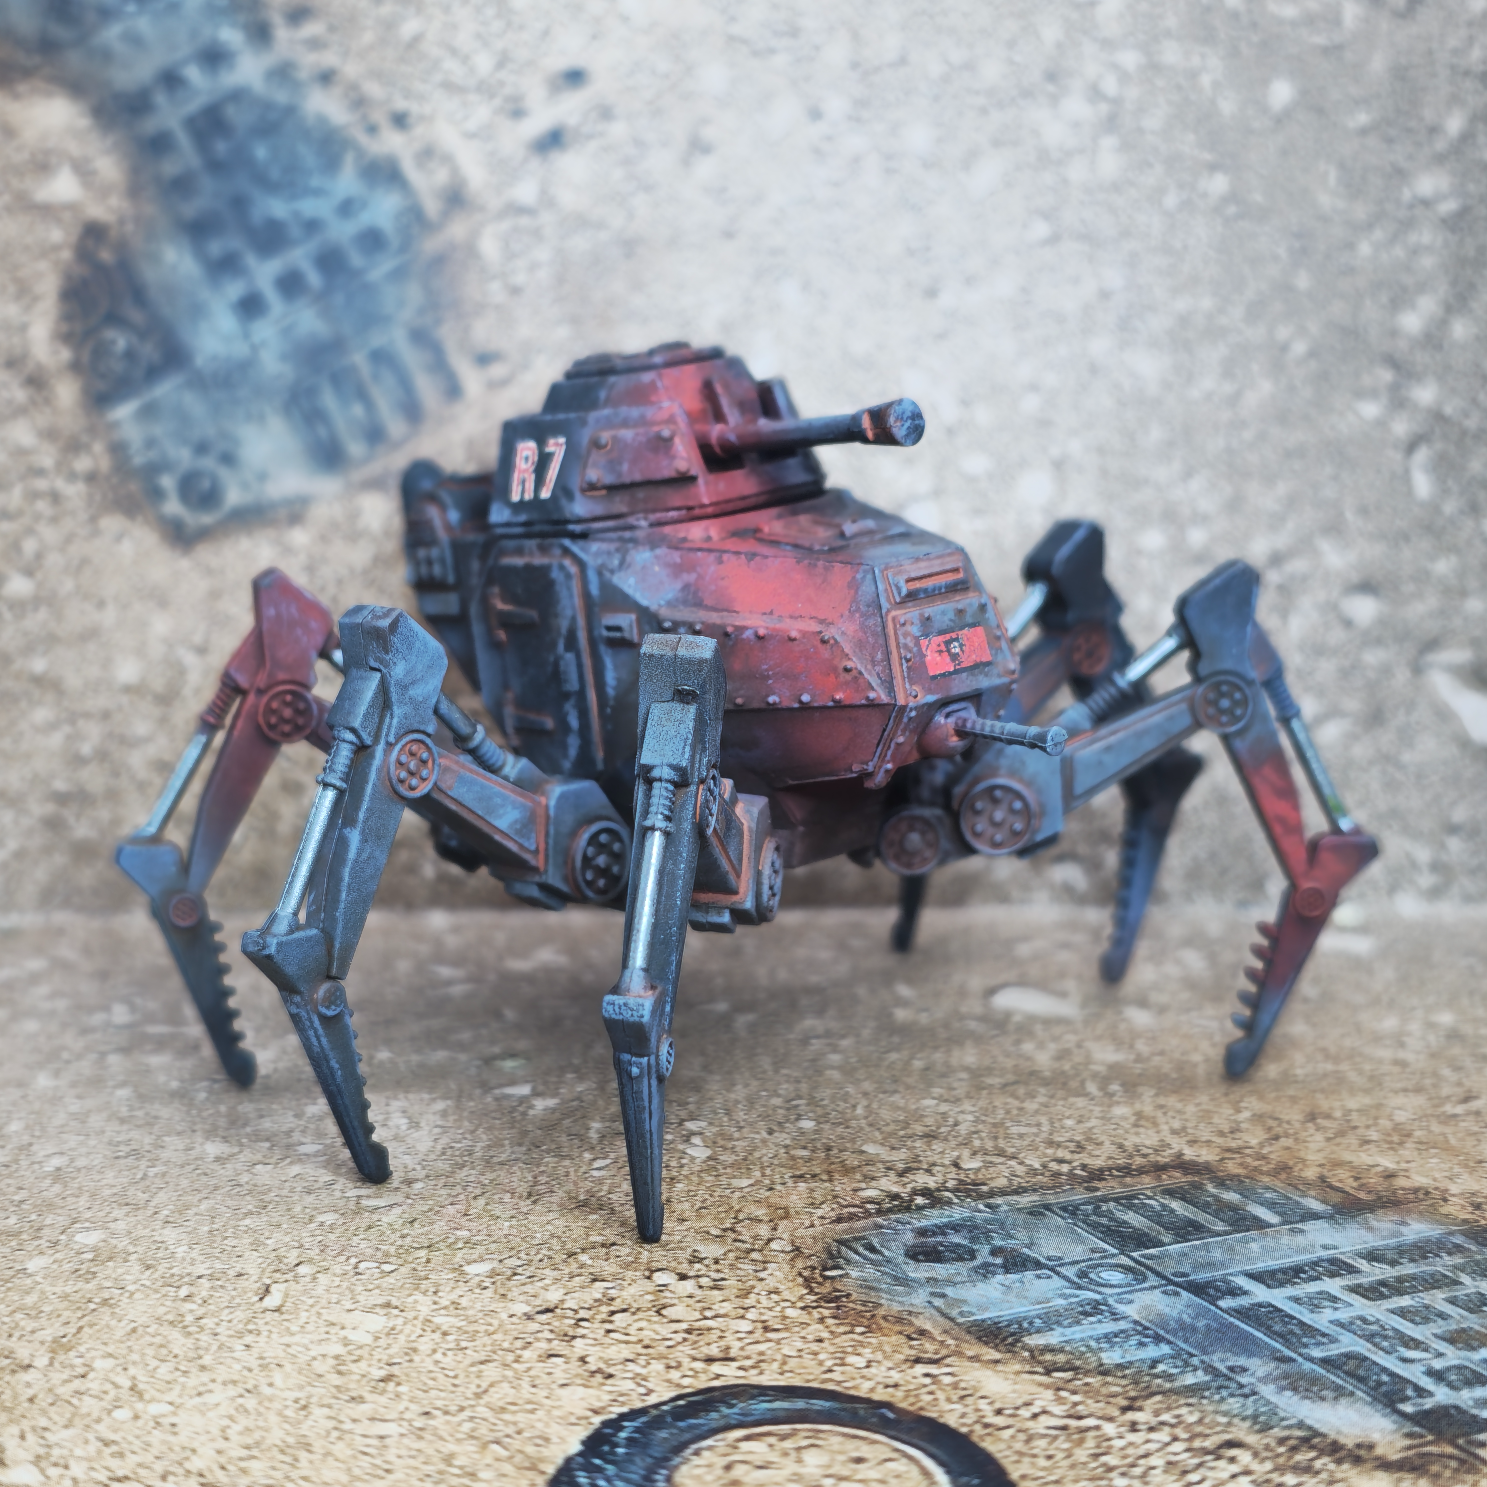
Already knowing how I was going to paint the vehicles made this day a champion from start to finish (It also helps that I adore painting Warlord Games tanks, tracked or legged!). I went in with a Matt Black primer, and gave them a big Nuetral Grey zenithal. From there I airbrushed and brush stippled in some camoflauge stripes using the same colours I did for the stahltruppen (Coal Black and Burnt Red).
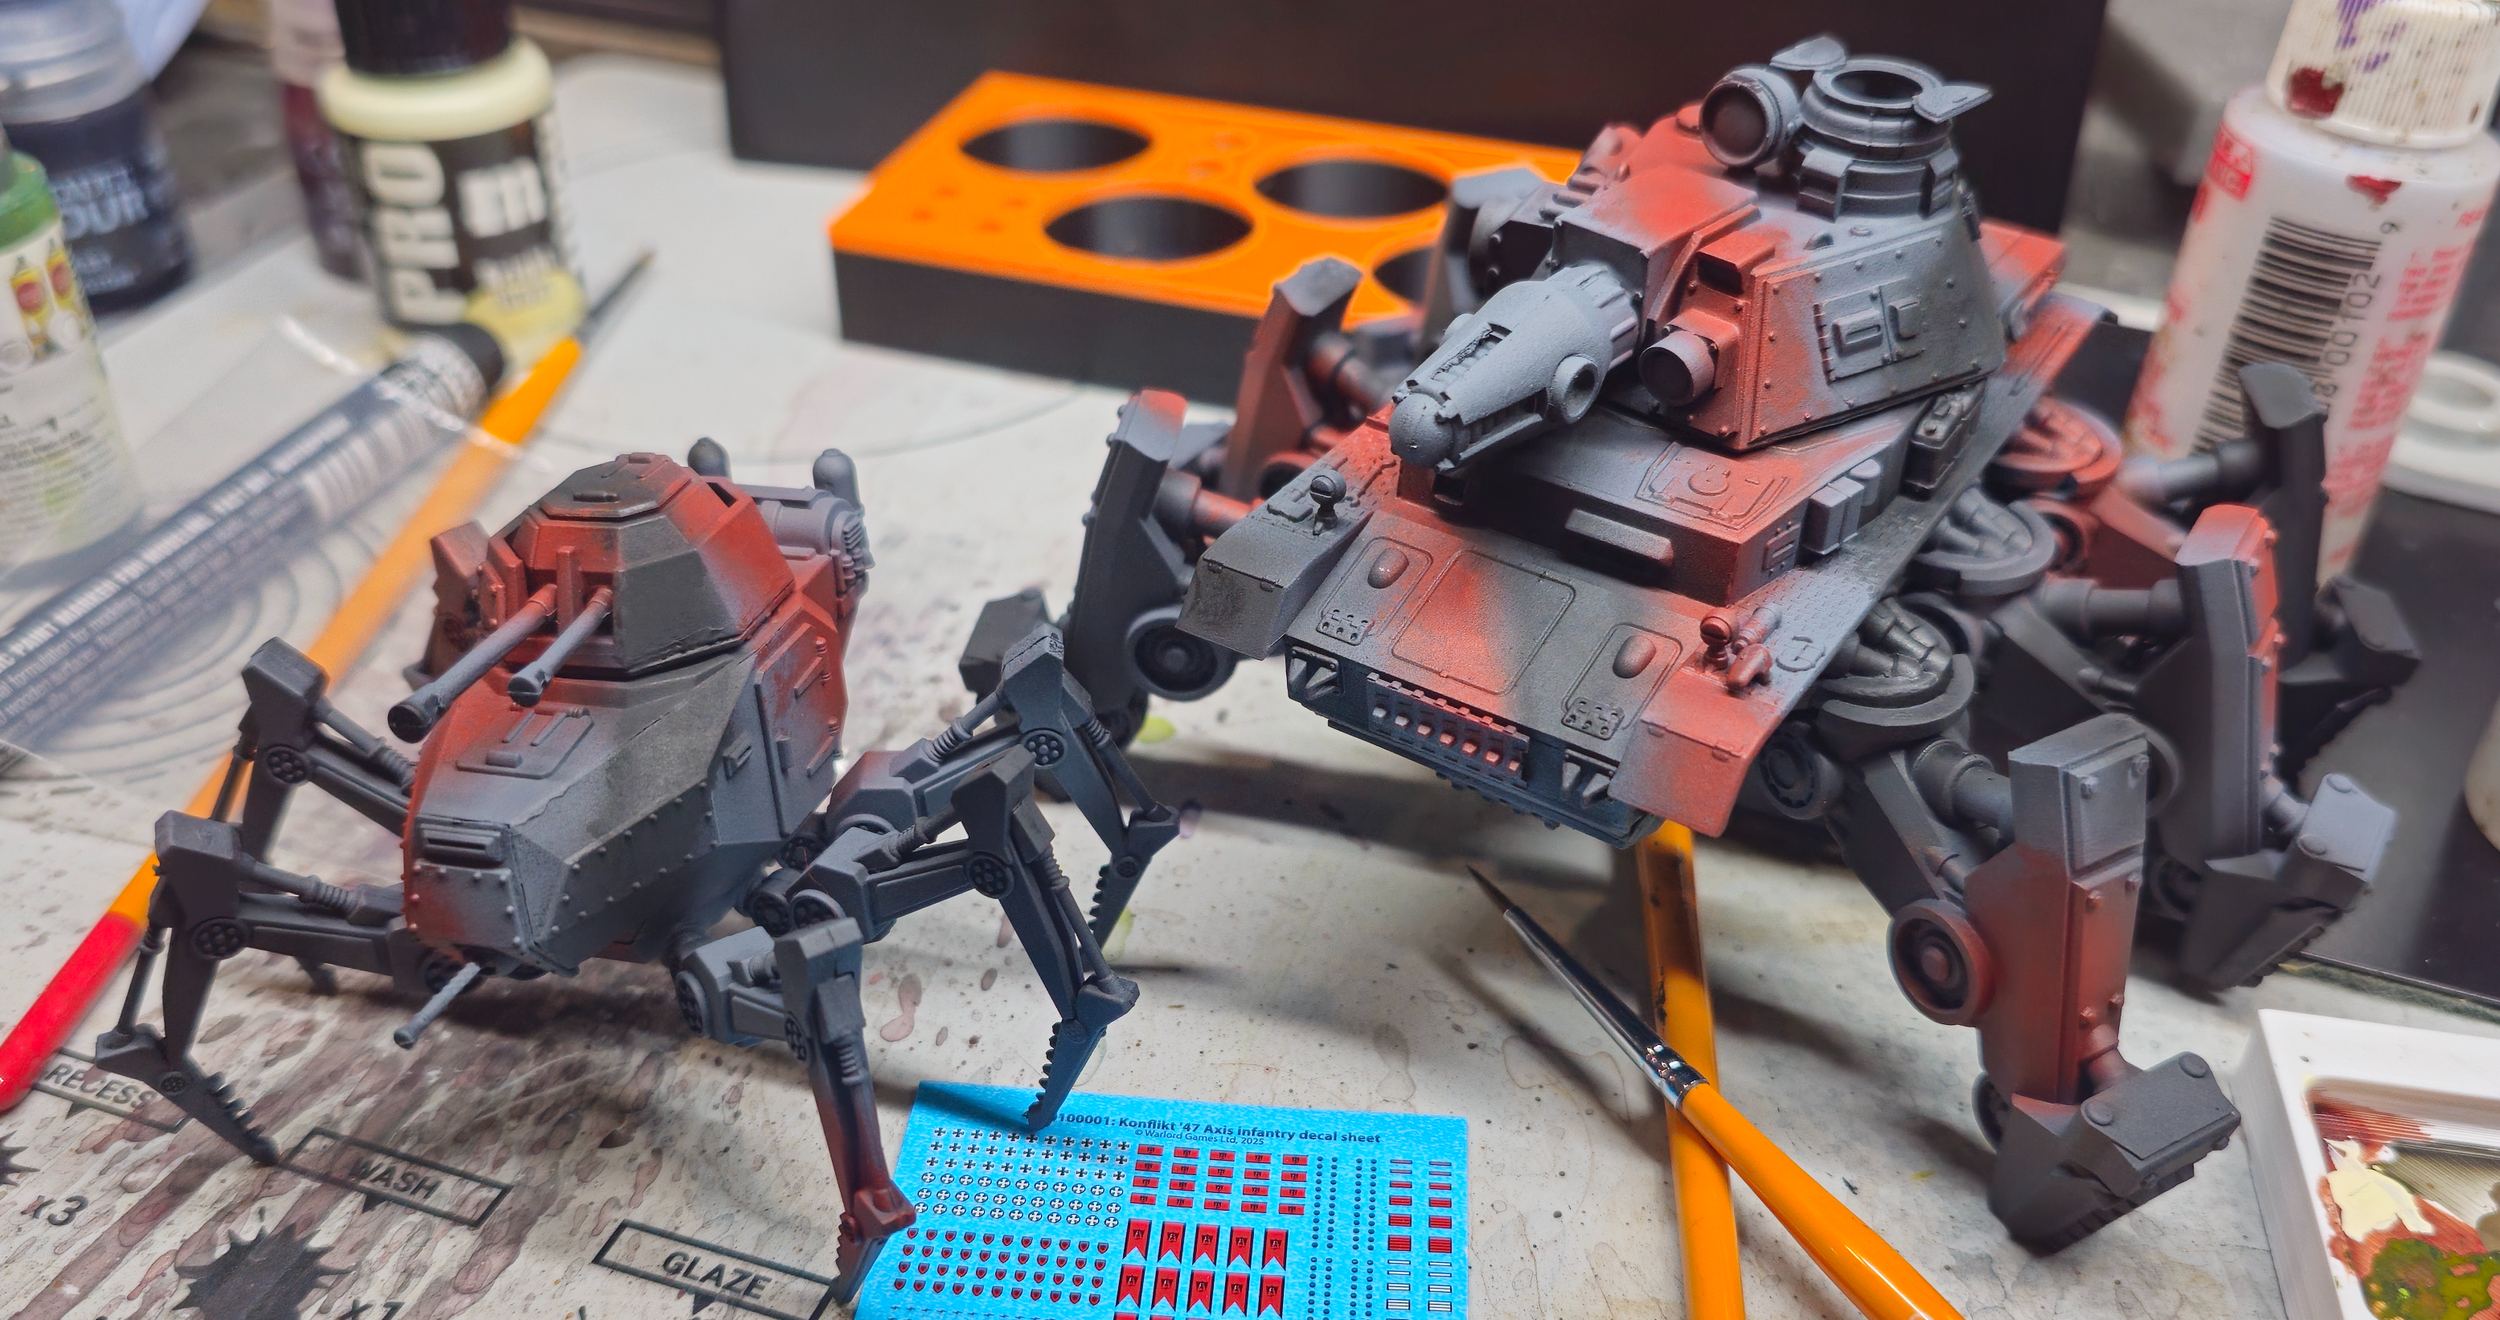
From here, I added my transfers using micro set and micro sol and once dry and flat, I applied a light gloss varnish over the vehicles and once dry I went in with an oil wash mixed of Burnt Umber and Burnt Sienner (1:1) and applied this generously over the vehicles (There’s a video on making your own oil washes HERE. This was tidied up with some white spirit and a barely moistened sponge. I left them outside (On a nice day) to help the oils dry and the spirits disipate faster, and then whacked an Ultra Matte Varnish (AK) over them entirely. Then it was picking out the stowage and tools, applying additional weathering using a flat brush and a sponge to add some grey and red highlights, and brown chipping. Final steps involved painting the glowy green rift effects which I did identically to the stahltruppen lenses, and then painting up this handsome chap for the Panzer IV.
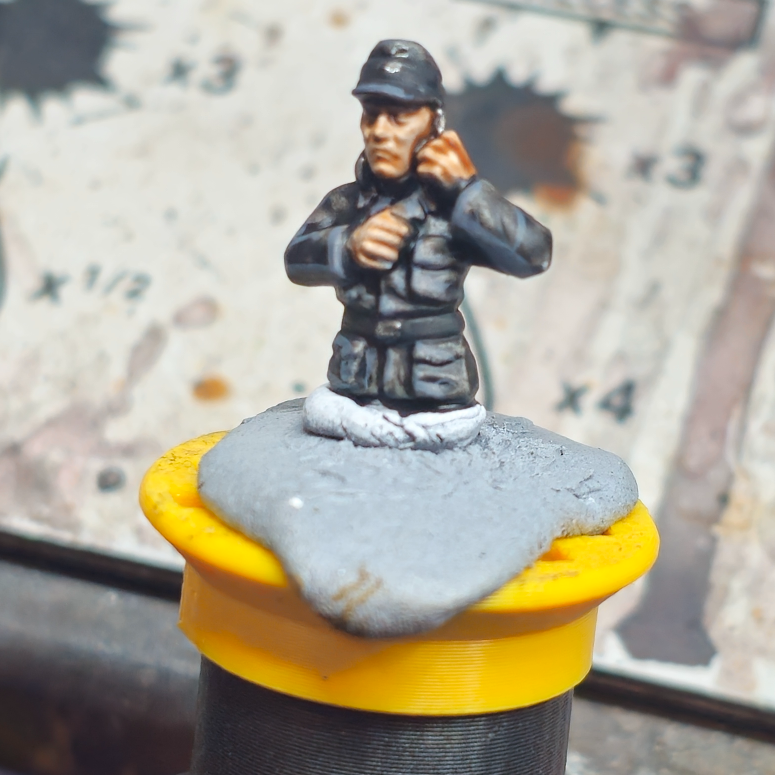
With him done and superglued in to his turret, the army is all done!
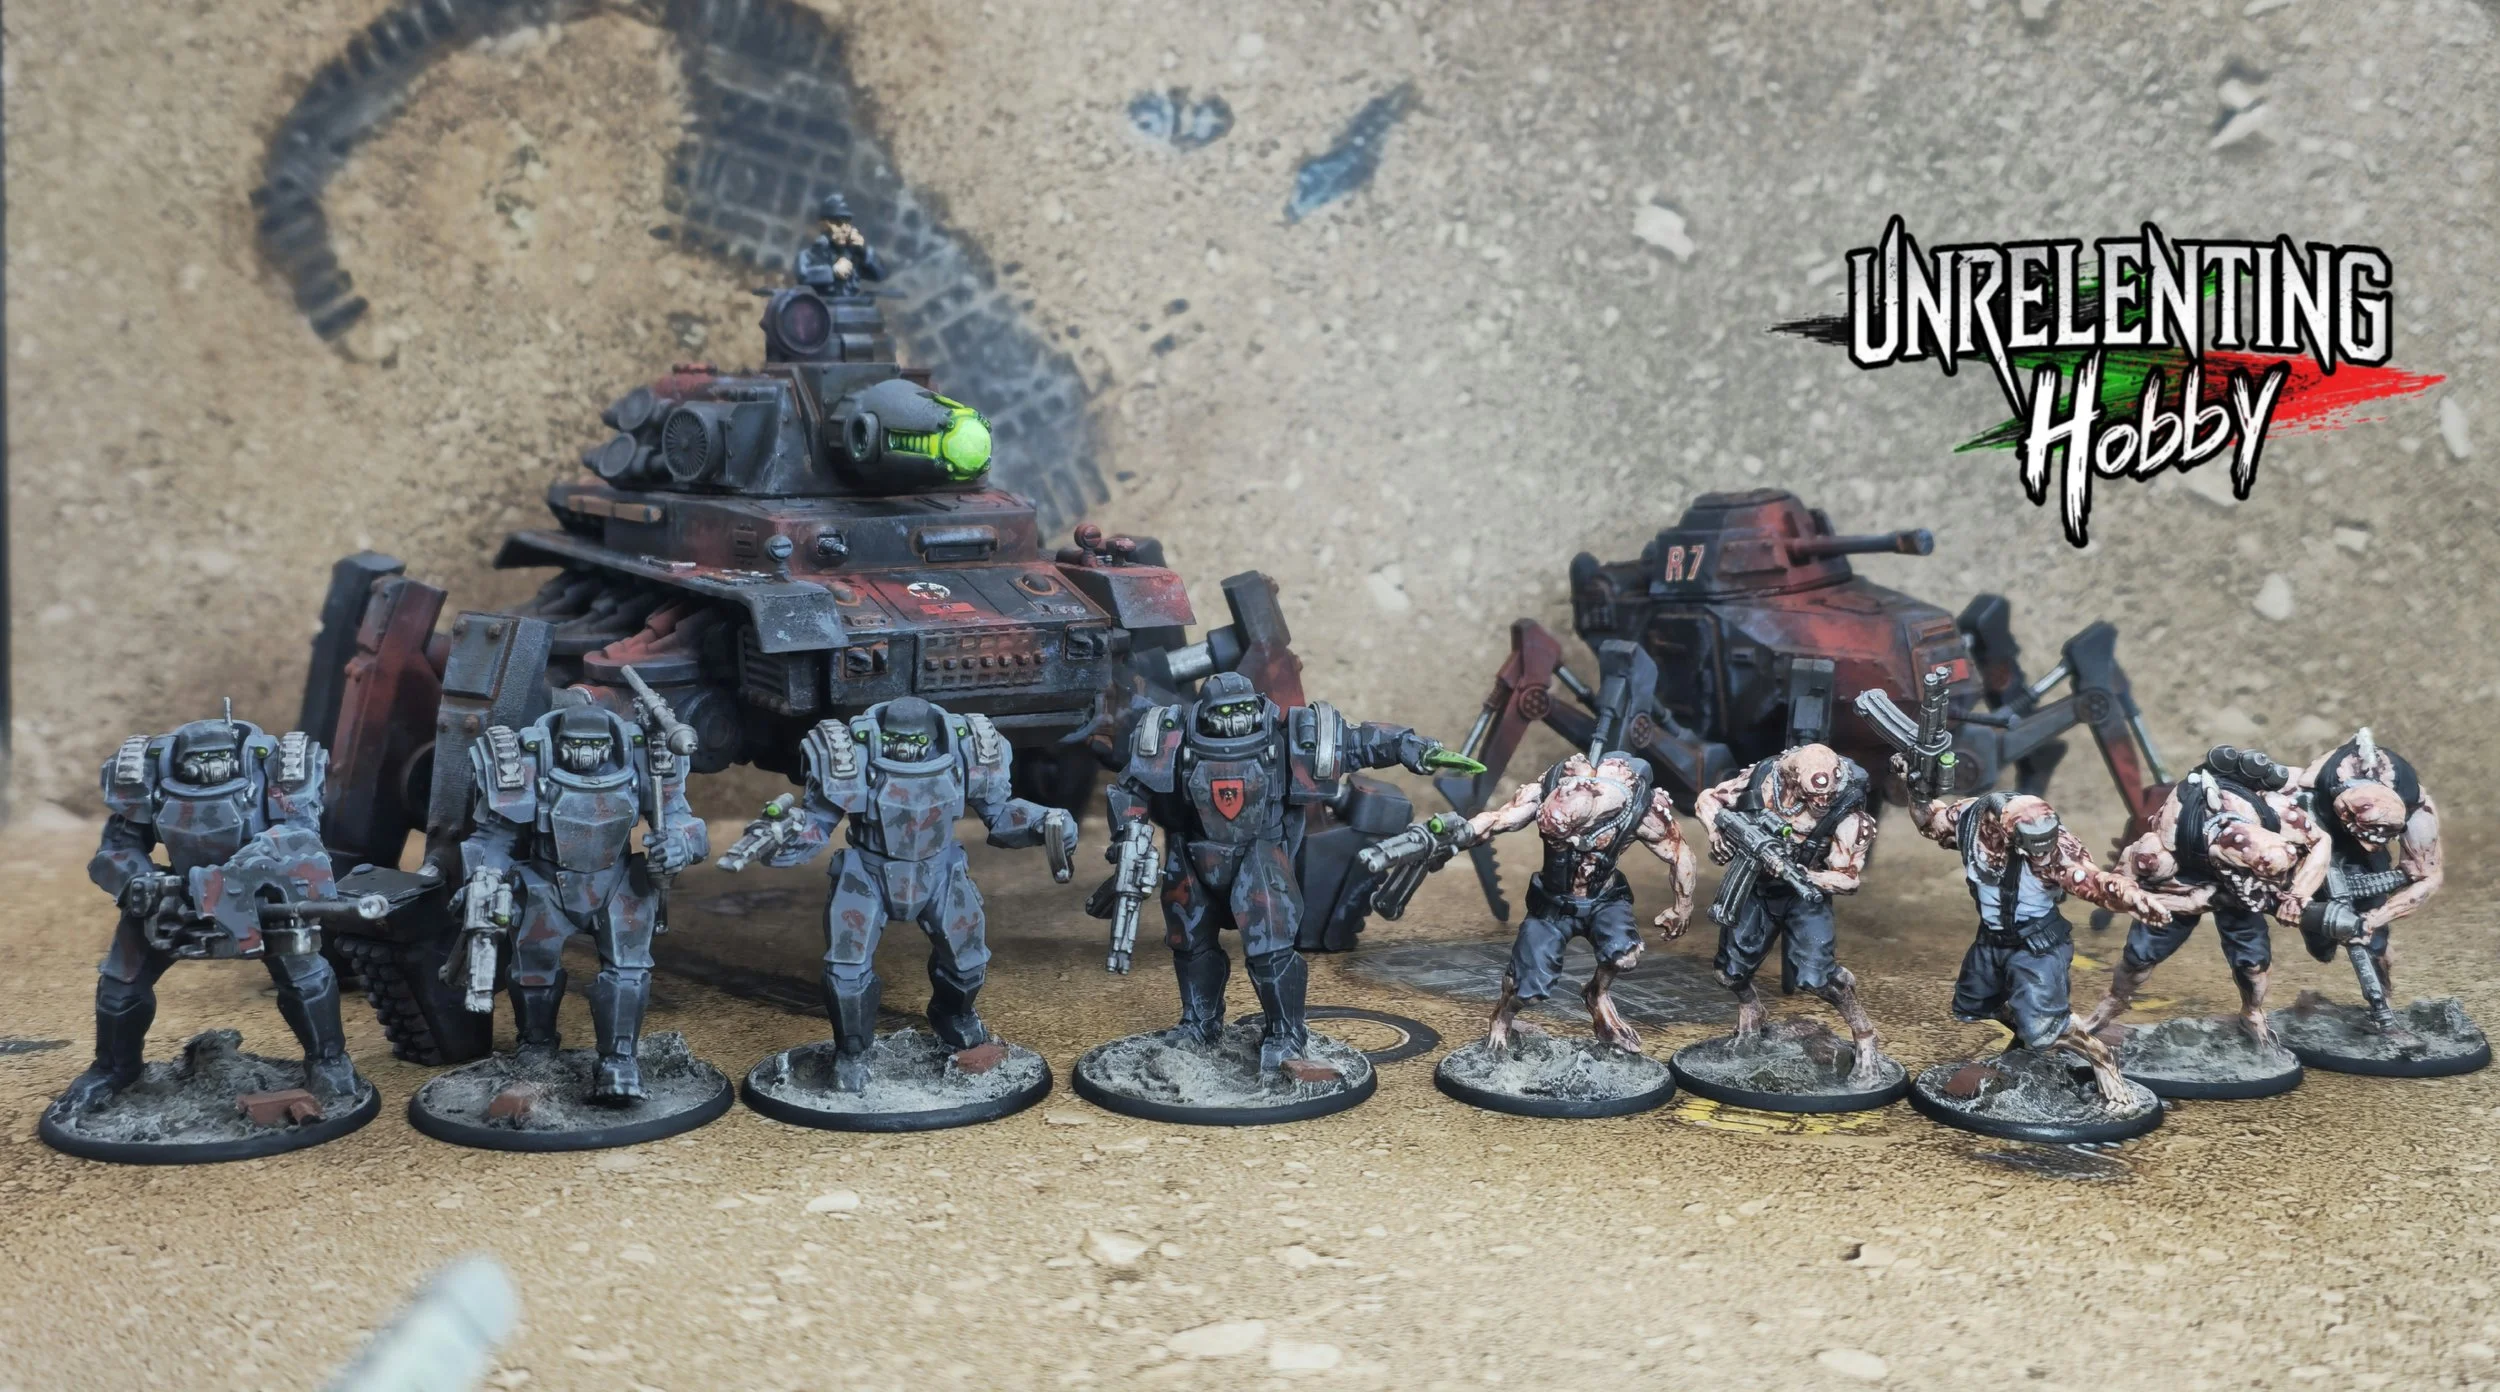
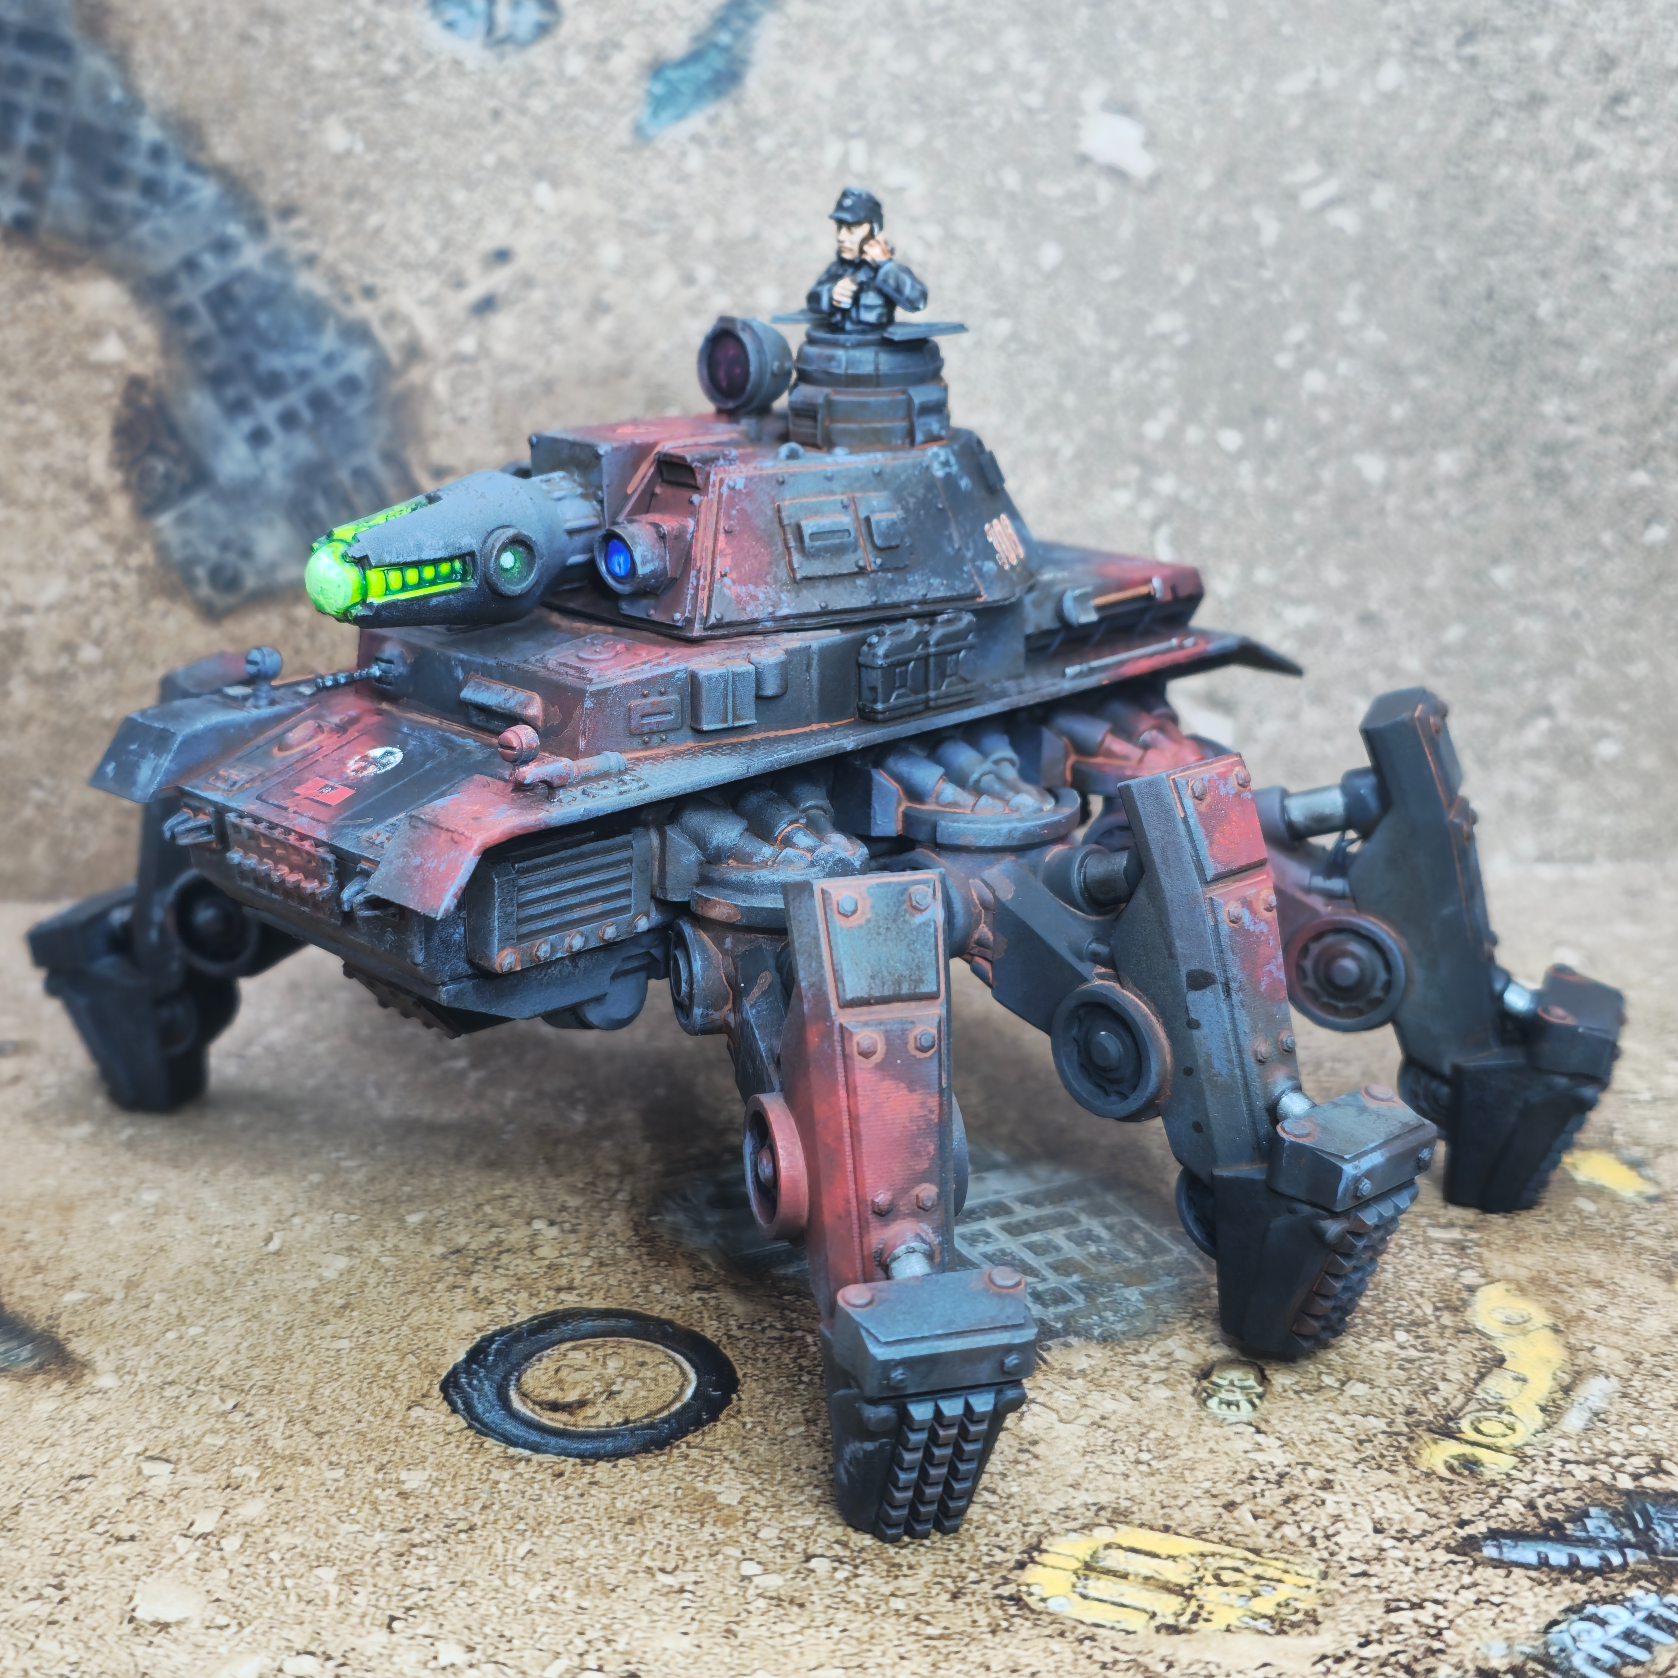
And there we have it, gang! How I got this lot built and painted over 3 days! Friday was spent editing and content manipulating which is a LOT less exciting than painting toy soldiers. The full paint list is just below, and if you enjoyed this article, consider following me/subscribing over at Facebook, Instagram and Youtube. Every month, my paid Patreon subscribers bote for what projects they’d like to see me work on, go take a look and for just £3 a month you get to pick what project I take an in depth crack at for all your hobby inspiration.
Peace! \m/
PAINT LIST:
Stahltruppen:
Neutral Grey Pro Acryl
Burn Red Pro Acryl
Bright Warm Grey Pro Acryl
Blue Black Pro Acryl
Gun Metal AK Playmarker
Sepia Panel Liner AK
Brown Wash Pro Acryl
Bright Ivory Pro Acryl
Forest Sprite Army Painter Speed Paint
Nachtalben:
Crusader Skin Army Painter Speed Paint
Neutral Grey Pro Acryl
Black Legion Citadel Contrast
Gun Metal AK Playmarker
Brown Wash Pro Acryl
Bright Ivory Pro Acryl
Berxerker Bloodshade Citadel Shade
Flat White AK Pen
Forest Sprite Army Painter Speed Paint
