
Painting scenery can be done rapidly, with minimal resources and effort and still look excellent on your tables and in your games. In this article I’ll show you how I painted a massive amount of terrain for Trench Crusade over a few hours! So grab some texture paint and rattle cans and ideally, wait for a nice dry day!
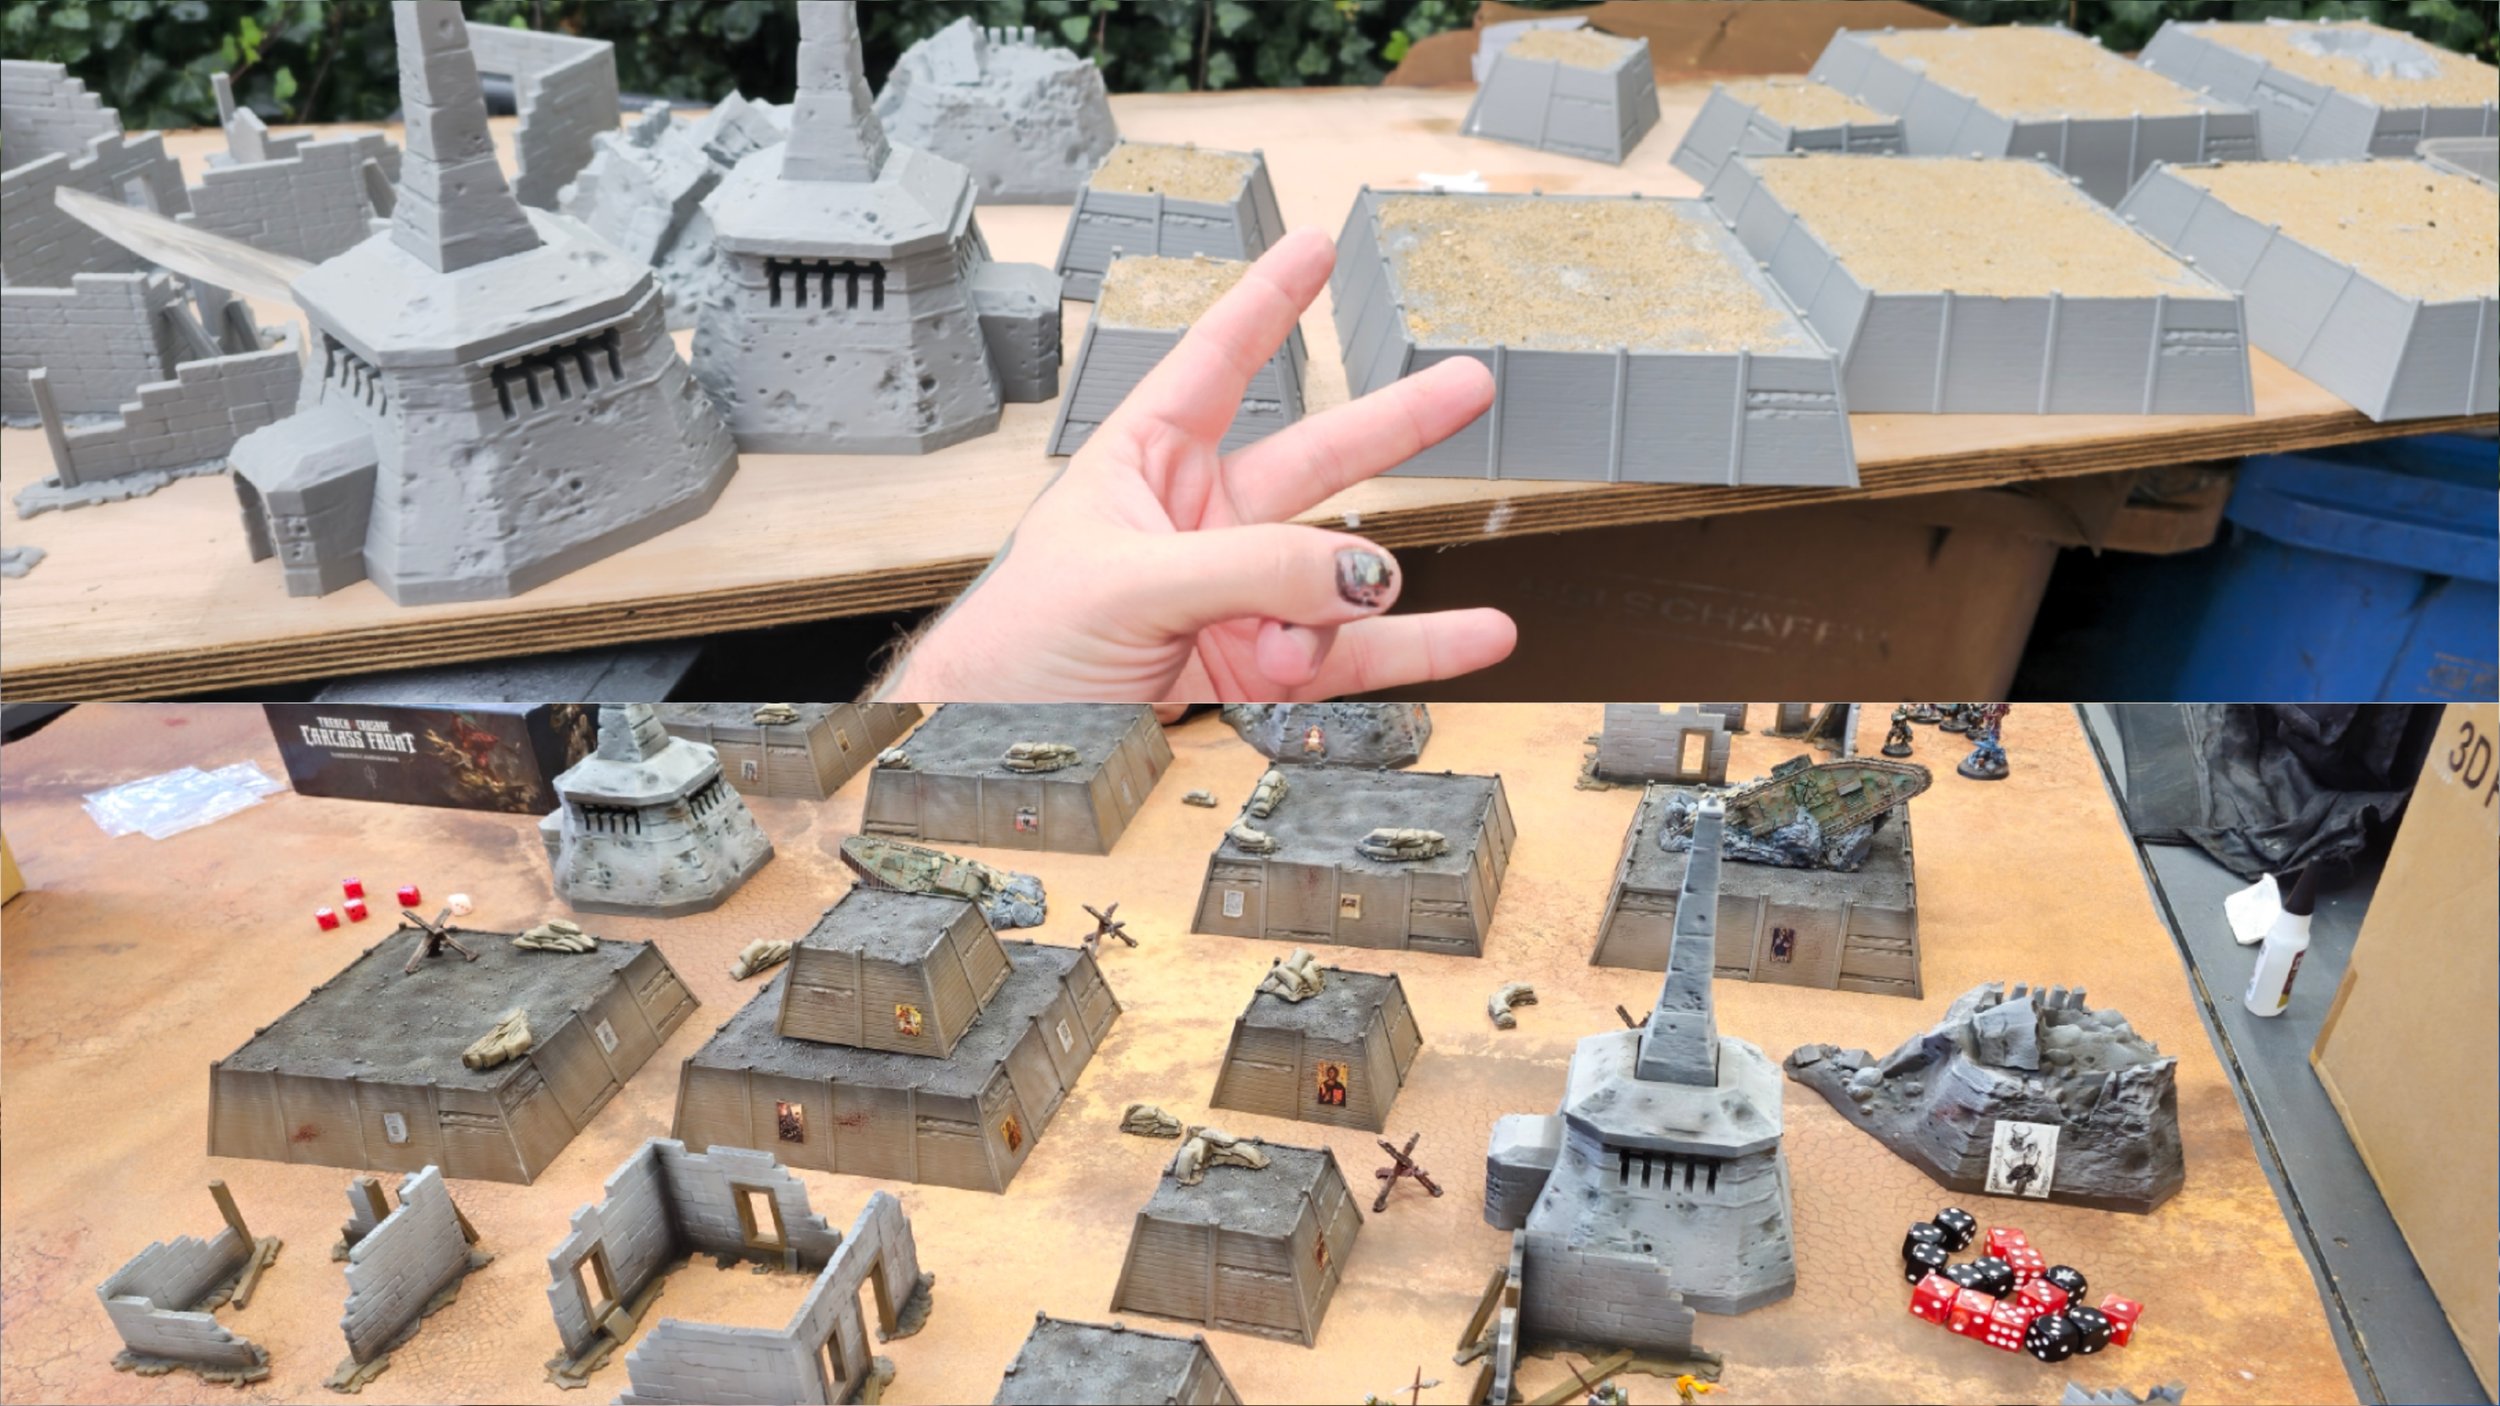
Scenery is the third army on the table. It helps tell the story and the setting of your games, and your painted models deserve a painted table! But in an age where we rarely have time and/or focus to dedicate to painting our miniautres, painting terrain is beyond an afterthought at this point. My ambition with this scenery is to keep it simple, minimalist and also ensure it fits the Trench Crusade vibe. It’s a collection of trench islands, buildings and bunkers, all purchased from the excellent team at TITANFORGED3D/TERRAINHUB who run a terrain printing service through Etsy. There’s actually enough terrain here for two games of Trench Crusade. One using the islands, and one using the ruins. The bunkers can be thrown in among either setting or you can mix the lot as seen in the photo above. I resin printed the sandbags, and the destroyed tanks which are official Trench Crusade files.
I set myself a week to get this lot painting, but I was confident if the weather was with me, I could sort it all out in a day. So first off, lets prep!
1) Preperation
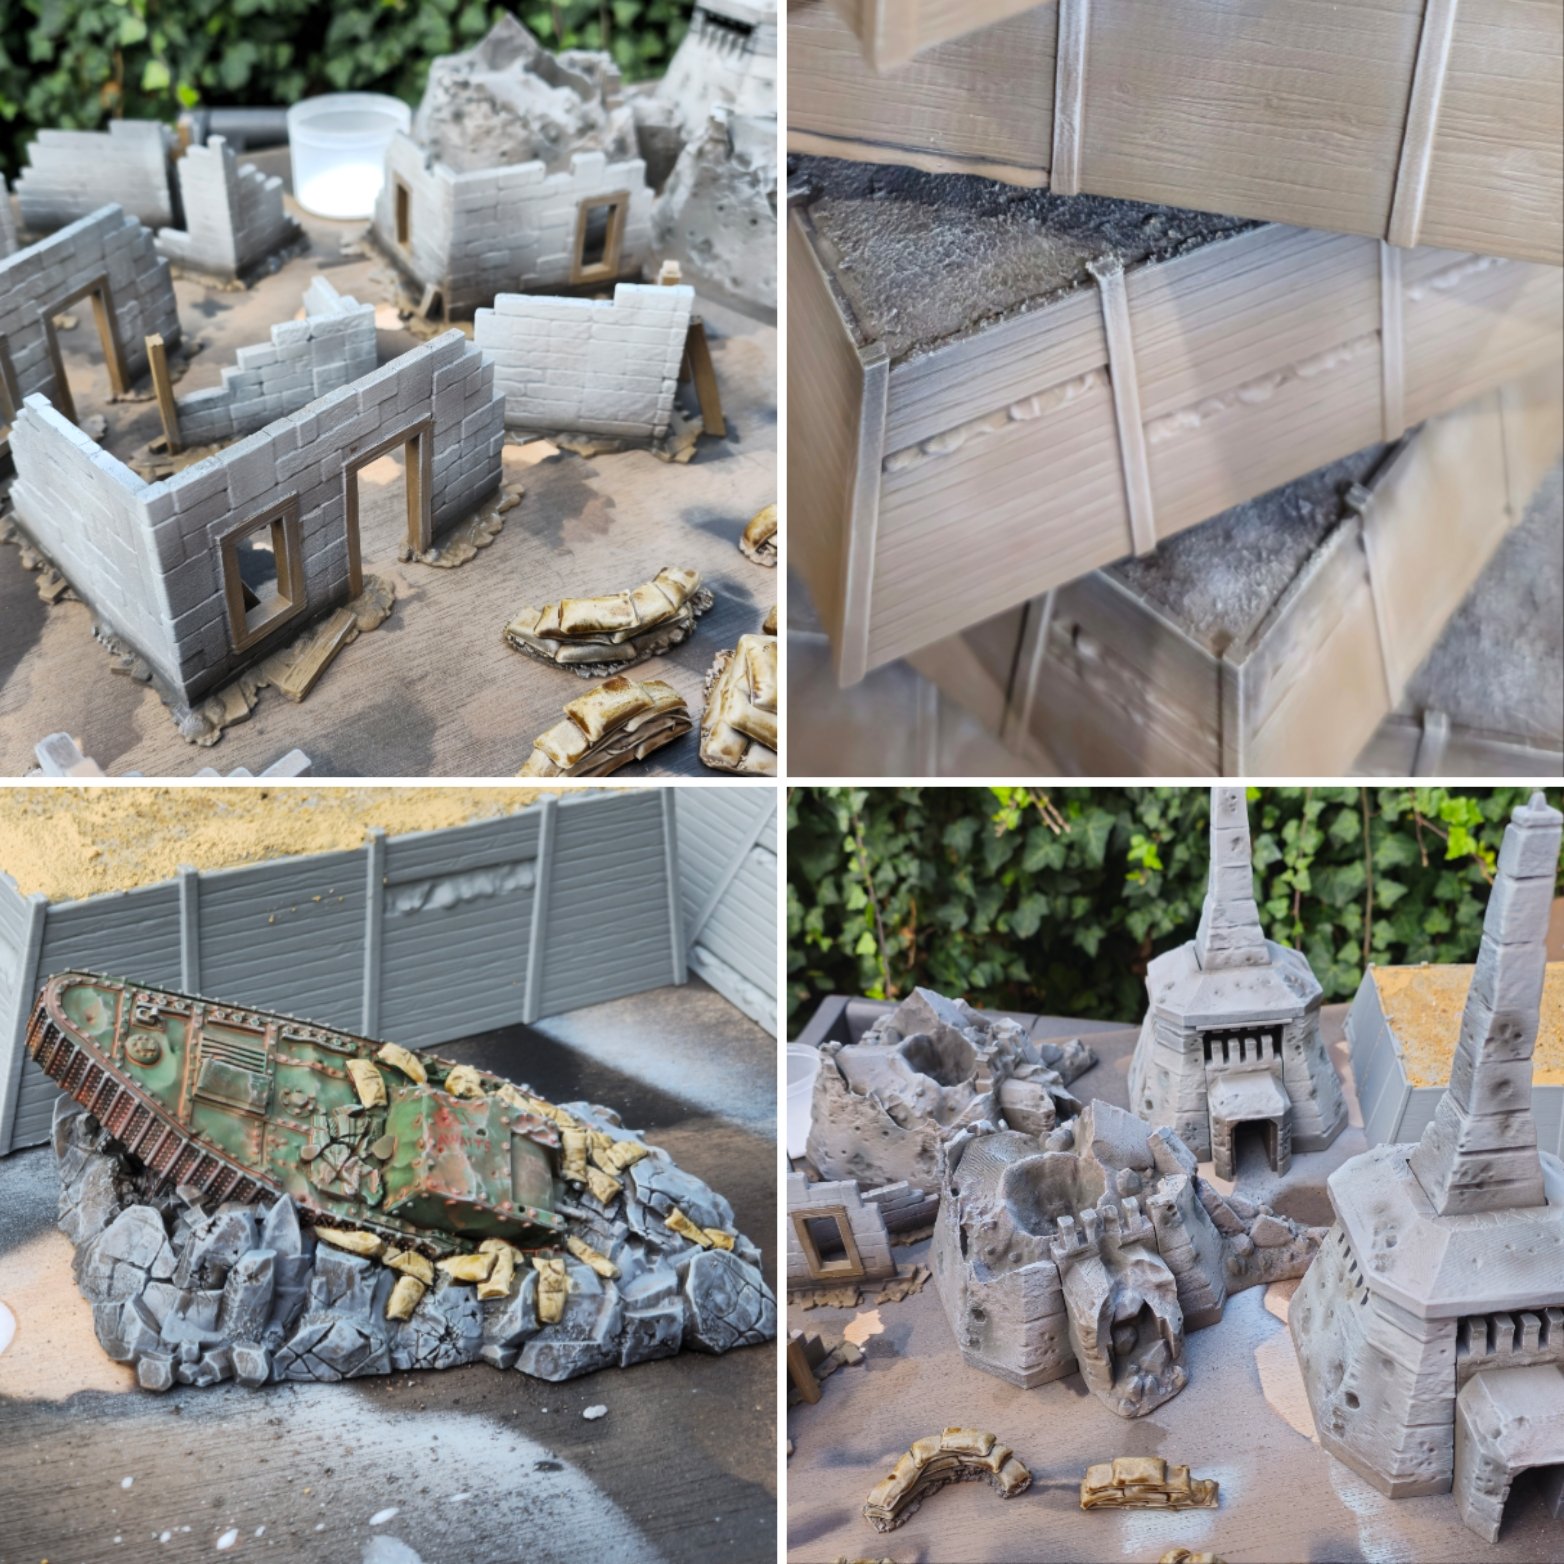
I had a big long sheet of Plywood left over from some new bathroom stuff I had done recently. Slapping that on top of my house bins meant this massive space intencive project could be worked on on one surface, and also outside where the elements would help with drying in good time, and who doesn’t like working outside on a lovely Autumn day! On to the terrain, I went over all the bits to remove any resin print supports, and to see if we had any FDM threading on the bought bits. I think it took me five minutes with a lighter to get rid of anything unsightly, the overall quality of the purchased bits was excellent (Anything I missed and found during painting would 99% be whisked away from the colossal amount of drybrushing about to happen). After that it was time to think about how to overcome things like prominant printers layer lines. Most of the stuff had nothing worth concern in that regard. The only thing I would have to sort was the top flats of the trench islands where the layer lines were sharp and prominent. This was easily sorted with the application of wood glue, some mixed sand and grit, and patches of testure paint to ensure a more natural earth texture that would drybrush up beautifully.
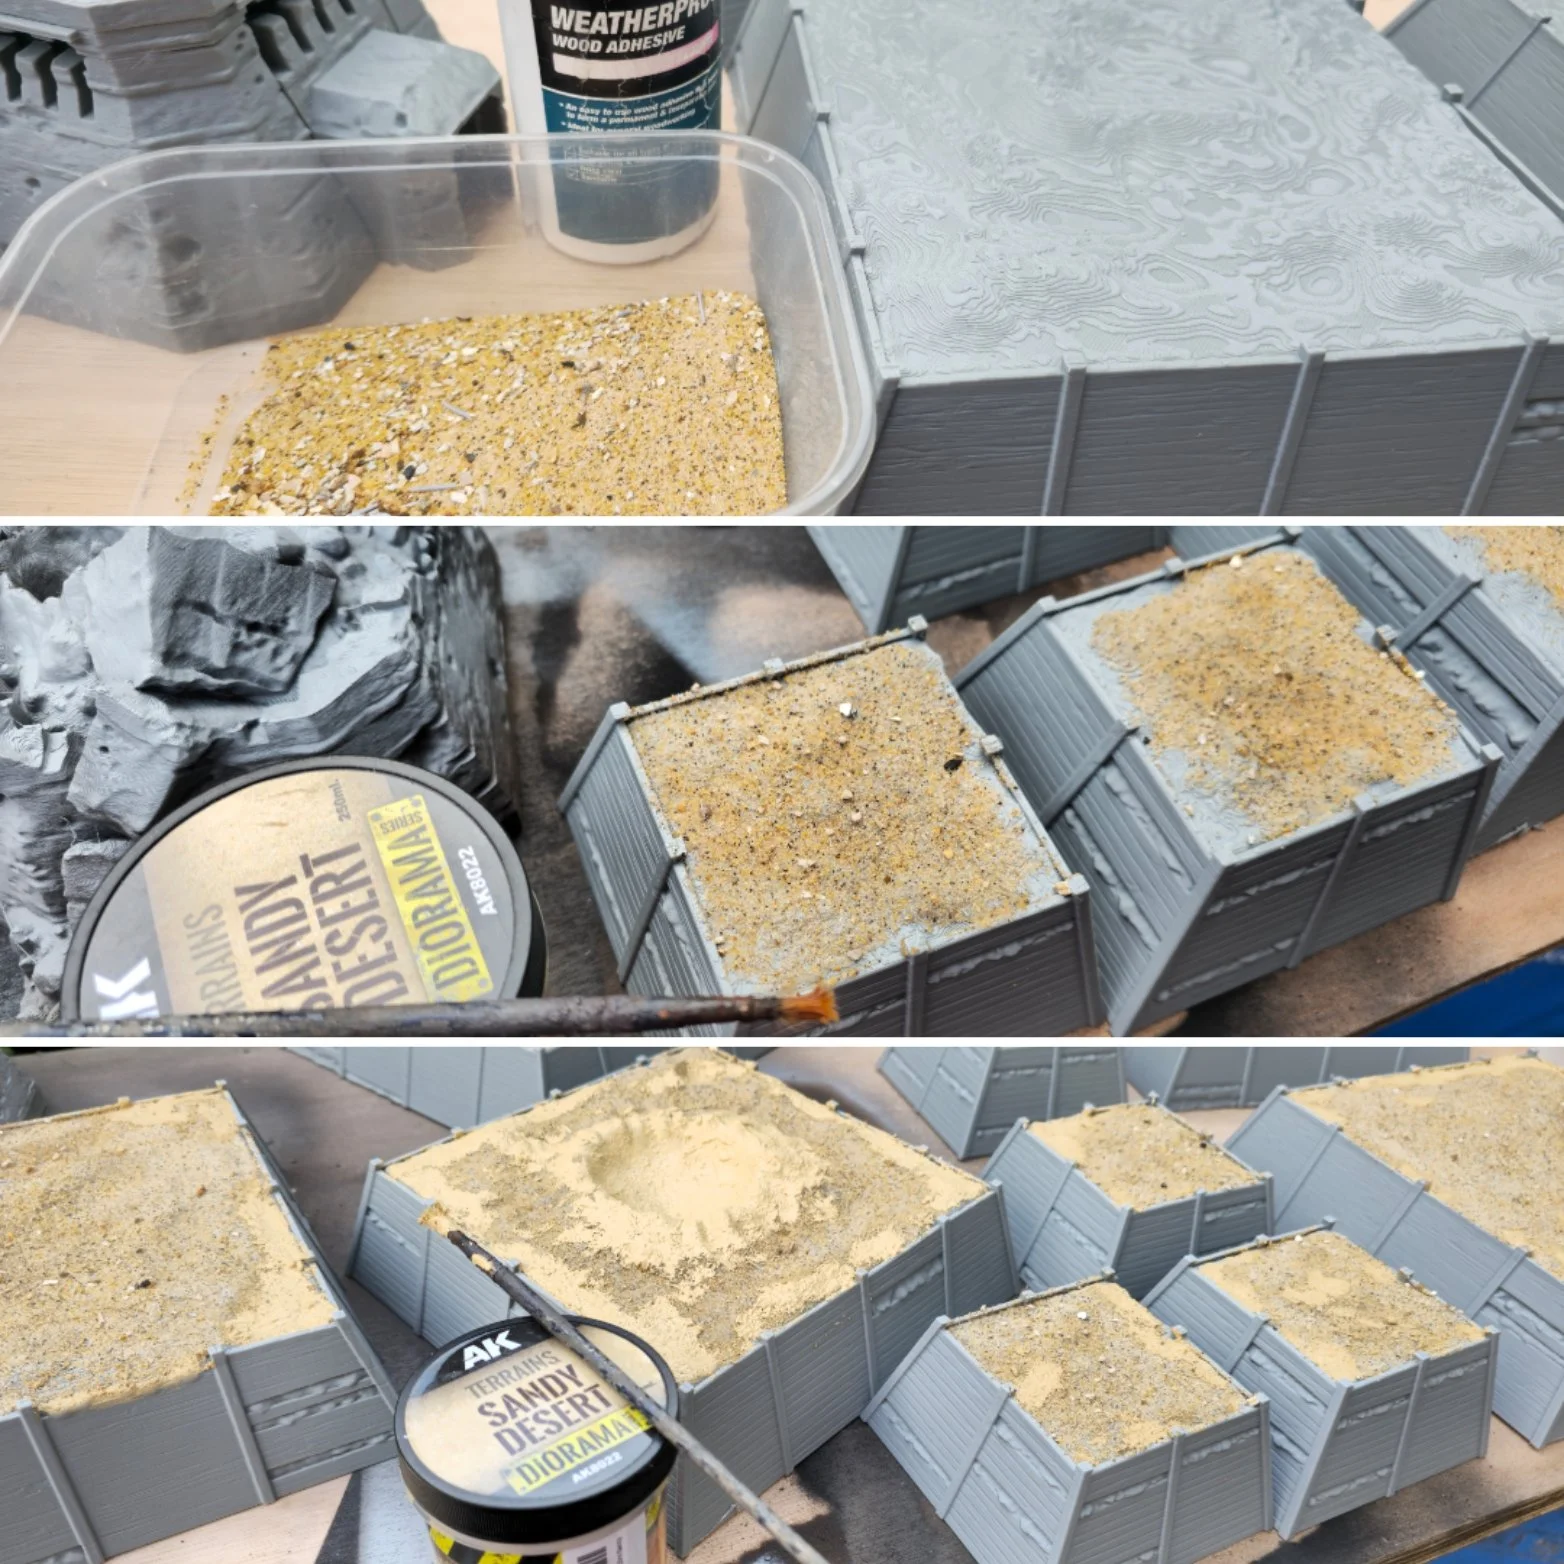
You can see how sharp those print lines were in the top image, so this was an important step to take for a good end result.
Now, a clever man would have done this step the night before, so that it would be dried and cured ready for paint at dawn, but alas, that clever man was nowhere to be seen. This would take at least four hours to dry before I would even consider priming it. But that does mean we can focus on the other sections while these set.
2) Painting!
Now it was time to prime, and I wanted primers to do 80% of the lifting with this project. Enter The Colour Forge. Colour Forge do an enormous spread of different coloured primers that are not only cheaper than most branded competitors, but they’re also a greater volume (500ml) and have an infinitely nice matte finish and quality result. I’ve been a professional supporter and admirer of their products for years now, and cannot recommend them enough. Chances are, your FLGS already stocks them and if they don’t, reach out to the guys at Colour Forge and get them in your shop!
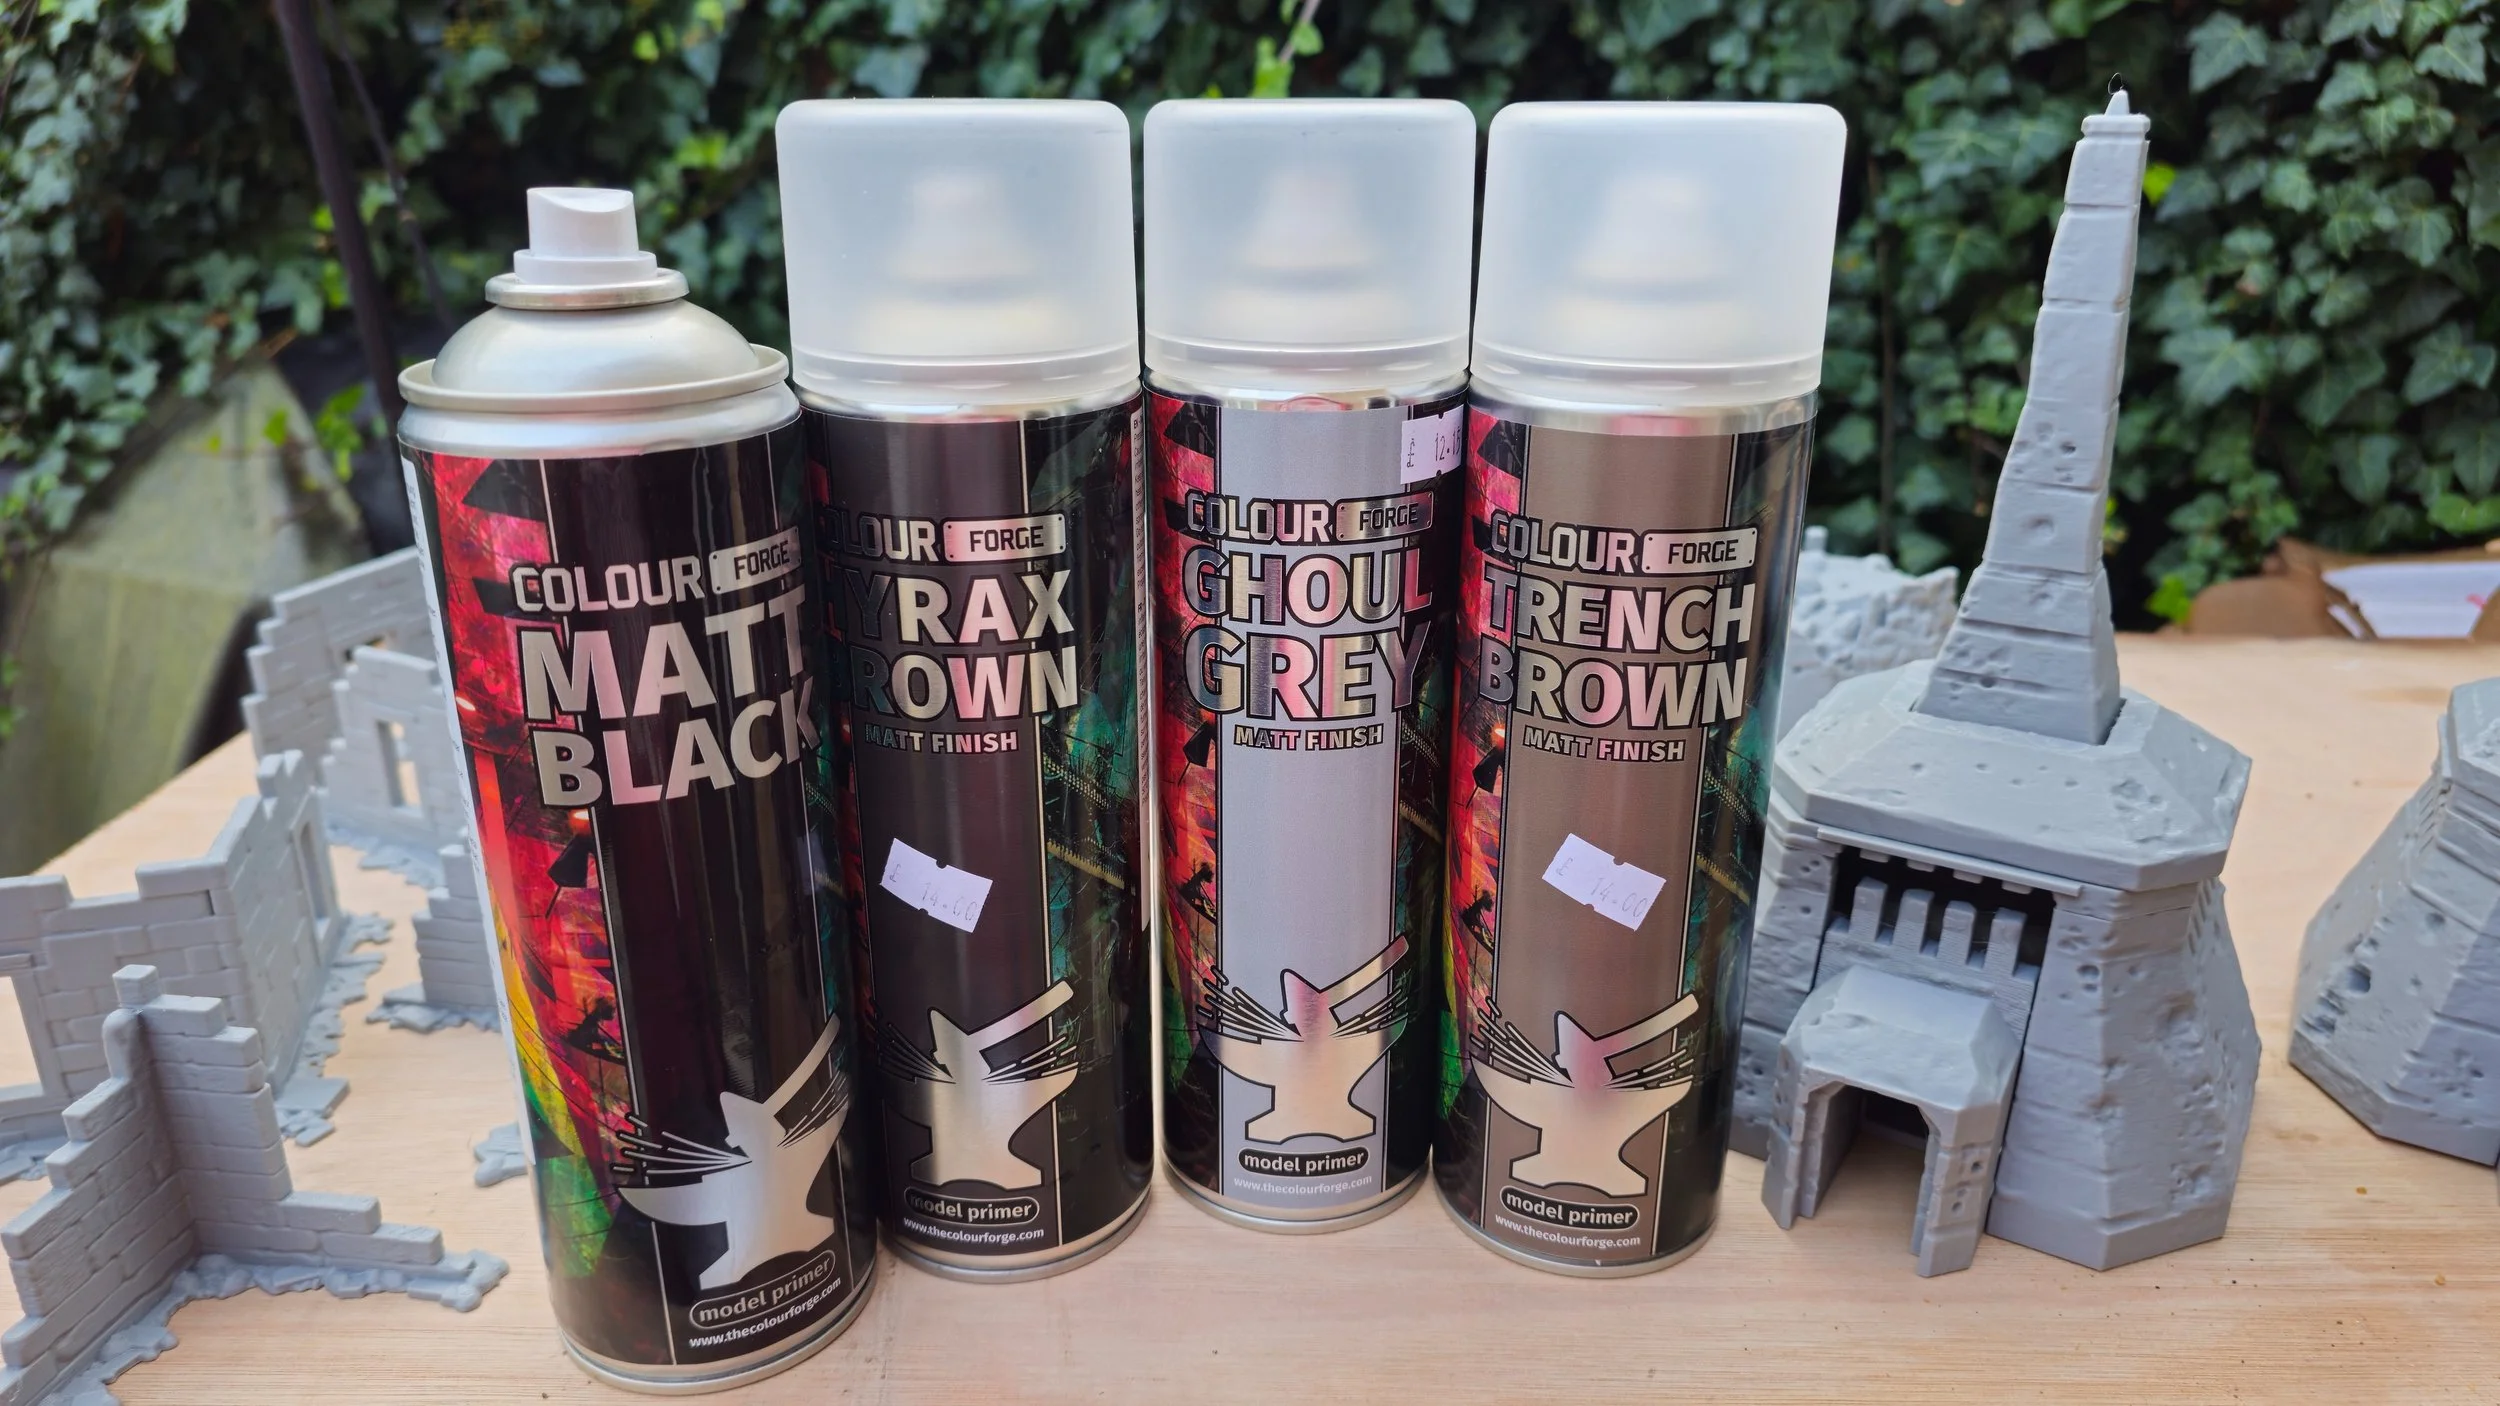
I went with these four sprays. You could probably get away with just three (Dropping Hyrax Brown), but it’s worth getting another colour in while we focus on completion over perfection.
Priming EVERYTHING Matt Black (One can did the entirety of this terrain!) give us an effective prime and establishes our shadows in the nooks and crannies of all out features. Up next, I started dashing passes of Hyrax Brown along the top halves of the broader walls and panels, not being too neat with this. Once that was done, I went in with Trench Brown and did passes on the lower halves of all the bits. So we have a nice deep black in our shadows, and a sharp gradient of a dark brown to a warmer lighter brown along segments of out terrain. Fast forwarding a bit, here’s how it looks on our Trench Islands.
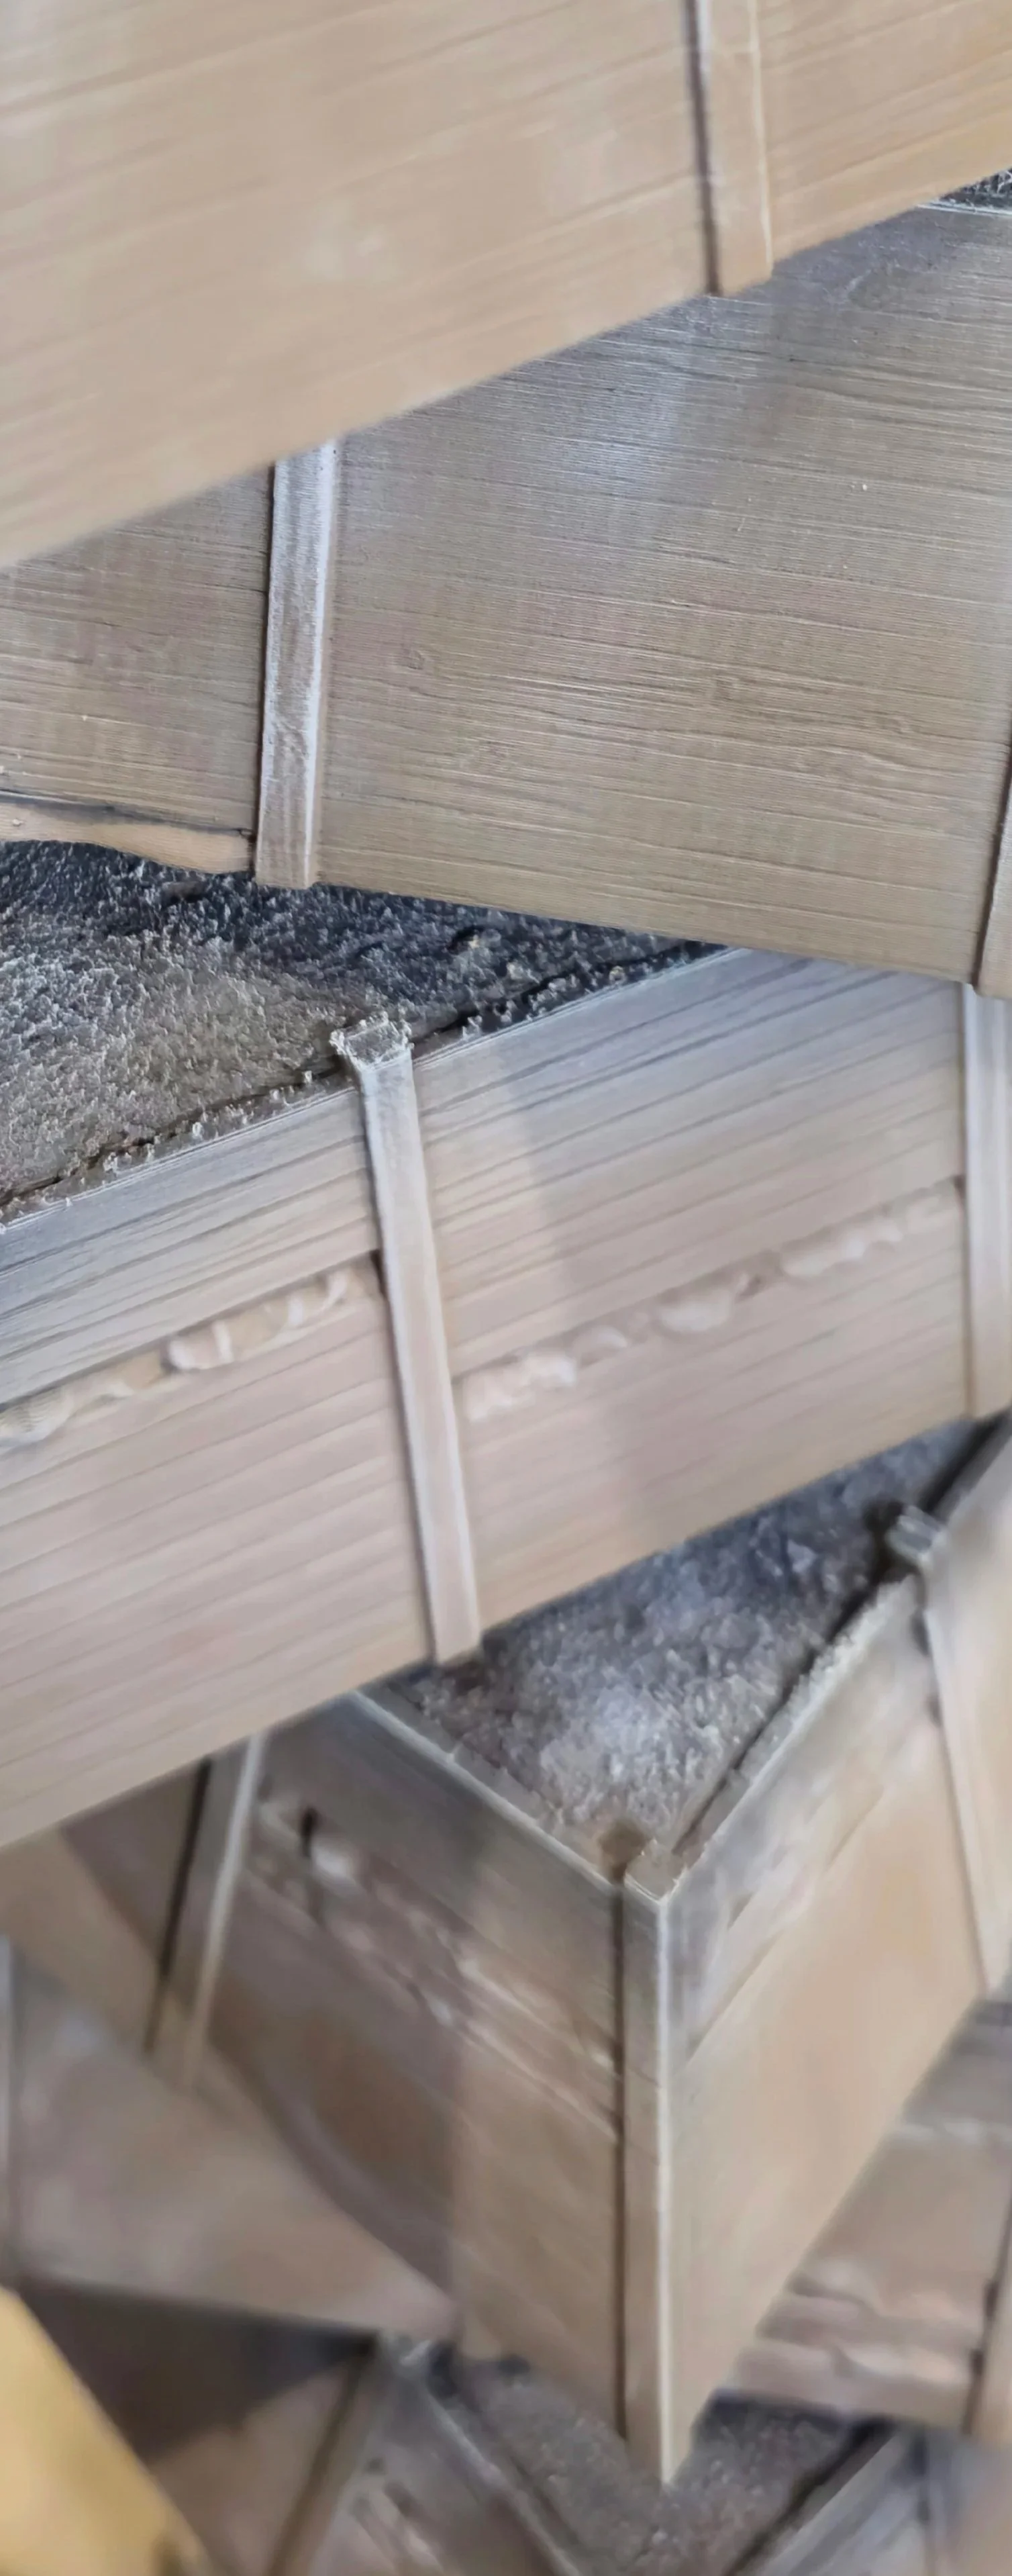
This also included a light all over drybrush of Olive Flesh (Pro Acryl), which was basically what took these over the finish line. 3 rattle cans and 1 actual paint!
From here, once all our rattle paint had dried it was time to turn our attenteion to the ruins and the bunkers. I wanted these to be of a more stoney paler finish to clash with all the brown. Use Ghoul Grey, I gave all those bits a HEAVY zenithal spray. Trying to leave some of our shadows and brown gradients where possible. I think I could have probably kepts these a bit darker using Mech Standard Grey from Colour Forge, and drybrushed with a brighter grey/off white, but I was still happy with the high contrast this would present on the table. Once this grey was on and try, I airbrushed in some shadows using transparent brown in the corners and depths of the walls, and painted in some of the wooden beams using a khaki brown. At this stage, I got the sandbags all done using a soft tone wash from army painter, and a heavy drybrush with a sand colour. I hit the bunkers with the same transparent black earlier in to the blast and impact crators/battle damage.
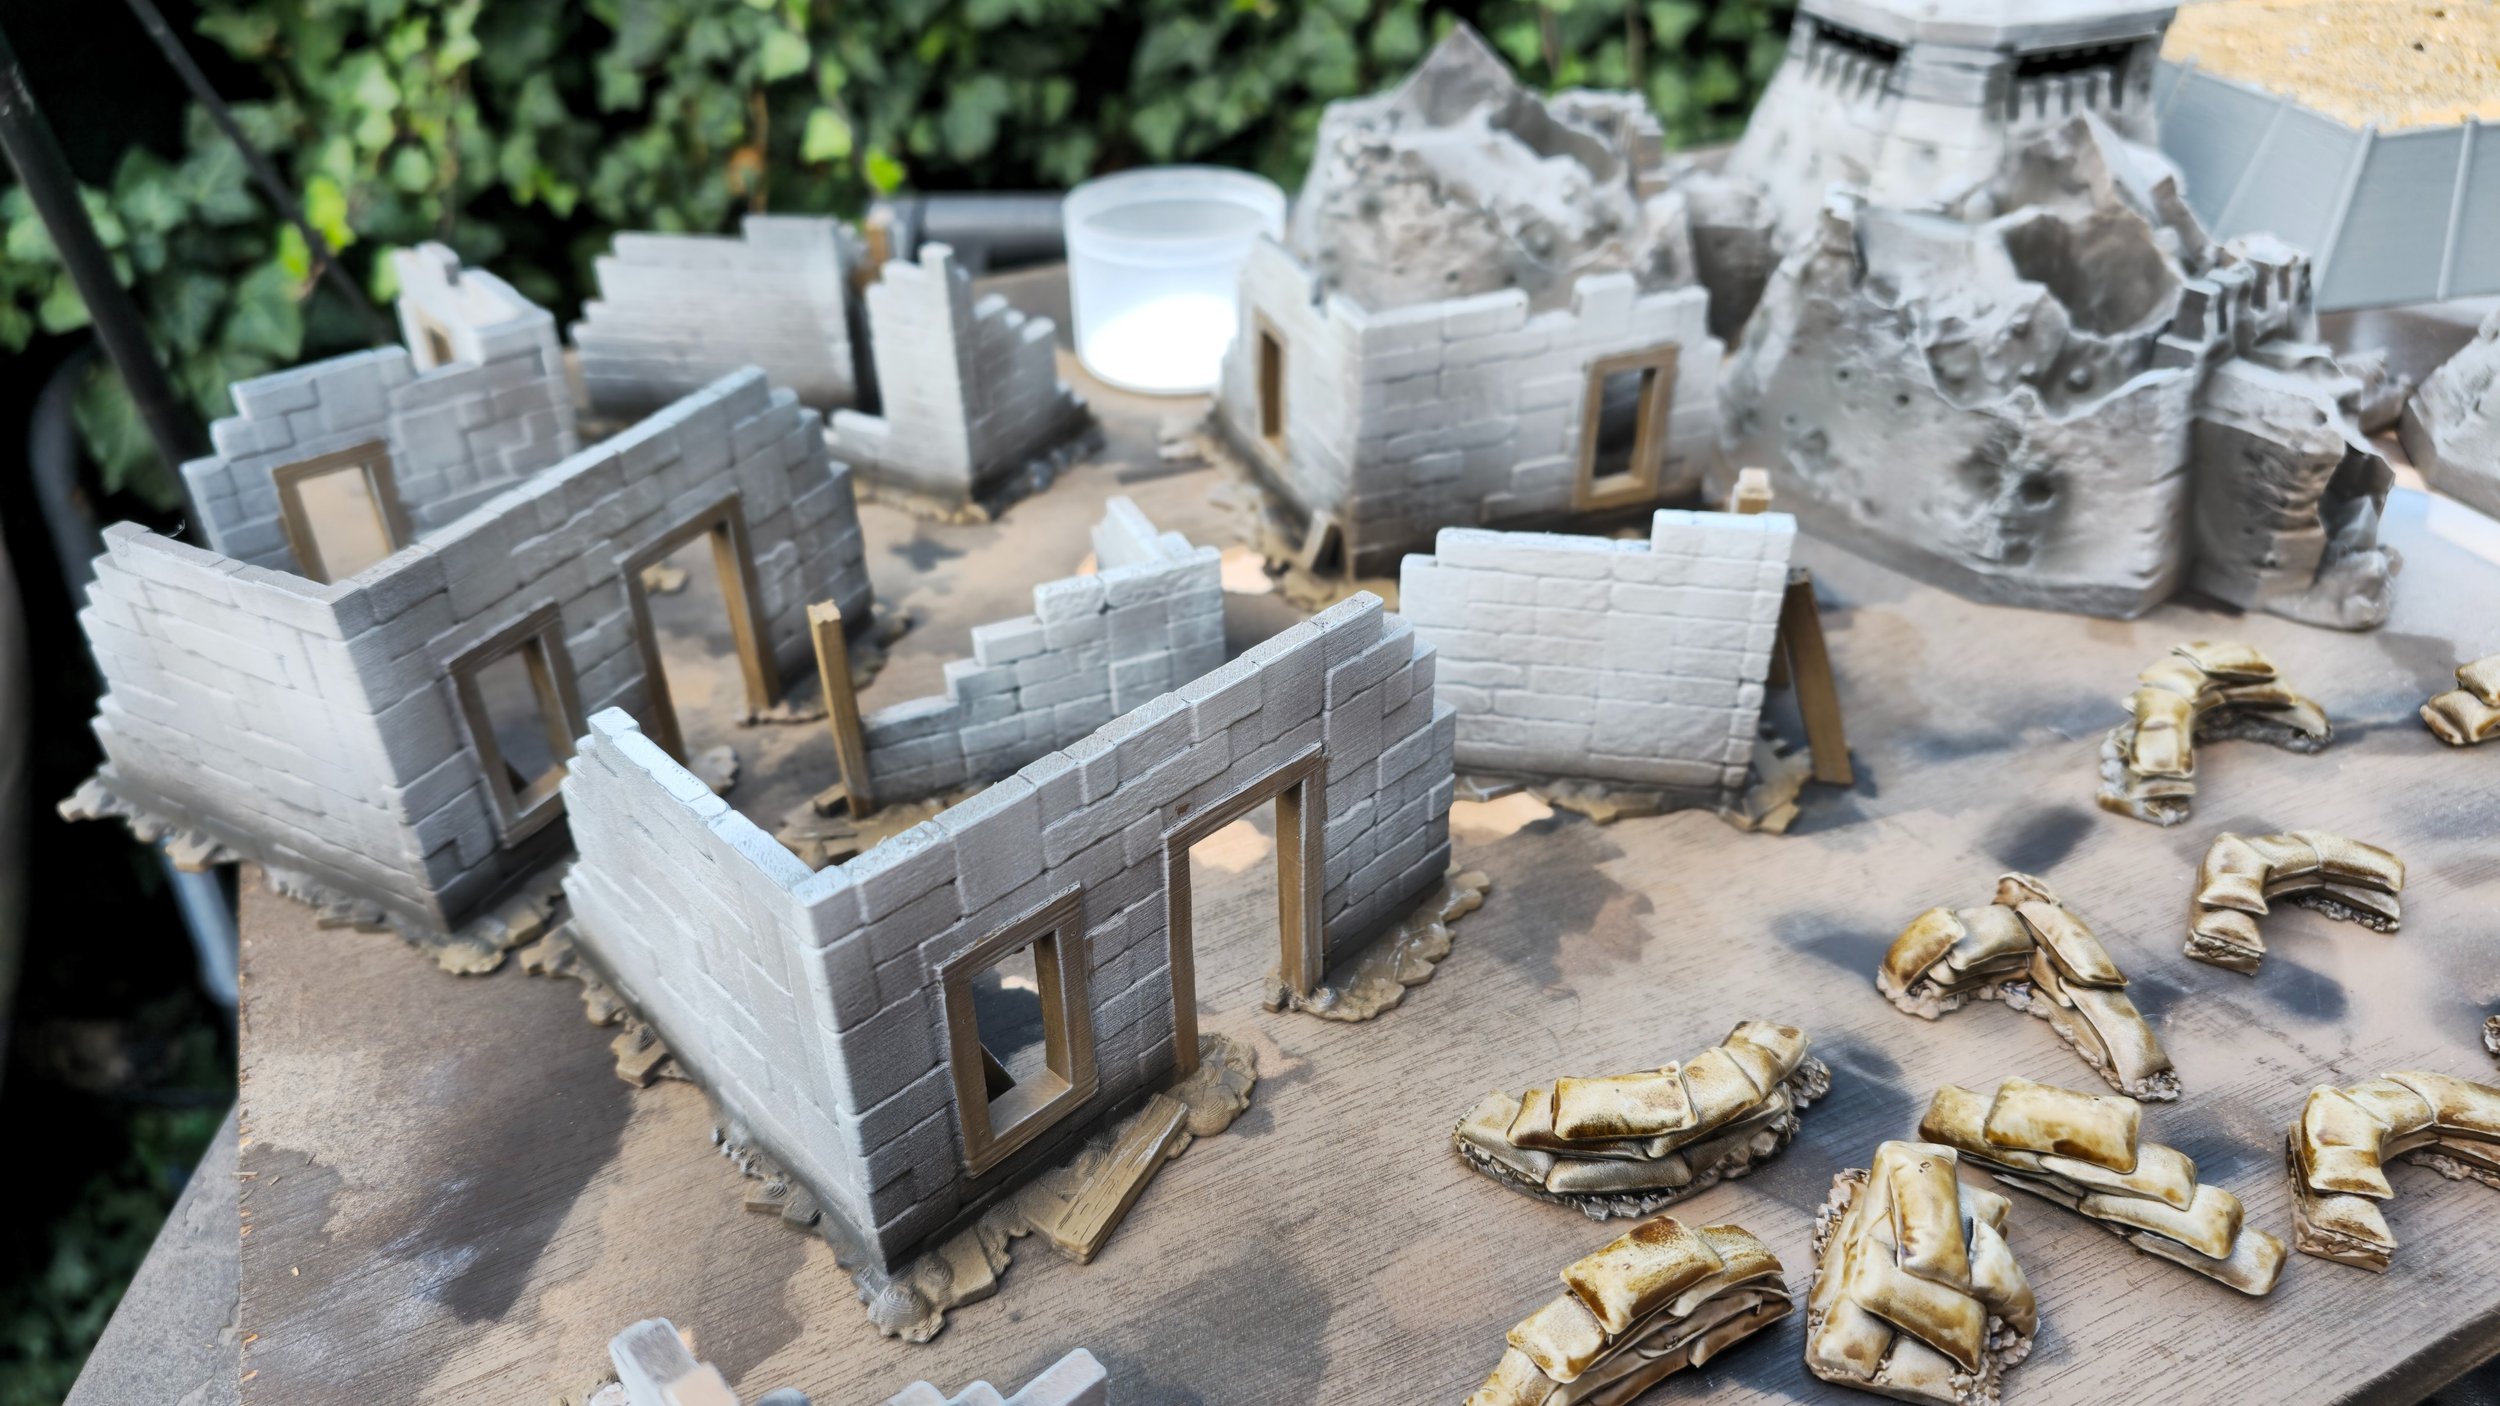
By this stage, I have drybrushed everything but the sandbags with Bright Warm Grey from Pro Acryl, and that was the bunkers and wall section done! Then I went on to drybrush the sandbags with AK Interactive Russian Sand.
3) Tanks!
While all this was chillin, I went on to tackle the wrecked tanks, I wanted to spend a bit more time on these as they deserved it. The sculped are amazing and there’s so many little details that they would shine with even just a bit more of an effort.
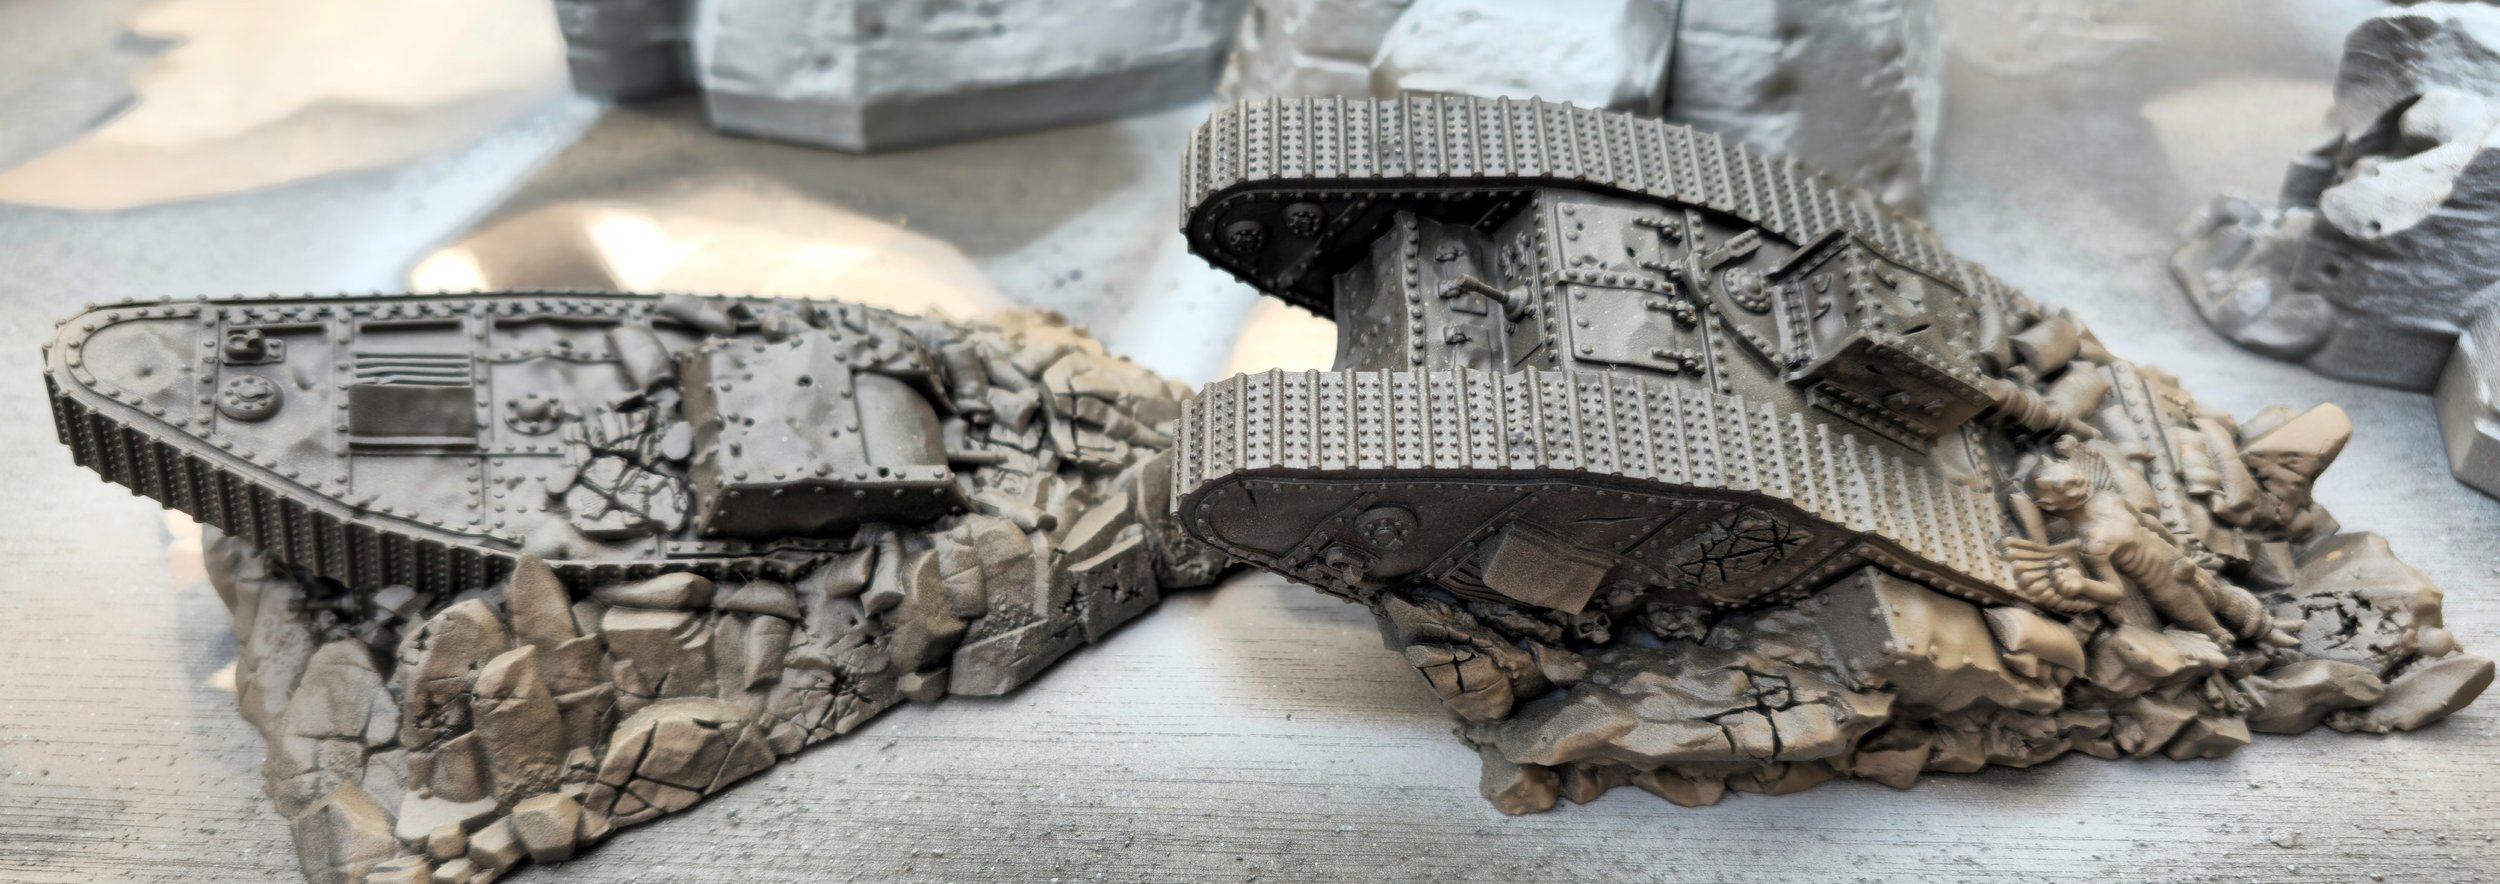
As seen here, they went through the exact same stages as the Trench Island. At this point, it was brush time.
The first thing I did was get a nice Camo Green on the tank armour, thinking that was an appropriate real world influence on these. From there, I picked out all the sandbags (so many sandbags….) exactly as I did my ones from earlier. Then I painted some stone/masonry with a Neutral Grey (Including Pazuzu over there) and then I cracked out the AK Interactive Rust Panel Liner and went to town on all those resecesses, tracks (still brown at this point) and a few bits here and there where water would run off the tanks and carry the rust with it. I then gave a little ticklet of Bright Warm Grey as a drybrush here and there to incoporate it in to the rest of the scenery, free handed some script/graffiti on some glat panels and that was them done!
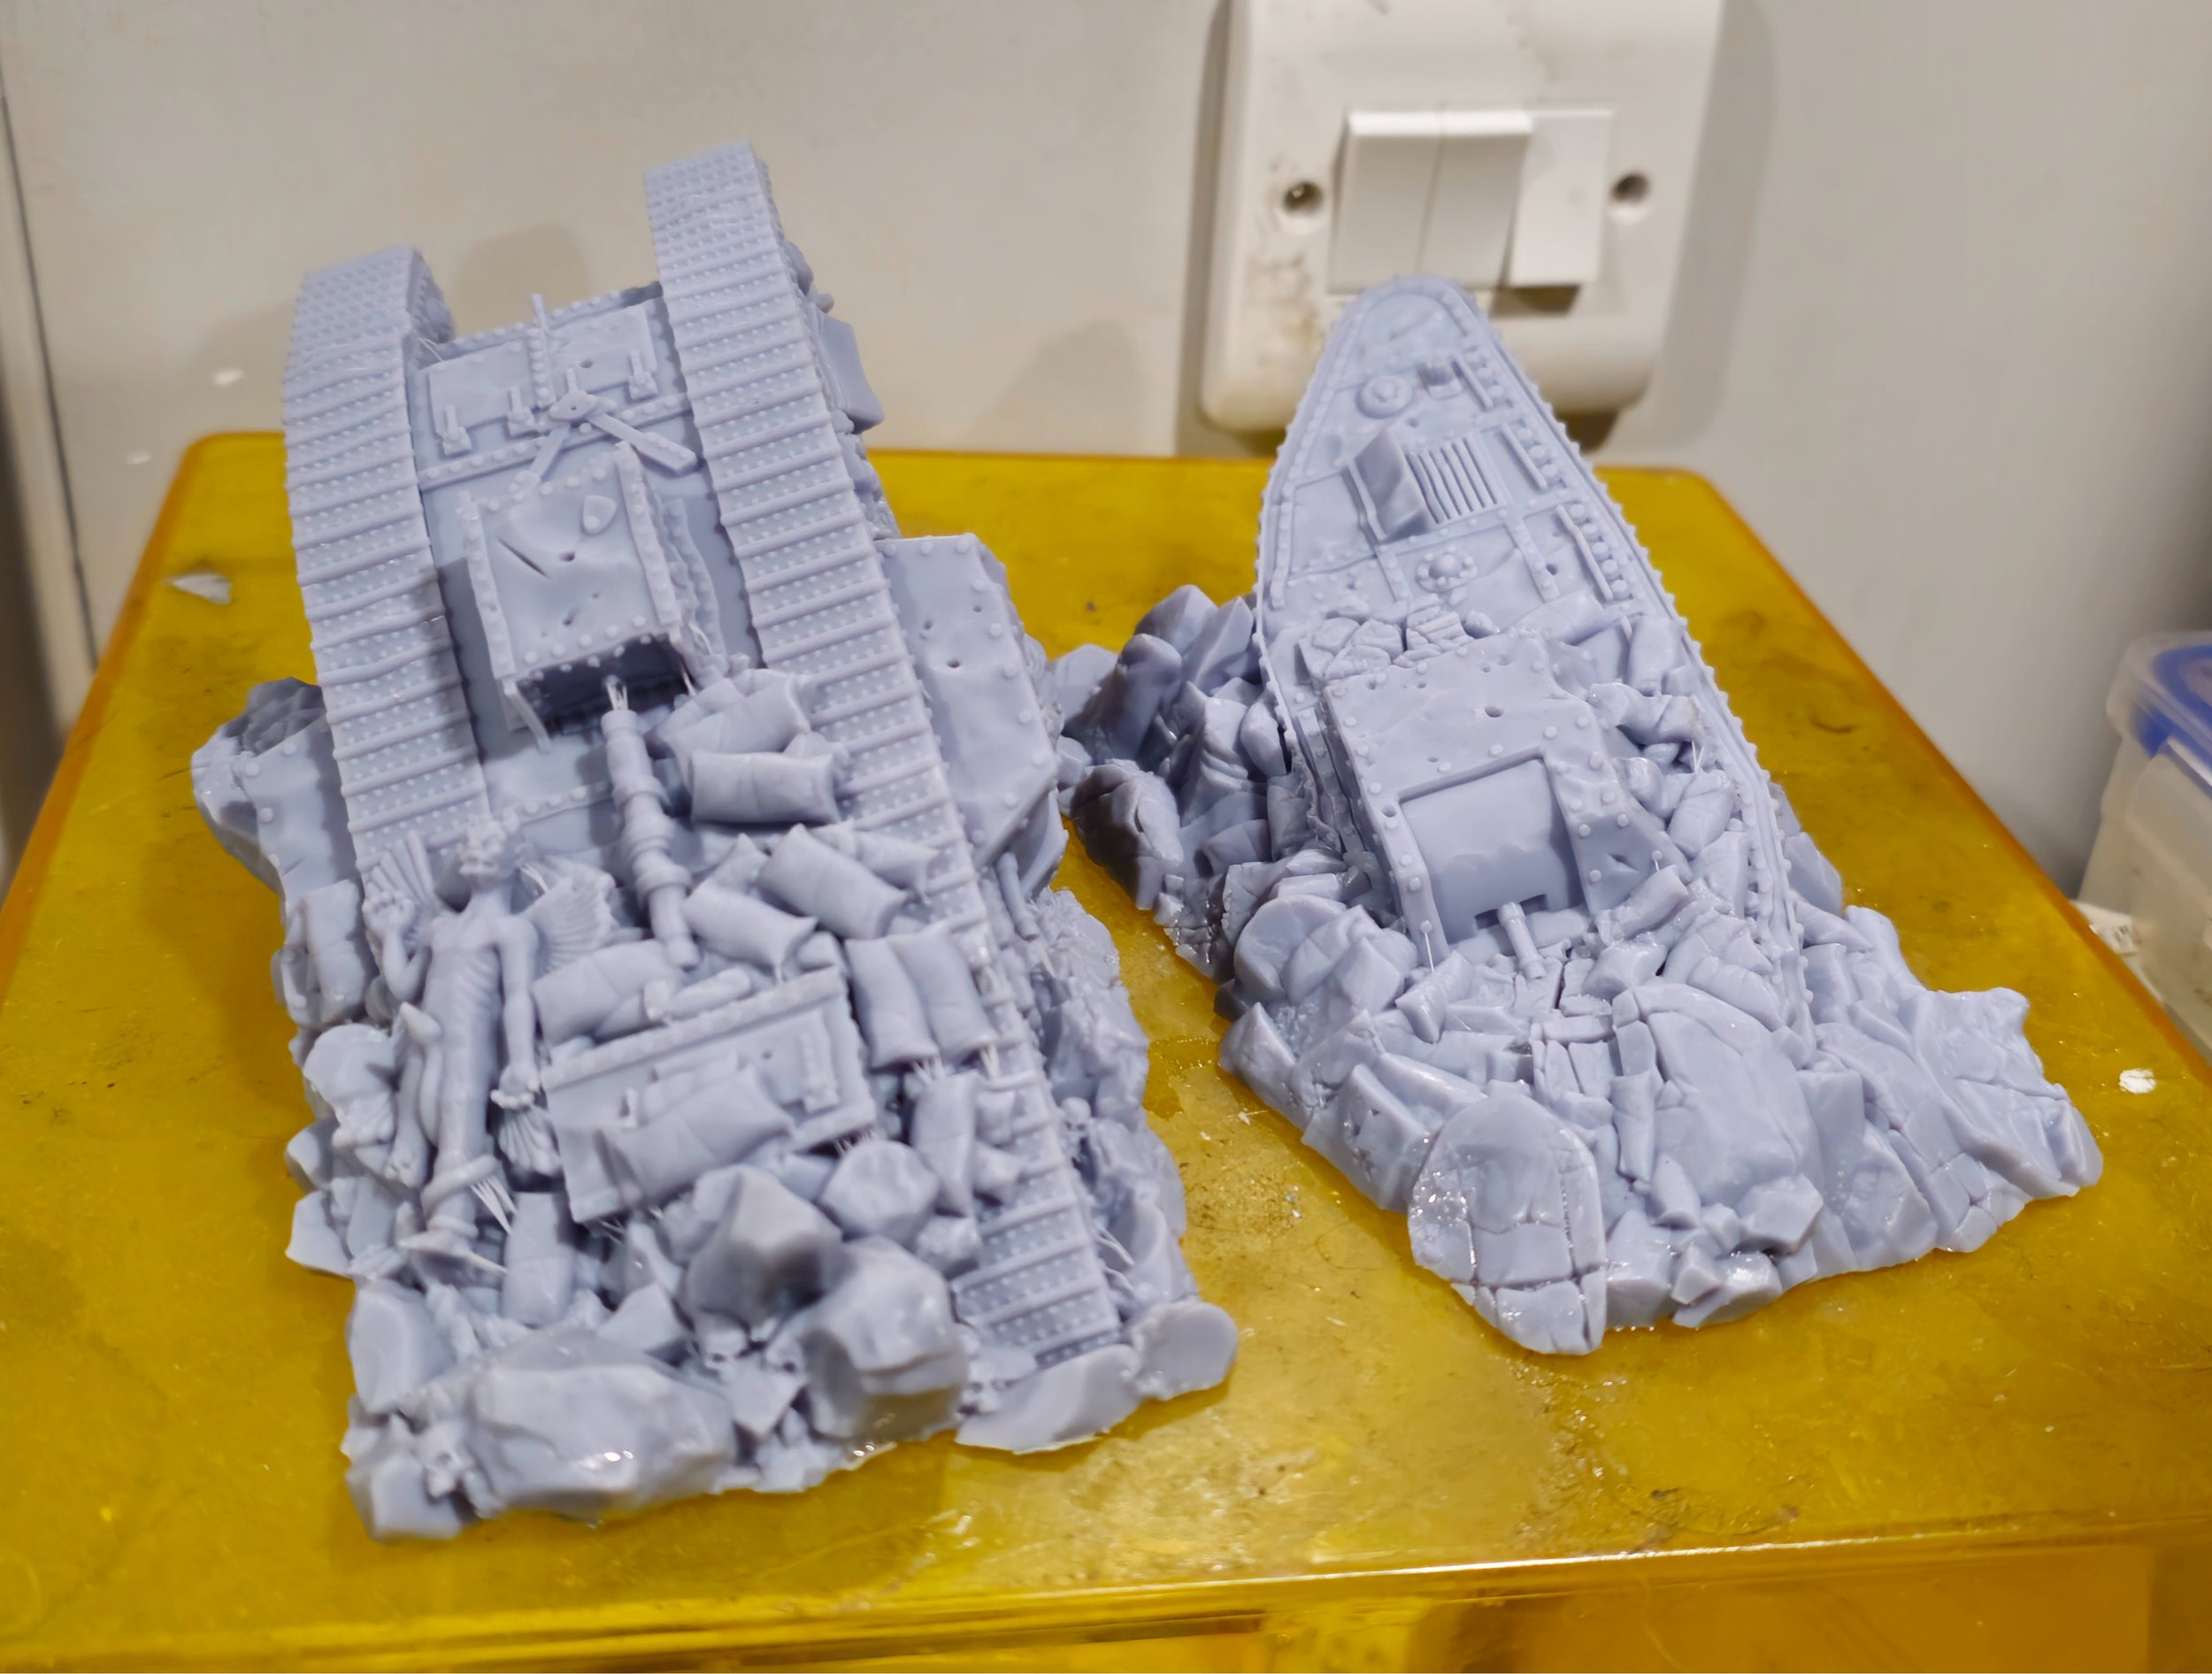
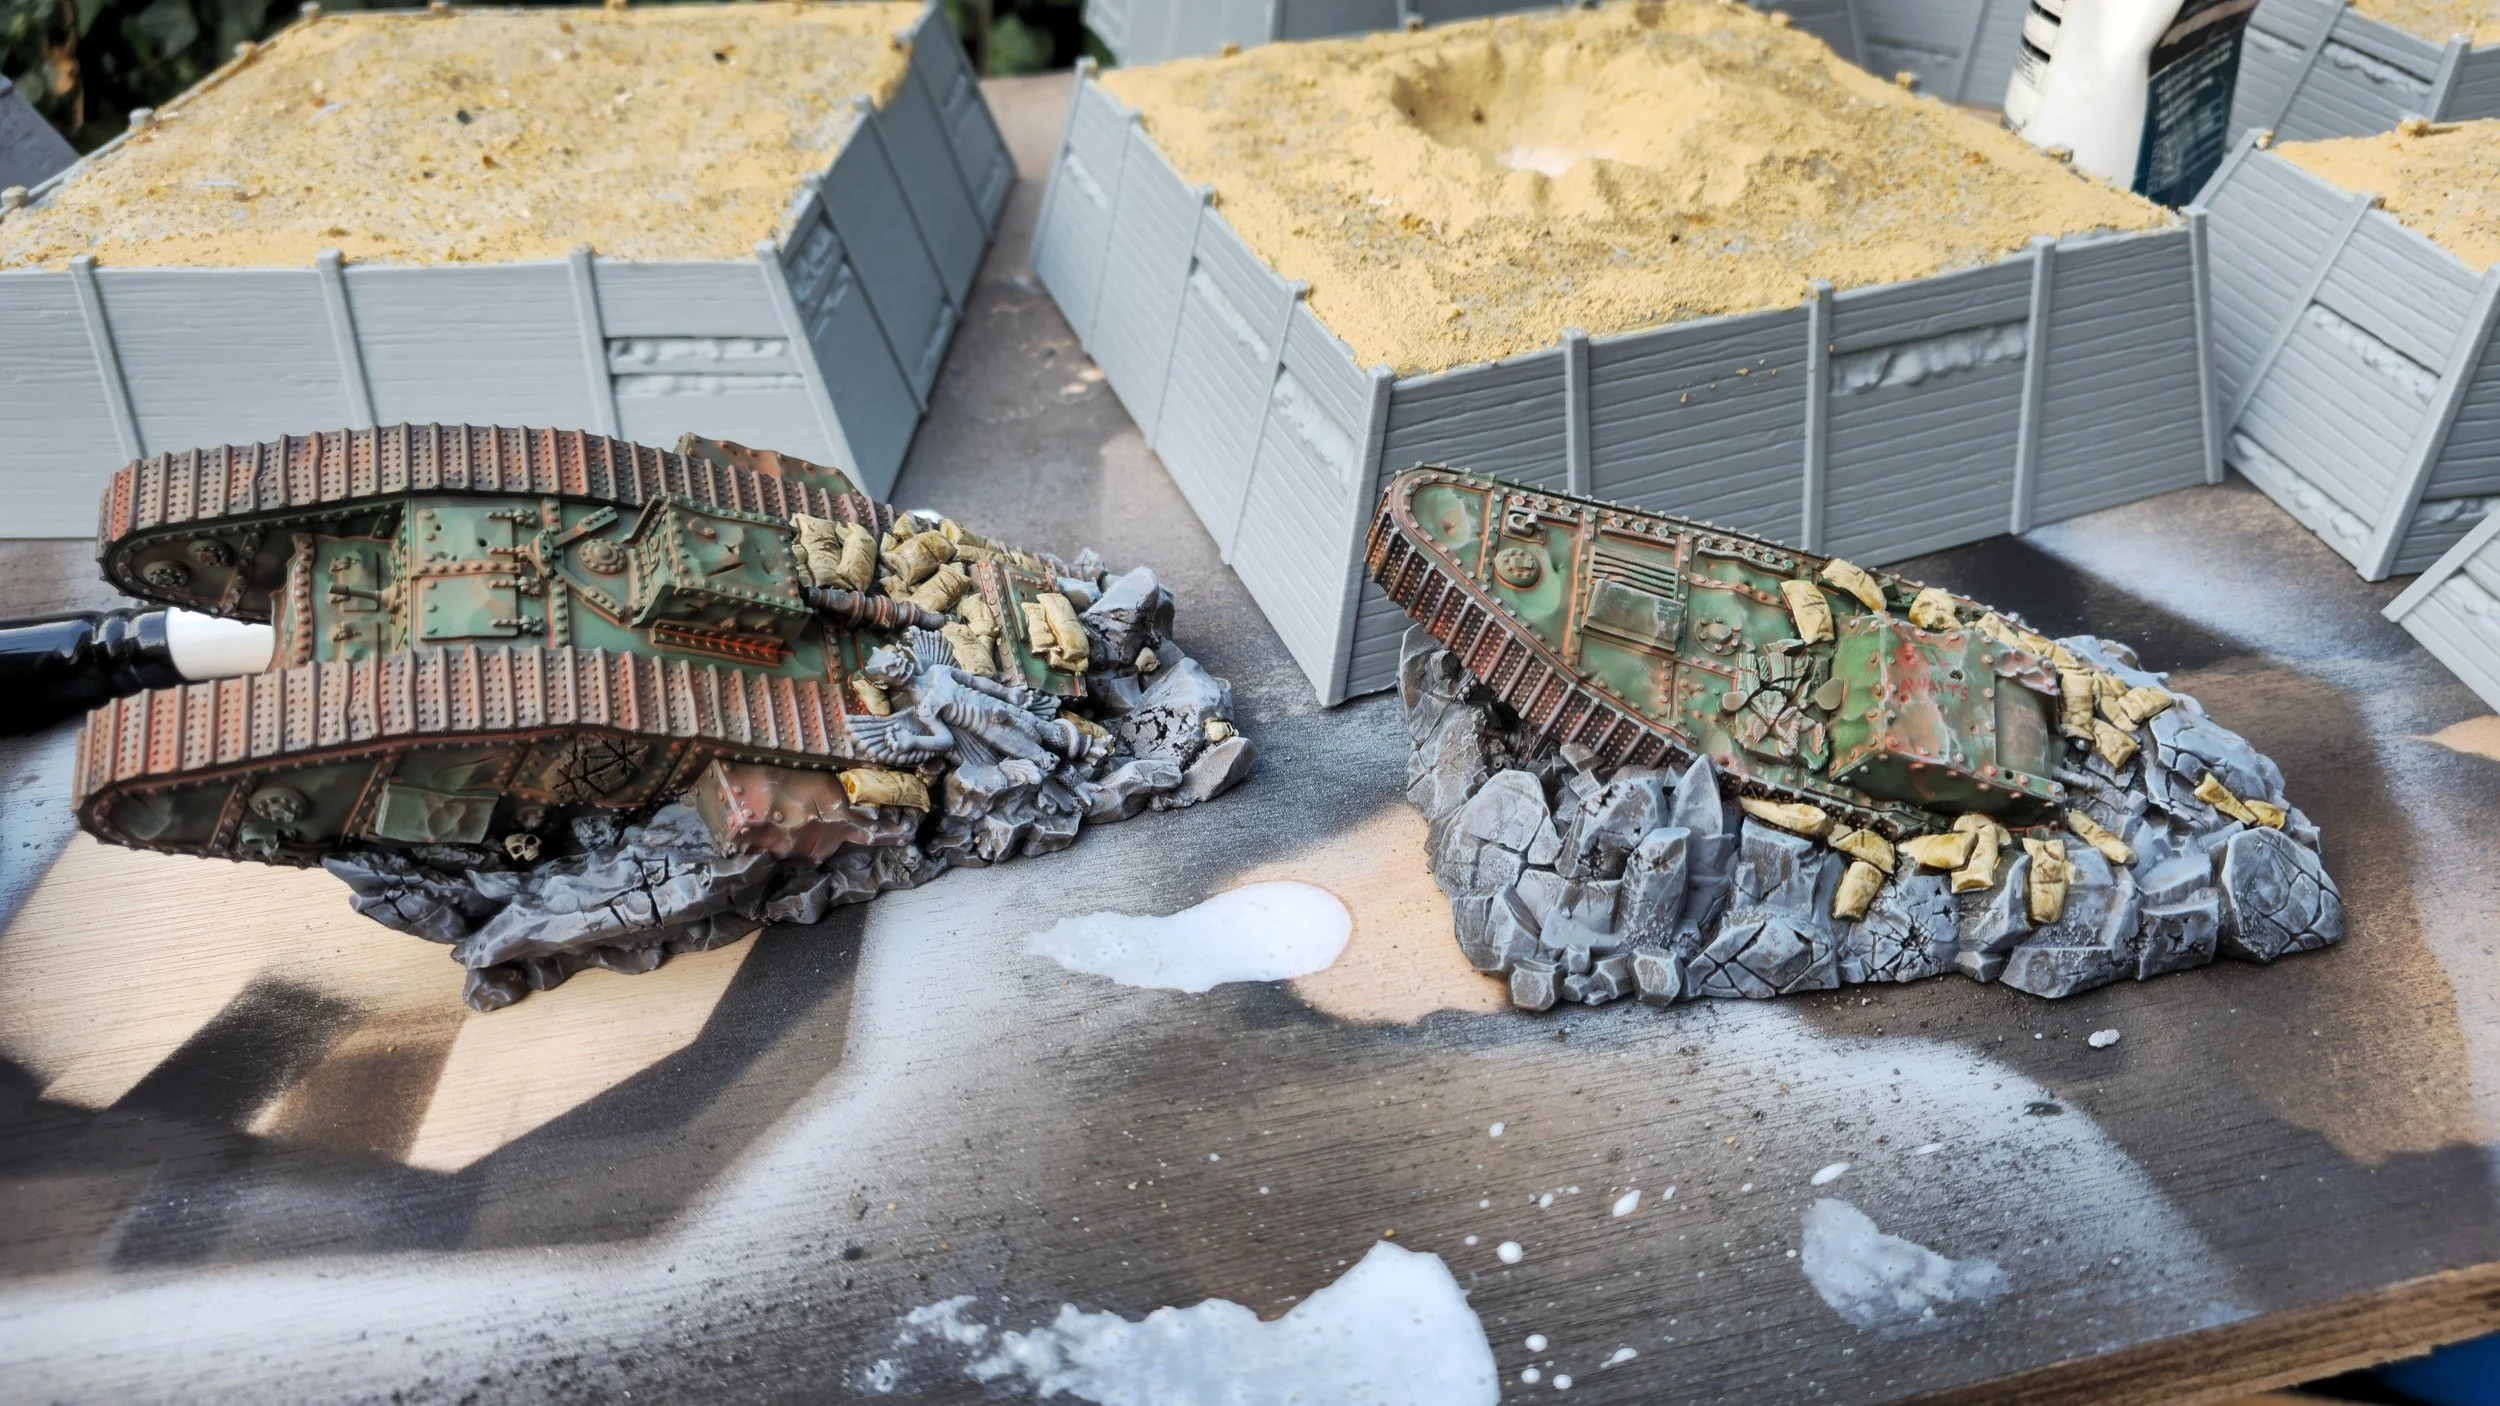
Before and After, I probably spent an hour total on both wrecks.
4) Final Flourishes!
The last things to sort out are some little suitably grimdark Trench Crusade-y details. I was sent some sweet posters by a pal to print off, cut out and glue to walls using thinned wood glue to give this terrain a unique and suitably lived in (well… survived in, maybe) feel. Including some sick album covers that just HAVE to be considered in a step like this. You’ll need to hit these with a matt varnish to take away any sheen from the glue, but it’s definetly worth it as it looks so cool on the table. After that, I grabbed a tooth brush and some Flesh Tearer Red contrast, and loaded the brush up flicked the paint on to the walls of the trench islands. This gave a really nice realistic blood splatter effect, especially against the bunker walls and catching the posters we applied earlier. I didn’t apply this on the ruin walls purely because I will try and get away with using these in other less gruesome games, as they’re nice and generic like that!
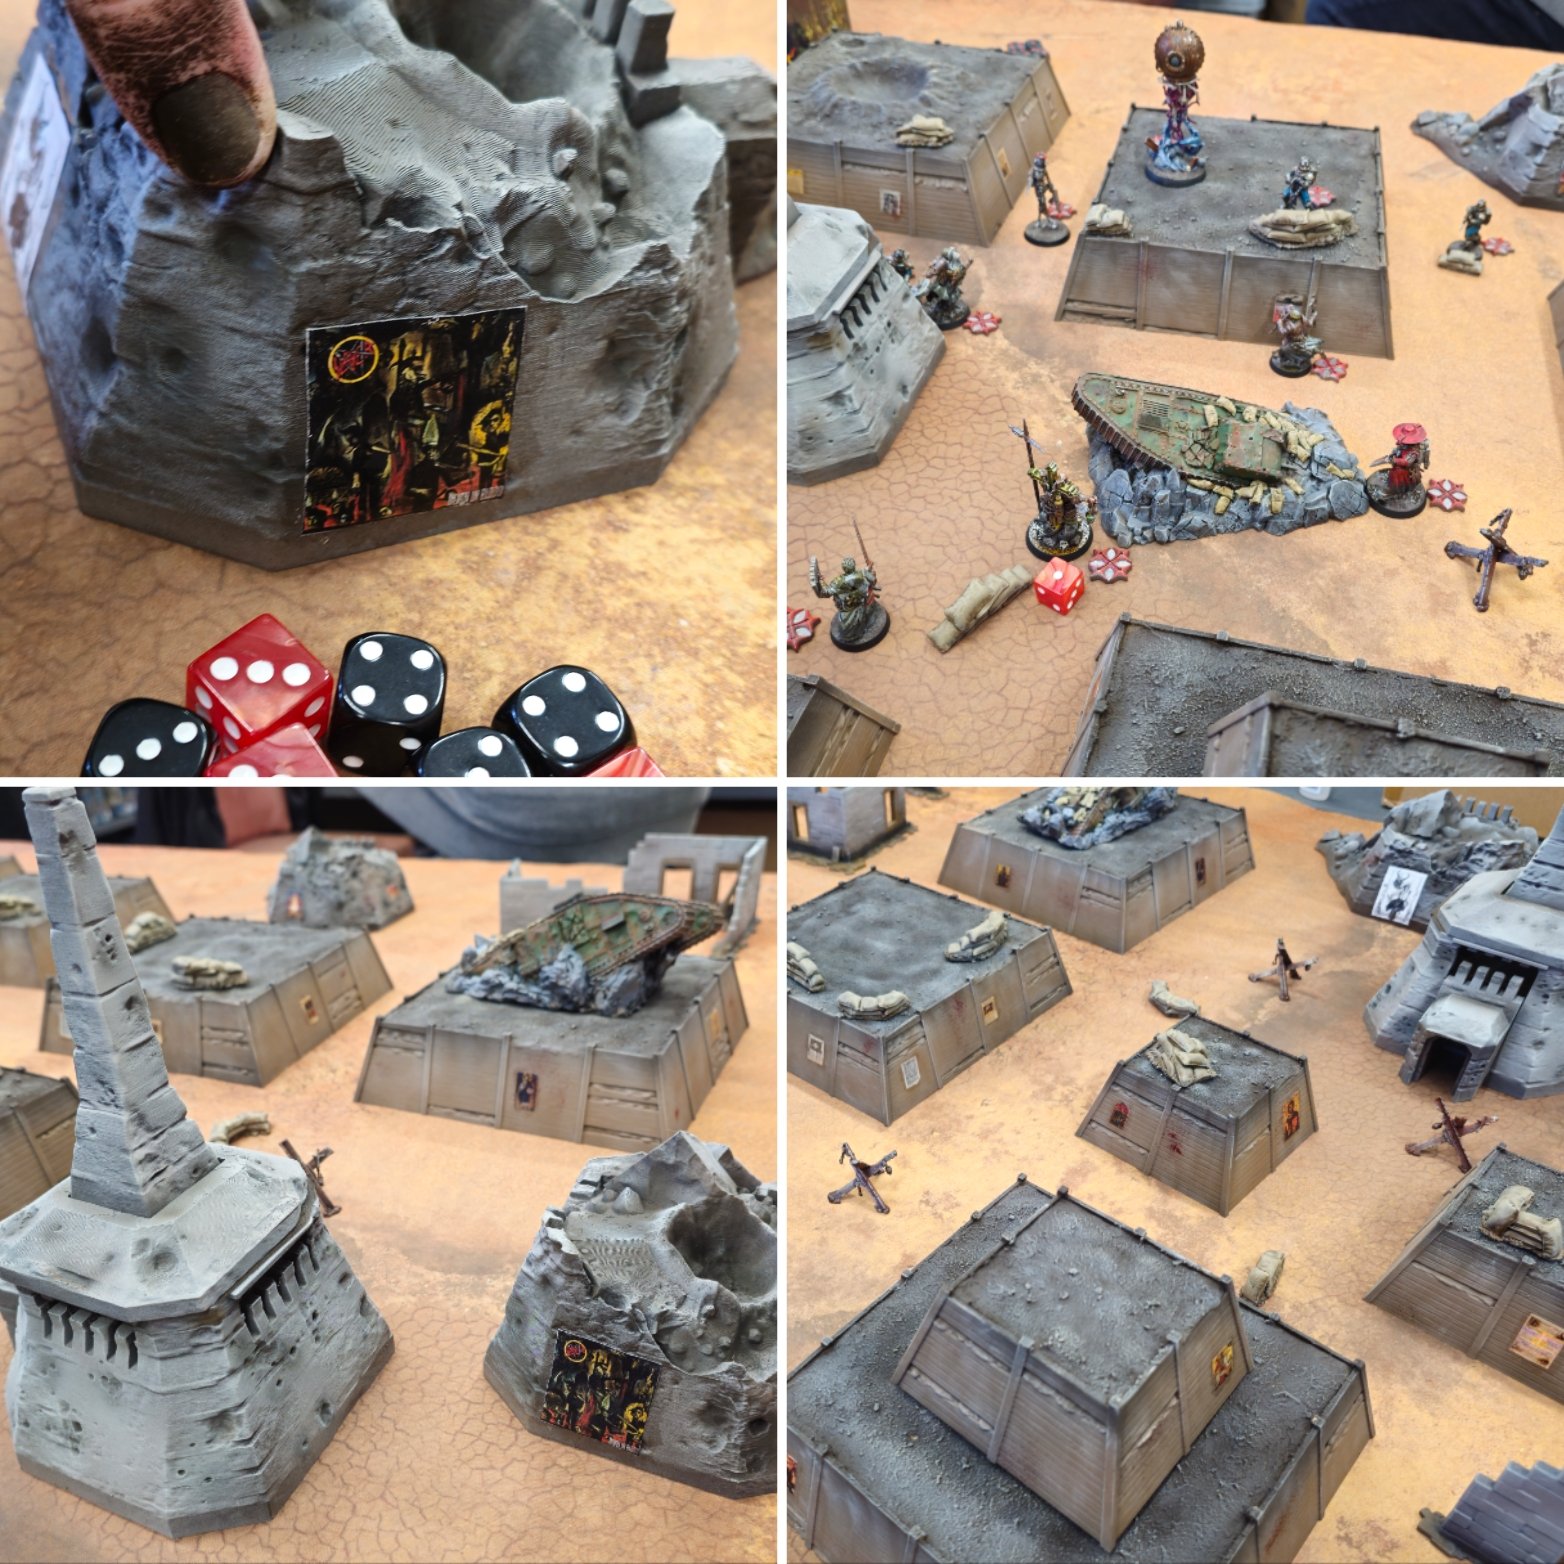
DONE!
All in, this took maybe 6 hours top to get everything primed, prepped, painted and ready to game with. It’s already seen 4 games worth of Trench Crusade, and will see many many more now our campaign is underway! And considering 80% of the work is done with rattle cans, the effort to reward ratio paid off handsomely. I want to add some taller multi floored ruins next, and maybe a couple more islands and wrecks. But overall, I am super happy with the quality of the terrain and the paint job I quite literally slapped on.
Huge thank you again to Colour Forge for their excellent rattlers. To TerrainHub3D for their amazing terrain, and to the British autumn, that saw a dry, cool but sunny day that helped all this dry in relative calmness while I worked outside.
If you enjoyed this article, be sure chuck us a follow on the socials (Facebook, Instagram) and a subscribe on the ol’ Youtube. I also have a discord with daily hobby goodness that is free to join and enjoy!
If you’d like to chuck us a few quid to support me in creating this content, you can do so by subscribing to my patreon, which is a massive help to me in being able to enable me to keep doing what I love. It’s also tremendously appreciated!
Until next time, Peace!
Chris
