
SATURNINE CHARITY PAINTING CHALLENGE PREP - BUILDING
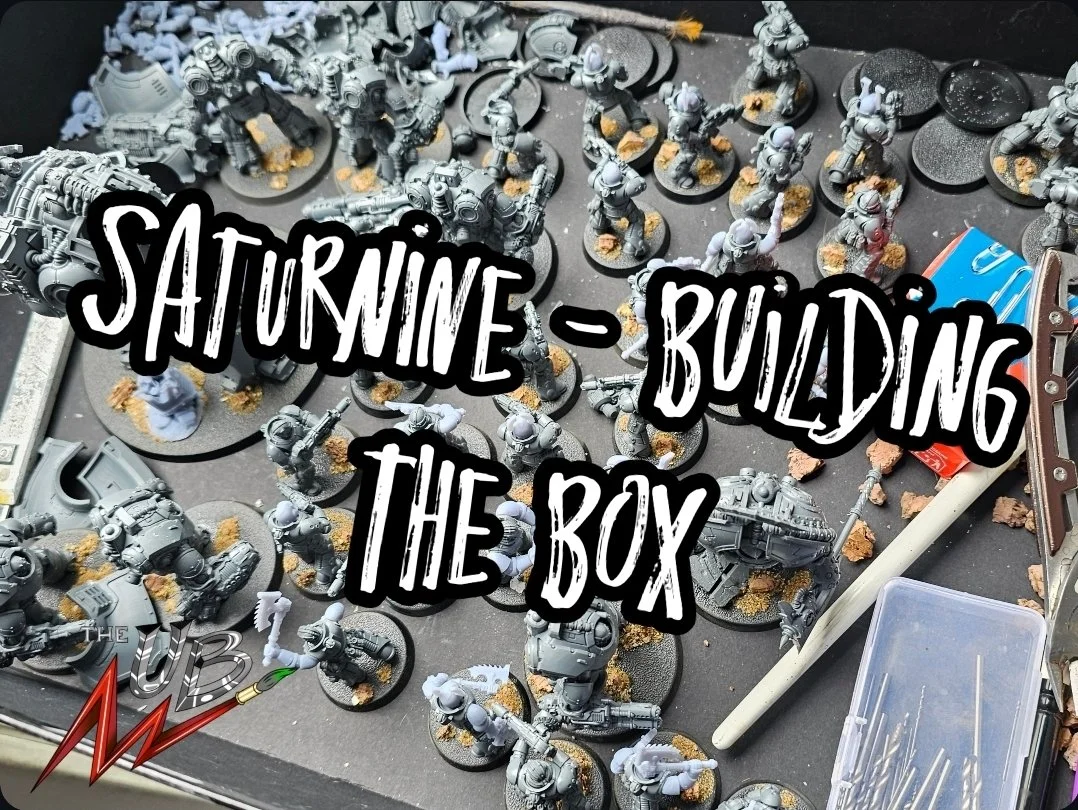
In this first of a series of articles in the run up to my charity painting event this weekend (2/8/2025 - 3/8/2025, details and just giving link at the end if the article) I aim to go over the preparation for this herculean task. Join me as I talk about getting this box built.
There’s a HEAP of plastic in this box, and although I'm approaching it in a mass production/painting outcome, I hope there’s something in here thay you may find helpful, or at least enjoyable!
Clippers 👍🏻
Glue 👍🏻
Very sharp knife 👍🏻
Magnets 👍🏻
Cuppa 👍🏻
Lets go!
1) Saturnine Terminators

Sweet Lord Jesus and Satan canoeing up the Thames on a Saturday. This kit is hard work.
This was the fourth kit I built from the box, but I strongly advise you start on these, whilstyou're bright and breezy and ready to commit. The sheer amount of components, and the building makes this easily one of the most arduous builds I’ve come across in all my years, and in the top 3 of all plastic kits!
You start with six pairs of legs, each to be paired with a respective pose and bend. This alone took an hour and half to clip, clean and glue. Then you can move to the feet, which are in two parts and articulated, that means unless you want Terminators leaning/on the piss, you’ll want them glued to waists and set to go on bases first, so you can get them parallel and stood up straight. The instructions go in a very bizarre and counter productive order, so my guidance in sequence is:
Legs
Waist
Feet and on to bases.
From here, apart from the obscene quantities of parts, it's fairly smooth sailing. I shaved off the Saturnine Aquillas on these as I feel it’s better real estate for transfers and battle damage. This was dead easy to do, just scrape carefully with your sharp hobby knife and smooth down with some multi directional scrapes. It’s hard to model the arms and weapons pointed forward without having the arms pulled back. You can have some fun with the stances, poses and dynamics of the models if you're feeling brave. However, these are big bois, so I decided to keep them menacing and lumbering. I kept the shoulders off for painting seperately and the heads are some of the last things you glue in, which is as it should be. You gotta make sure they’re looking at where their weapons are pointing! I probably should have left the plasma arms off for airbrushing glowy goodness, but that’s a future Chris problem.
Building experience: 3/10 like banging your elbow on the corner of the desk.

Saturnine Praetor and MKII Centurion

These two were the first builds out of the box. I found them to be quite fiddly and needlesy rigid in their poses and loadouts (however, I’ve since seen some wicked conversions and kitbashes, so maybe I was having a bad day, hey-ho!). The Saturnine Praetor was arduous like his squad of pals. Many parts and awkward posing with legs and feet (follow the order above again to avoid this in the Terminator section). I’d have really like to have done some more customization with him, but I am currently swimming in characters and consuls for my World Eaters so I think I was just eager to get ‘em built. His right arm and the cable that connects his plasma blaster to his armour was a particular pain-in-the-behind. Thus, I advisedry fittingthese two a lot as you progess until you get a pose you’re happy with.
The MKII Centurion was similarly limiting, but no where near as annoying to build as his shoulder-centric pal. He’s easily my least favorite model in the box (He’s cool, don't get me wrong), and I wasn’t sure what my intent was with him even as I was building him. You can keep the cape off, but that means swapping out the shoulder pads that have sculpted deformations for said cape. That makes his body a good base for most conversion. While building I realised he was super-duper dripping with Great Crusade “riz”, and I think he’d look dope as a pre Heresy War Hound. I cut off the head of the maul and pinned a plastic power axe from the melee weapons box, and decided to leave the rest as is. I reckon I’ll fall in love with him once he’s painted.
Now I hear you ask, should I have left the cape, power pack and shoulder pads off for airbrushing? Probably. You should probably keep such negative proactivity to yourself!
Building Experience: 4.5/10 like pouring milk in to your cuppa and watching it instantly curdle, but there’s a new milk in the fridge in date. Always give it a sniff test.

MKII LEGIONNAIRE SQUADS

The mash/roasties of this lovely plastic roast dinner.
You get 40 of these bad boys in the box, to be kitted out to your heart’s content. You can make variations of tactical squads, and veteran disintegrator squads as per the instructions. The shine of this kit is that it's compatible with all plastic Heresy marine weapons that came before it. So, if you’ve got plenty of leftover special/heavy weapons or melee sticks/knives/clubs, you can go ham!
I decided to break the 40 in to 4 Squads of 10 Marines in the following formats:
Despoiler Squad - Because World Eaters. Chainaxes and Bolt Pistols printed by myself. 7x Chainaxes, 2x Heavy Chainaxes and a Sarge with Power Fist and Plasma Pistol.
Tactical Squad - Bolters with Chain Bayonets, including the Sarge.
Veteran Disintegrator Squad - New shiny guns. 8 Disintegrators, 2 Disintegrator Blasters.
Heavy Weapon Squad w/Multi Meltas - Bare-bones.
All these squads will have a Vexilla where needed. I’m not sure on voxes yet. Truth be told I haven’t looked at a single rules sheet for the squads above while building. I couldn’t care less if they’re game legal, I just care that they look cool.
I printed some cool World Eater style helmets to mix across the plastic helmets from the kit and the bare heads I have left over from my 40k Berzerker kits, as they work perfectly.
I've kept the power packs and shoulder pauldrons off for airbrushing. I haven’t decided if I will attach these and mask them, or attach them to strips/sticks and paint them separately to be glued on post-airbrushing. Either way, it’s 80 shoulder pads and 40 back packs. It's going to be a slog, but will be worth it! I even have a fresh new World Eater transfer sheet ready to go.
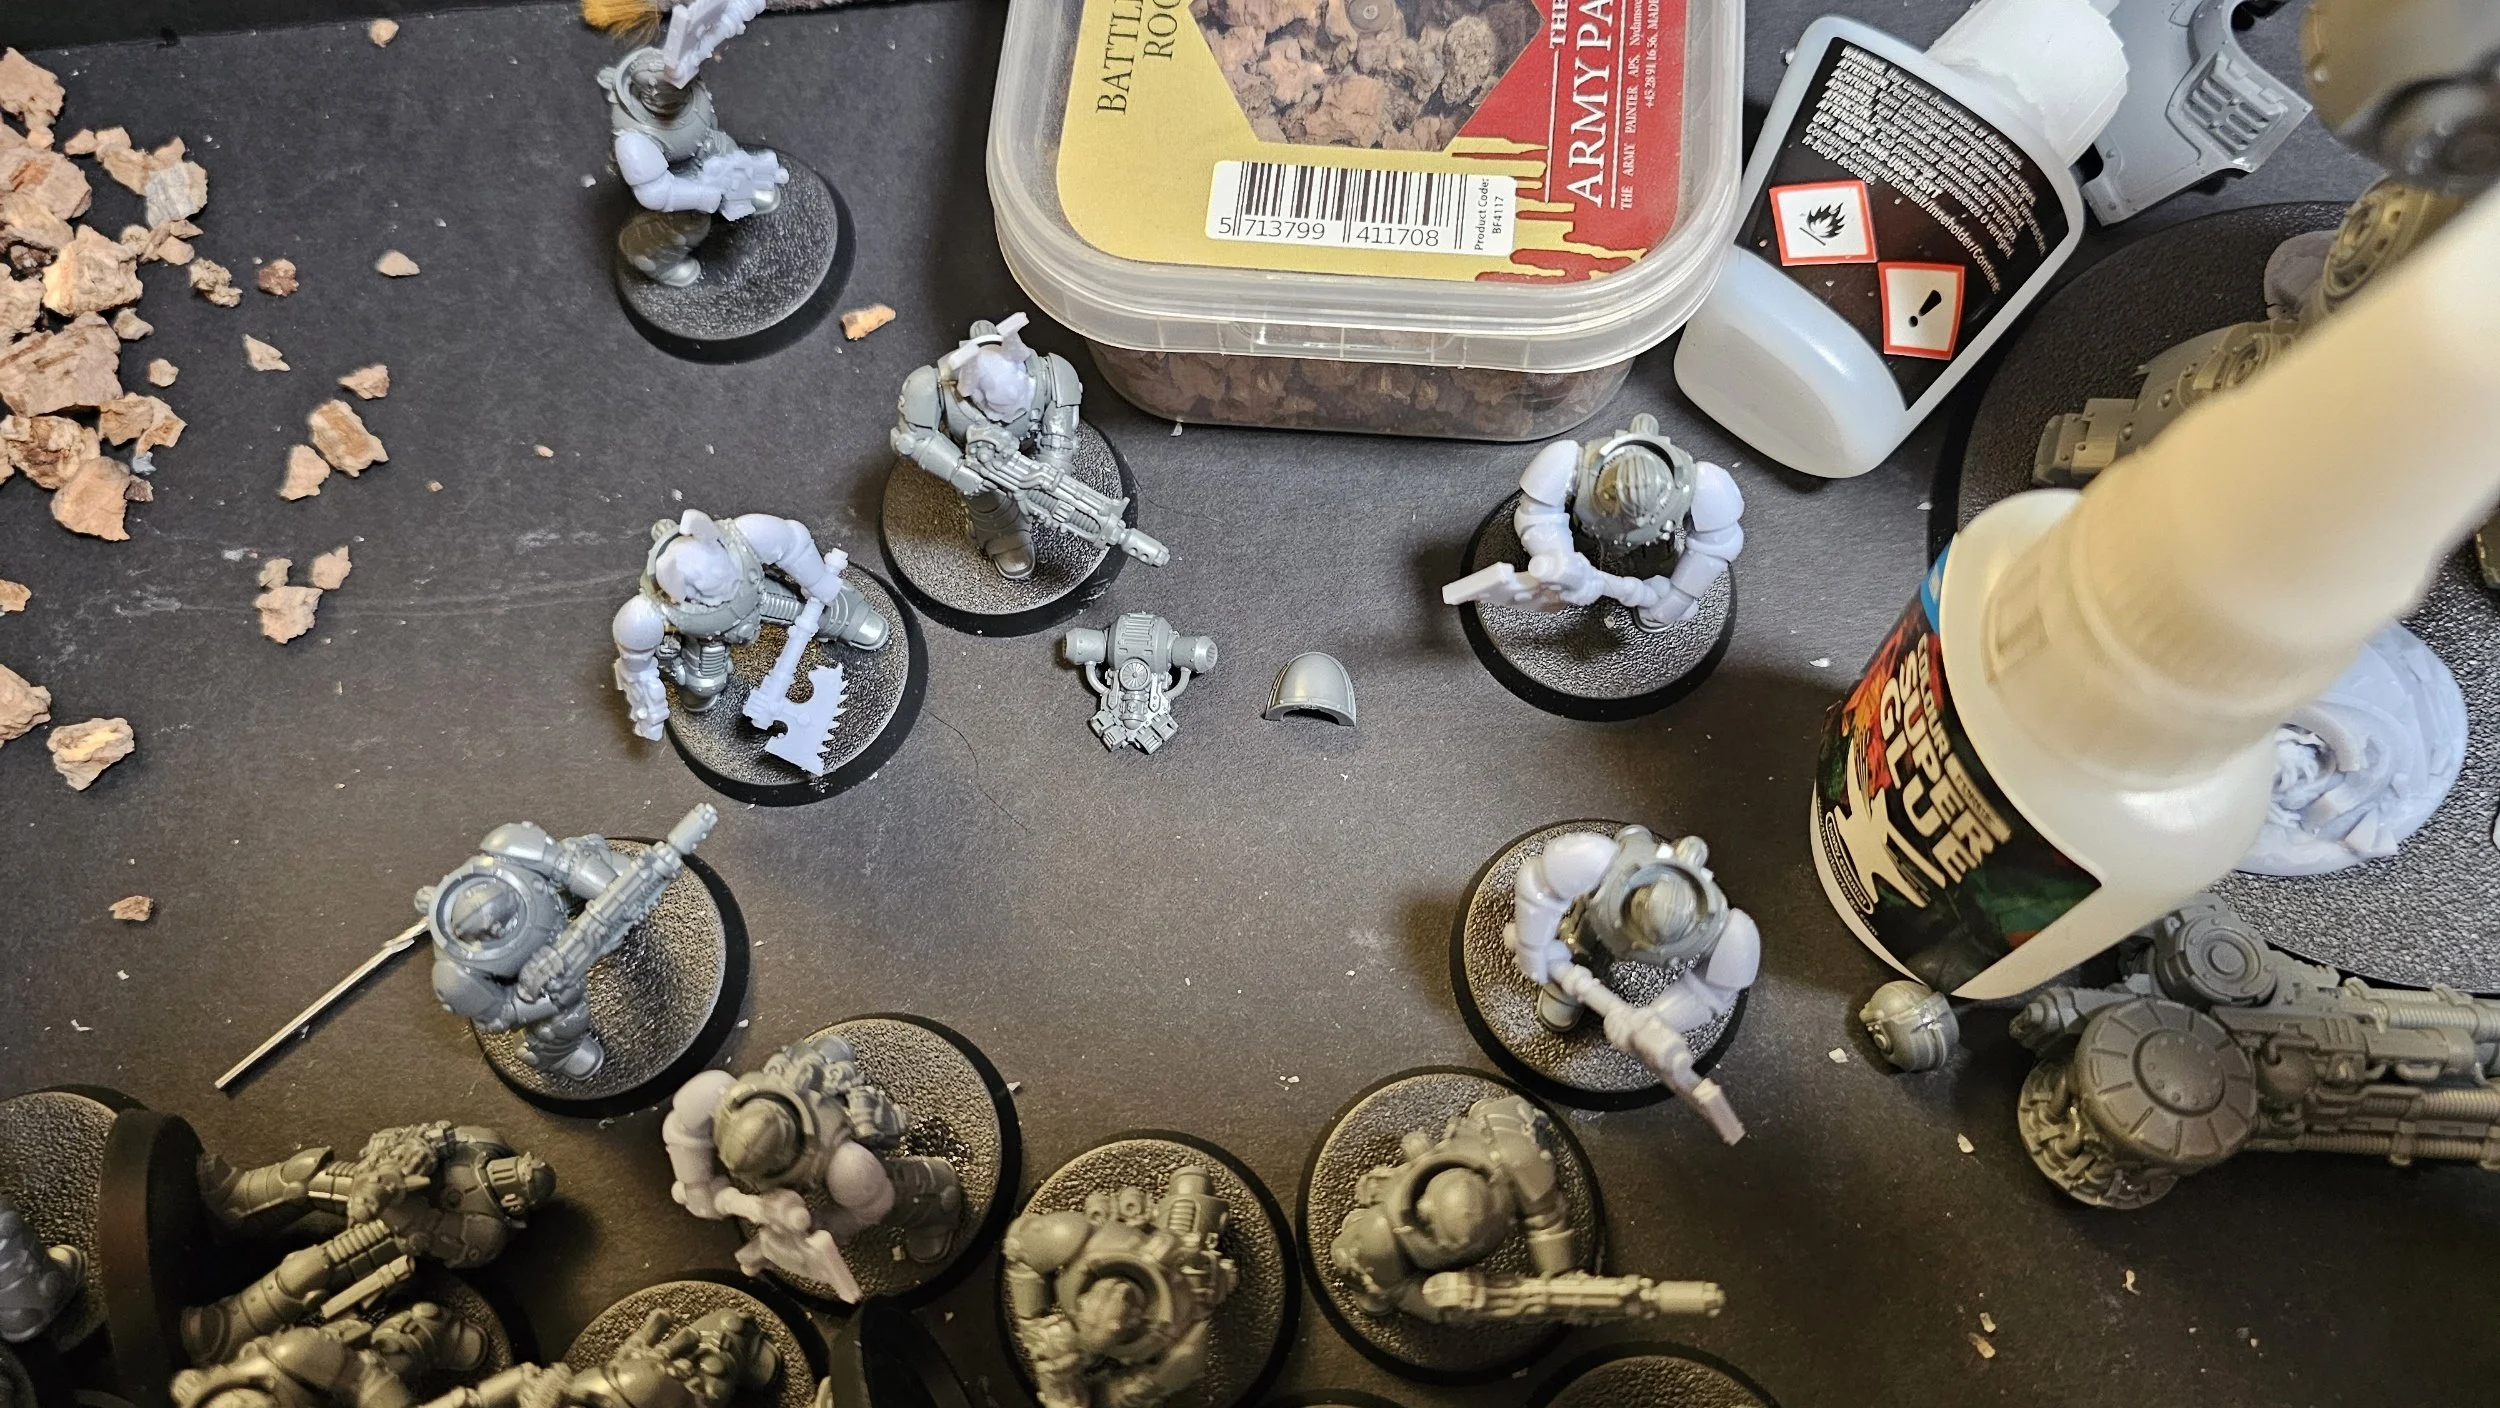
Every marine has a bolt pistol on their hip, or an empty holster for the ones with their spud-popper in-hand (carefully clip the handle off the holster and smooth down. It takes secondsto sort, and is a great detail to add!) I also ensure that there’s a good mix of ammo pouches and grenades across all marines. When doing this I have a shoulder pad and power pack at hand to dry fit to ensure they can still fit or if I have to wobble any accessories down to make sure they’re all easy for final assembly later on.
All in all, a fine kit. My biggest grievance however is with the layout in the sprue. The MKVI and MKIII had their Marines all compartmentalized on their frame, so each Marine had all their pieces together. This made for super nice and easy building. The MKIIs are all over the shop and I cannot think why they’ve done this. The easiest way to get a production line going without constantly handling the instruction book is: Each marine starts with their front chest armour. Start with the lowest number and clip right up to the bolter, in numerical sequence of the components. That's your full Marine. Repeat until 40 super soldiers are ready to rock.
Building experience: 7.5/10 Like putting on fresh clean bedding. It’s a chore but it’s gotta be done and it’s so worth it! Even if you then realise the corners are still slightly damp.
SATURNINE DREADNOUGHT

If the Marines are your tatties, this chap is the pork shoulder with crackling. We love a big centrepiece in these boxes, and this one is a proper daddy!
I saved him until the end to build as the treat, as I know I was going to enjoy putting him together. He took about 3 hours (Compared to the 6 I spent on the Terminators!), and he was genuinely an almost entirely painless build!
The shoulder pads are again kept off for airbrushing, the pipes and mounts were the most annoying bits with small connection grooves that you really have to feel out for to ensure they line up and lock in. The flexibility for the pose is quite sparse thanks to the peg and hole system in the legs and knees, but I’d rather that than risk him looking 10 pints deep with no food in him.
The weapons were a doddle to build, they and the arms come with set holes for 1x5mm magnets for swapability. Ready for when the next weapon frame drops.
There are a few nice variant aesthetic options in this kit, too. It’s hard to get anything wrong when posing him thanks to the clear instructions and physical details designed to make sure he goes together rigidly. I’m stoked to get this guy all ready to go!
Huge thanks to 3D Game Shop on Instagram for sending me out these decorative blown up Contemptor bits. I was saving these for this exact model! He’s stepping over a foe he’s blasted to absolute scrap, but I still haven’t decided which Legion they belong(ed) to…

Building experience: 8/10 Like calling a doctor for an appointment and getting through after 10 redials instead of 87. And they have an appointment for you!

ARACHNAE ACCELERATOR TURRET

The oddball of the box. Does it look cool? Sure. Is it viable in game? Who cares. Will it be a great feature in the table whether it’s in your list or just decorative? You betcha.
I was kindly sent one of these by Games Workshop a few weeks back, so thanks to them for that. It wasn't tooooo bad to build. Mainly because I knew it would take little time to paint. It was about 2.5 hours to build and less than 2 hours to paint.
Lots of articulation which is nice, so it can sit on your uneven board somewhat smoothly. I’d maybe leave the Autocannons off for painting so you can paint more of the top panel in the Legion colours (I’ll do this with my other one over the weekend), but otherwise it’s very straightforward and easy to make look appealing with minimal effort.
Building experience: 7/10 - Like getting out of your joggers to go to the shop, but you're excited to get back in to them the second you’re home.
That’s a wrap on the first article in this series! Join me next time when we talk about planning the mass painting of 50 models together. What to expect to go wrong, what proactive measures to take and how to convince your wife that you do actually love her despite spending all weekend in the shed painting MORE Space Marines (“Don’t you already have these ones… ?”).
Don’t forget, there’s still time to donate to the JustGiving page we’ve setup to raise funds for the amazing Acorns Children's Hospice. This fundraiser isn’t just about painting toy soldiers, it’s more importantly about the community doing what they can for an incredible charity helping families who desperately need it. We’ve got a prize pool of goodies to be given away to random donors over the weekend, so for your chance to win something amazing pleasedonate any amount. You could end up getting some mega swag while being a hobby hero for Acorns.
Click here for charity donation page.
Peace! 🤘🏻
Don’t forget to check us out at:
www.facebook.com/theunrelentingbrush
www.instagram.com/the_unrelenting_brush
Chris - The Unrelenting Brush